How to Unclog a Kitchen Sink – The Simple, Inexpensive, and Chemical-Free Way
Our kitchen sink developed a clog and was draining extremely slow over the weekend. And naturally, we had guests coming for dinner. Fortunately we were planning to eat and hang out in the back yard and using disposable plates, so it wasn’t a complete disaster. We were able to eventually clear the clog and now the sink is draining the way it should. And I didn’t have to pay a plumber to fix it! Woot!!
This post may contain affiliate links. For full disclosure go here.
Here’s what we tried first:
- First I tried a little sink plunger and it didn’t do anything but slosh the water between the double sinks. FAIL. Note – I’ve used this for bathroom sink clogs fairly successfully.
- Next I poured an entire bottle of Liquid Plummer down the drain. It helped a tiny bit, but the drain was still extremely slow. FAIL
- Then we tried a zip it drain cleaner that removes various clogs. It probably would have been fine for a bathtub clogged with hair, but didn’t do anything for this one. FAIL
- We checked the trap and it was clean. We removed the pipe between the disposal and the trap and it was clean as well. So we knew it had to be something lodged in the exit pipe inside the wall.
We were ready to call the plumber to make a visit to the house on Monday morning, but my dad said he had a gadget we should try that had worked for them on a couple of occasions. He said it forces water into the pipes at a high pressure and clears out the gunk. Dads have the greatest gadgets, don’t they?
Hmm. okay. I’ll give it a try, I thought, but I was skeptical. It couldn’t be that simple or inexpensive. I dropped by my parents’ house and borrowed dad’s drain cleaning gadget. When I got back home I looked it up on Amazon and read all the positive reviews and decided to go ahead and try it. And it worked!
So I thought I’d share it with you in case you’re ever in a similar situation. I’m sharing a link to the gadget HERE in case you want to try it for yourself. I’ll be buying one of my own so I don’t have to borrow my dad’s, and I recommend keeping one on hand so you don’t have to call a plumber on the weekend and pay double.
Supplies and tools needed:
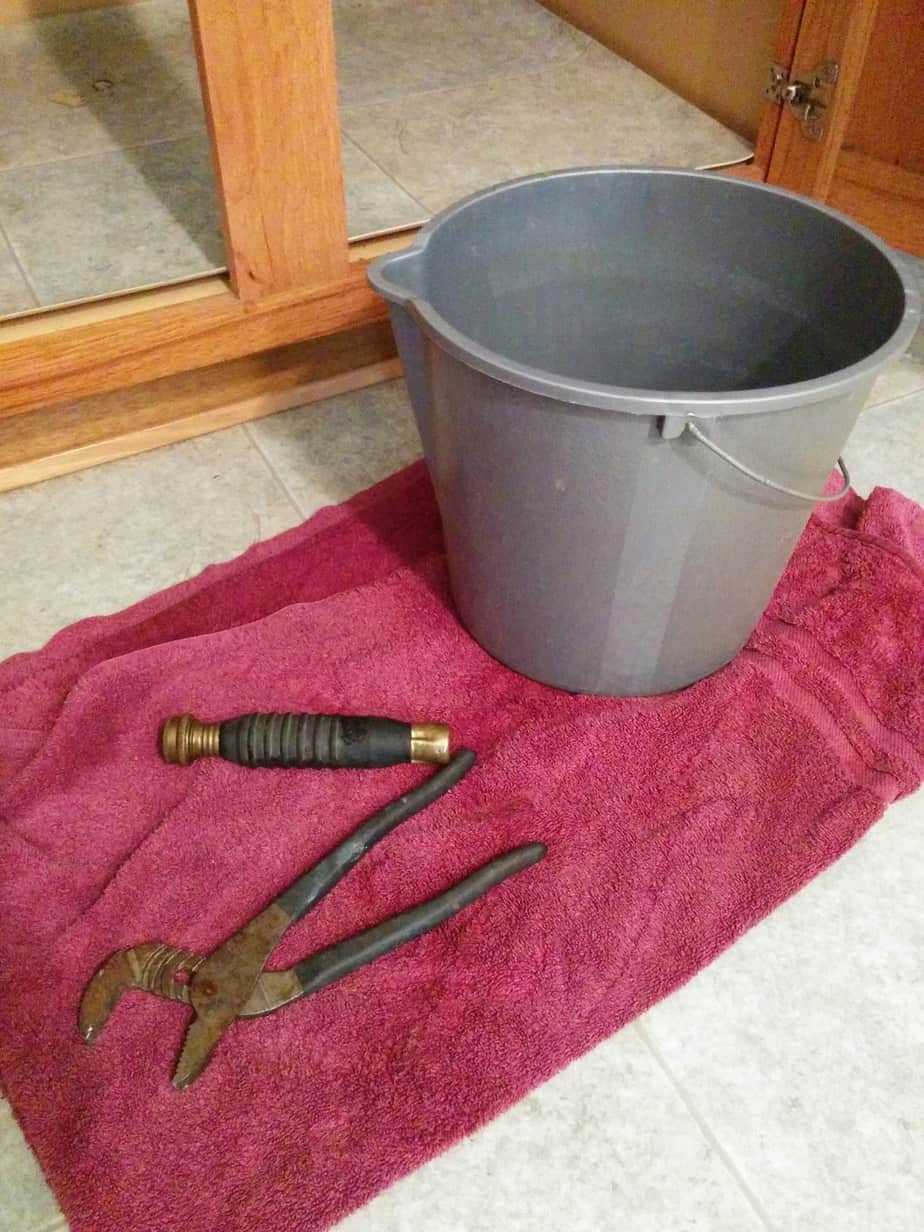
- Bucket to catch any drips
- Old towel to wipe up after you’re done
- Garden hose
- Large Pliers – we used one like this => Pliers
- Drain unclog hose attachment ==> Here
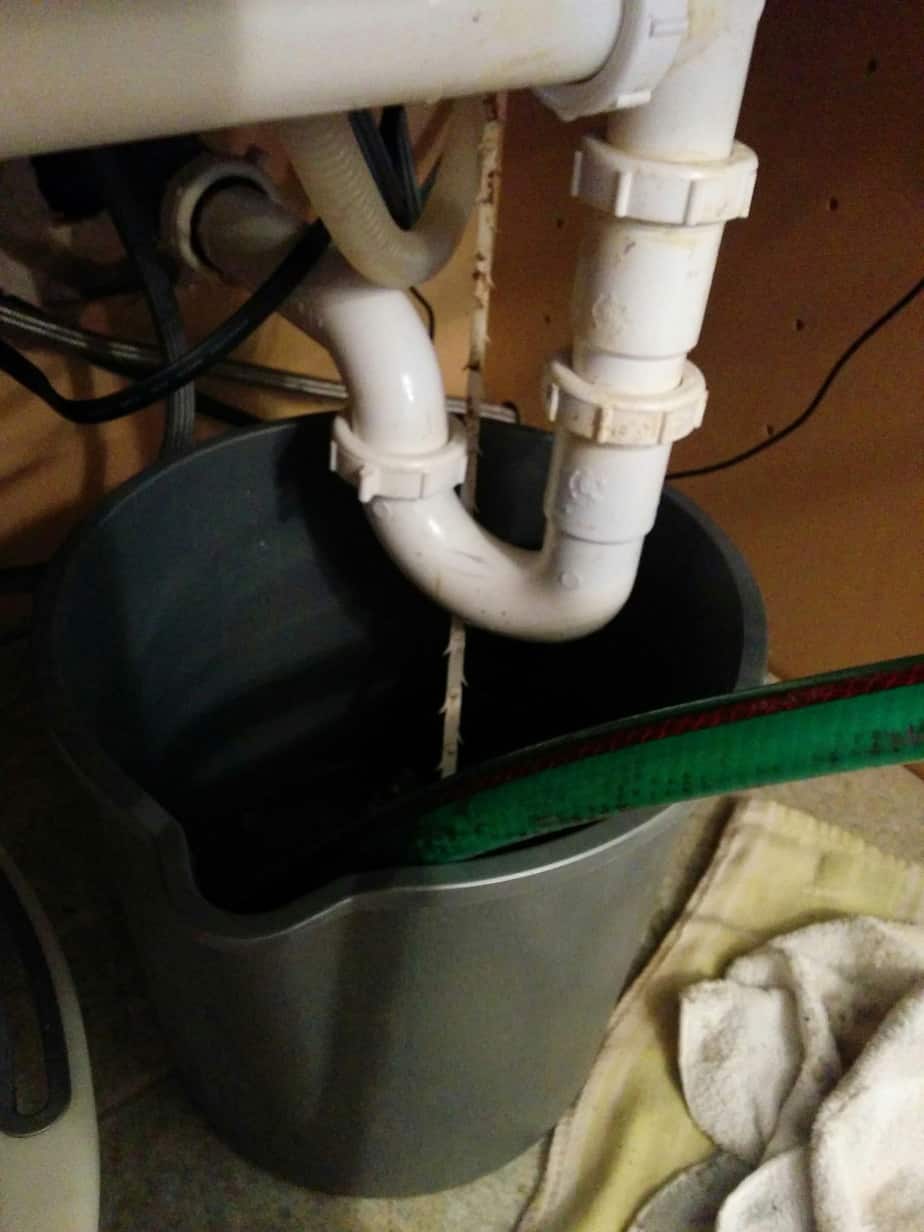
And here’s the process that worked for us. I took the photos with my phone so they’re not exactly high quality.
HOW TO CLEAR A SINK DRAIN:
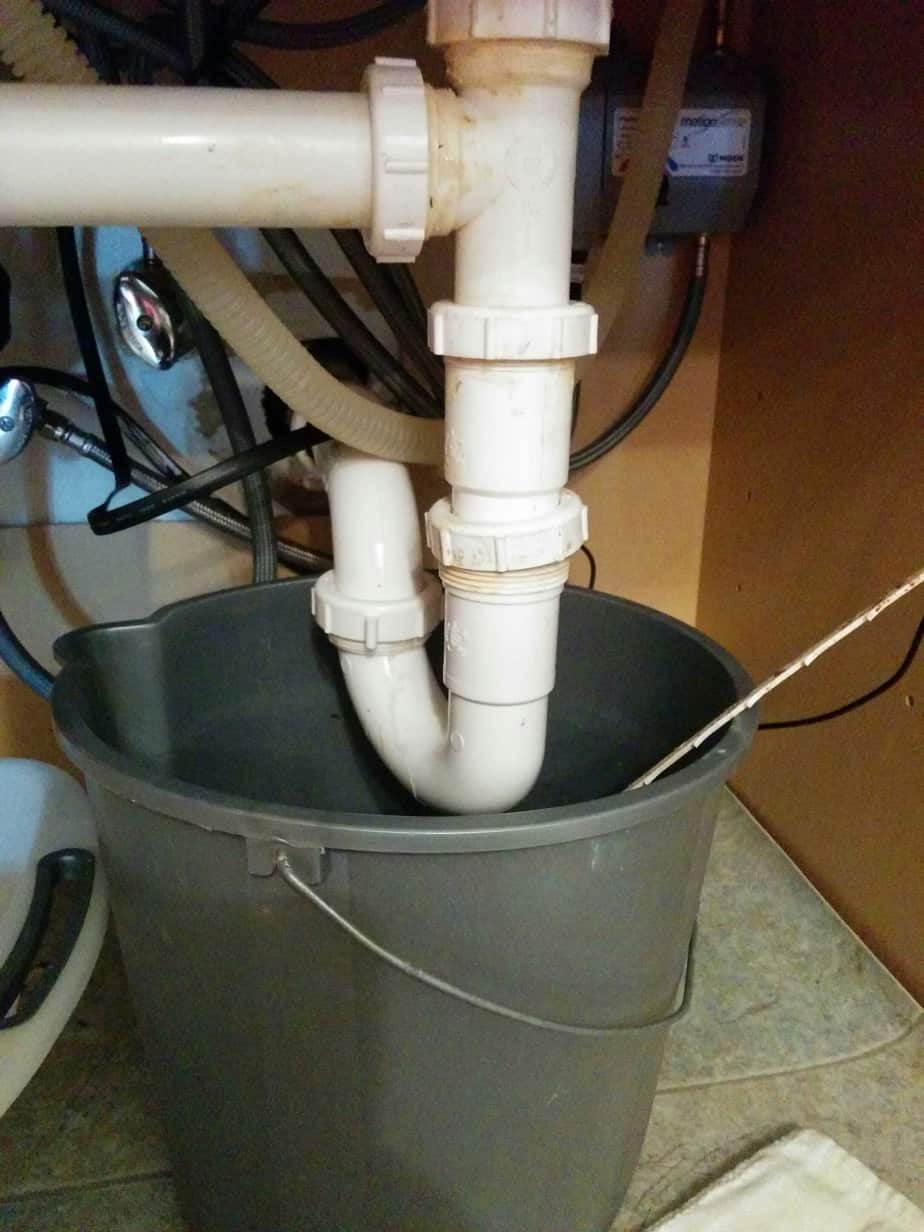
1. Empty everything from underneath the sink. Place a bucket underneath the trap and use pliers to unscrew and remove the trap (the “J” section at the bottom).
2. Attach the clog remover to the end of your garden hose.
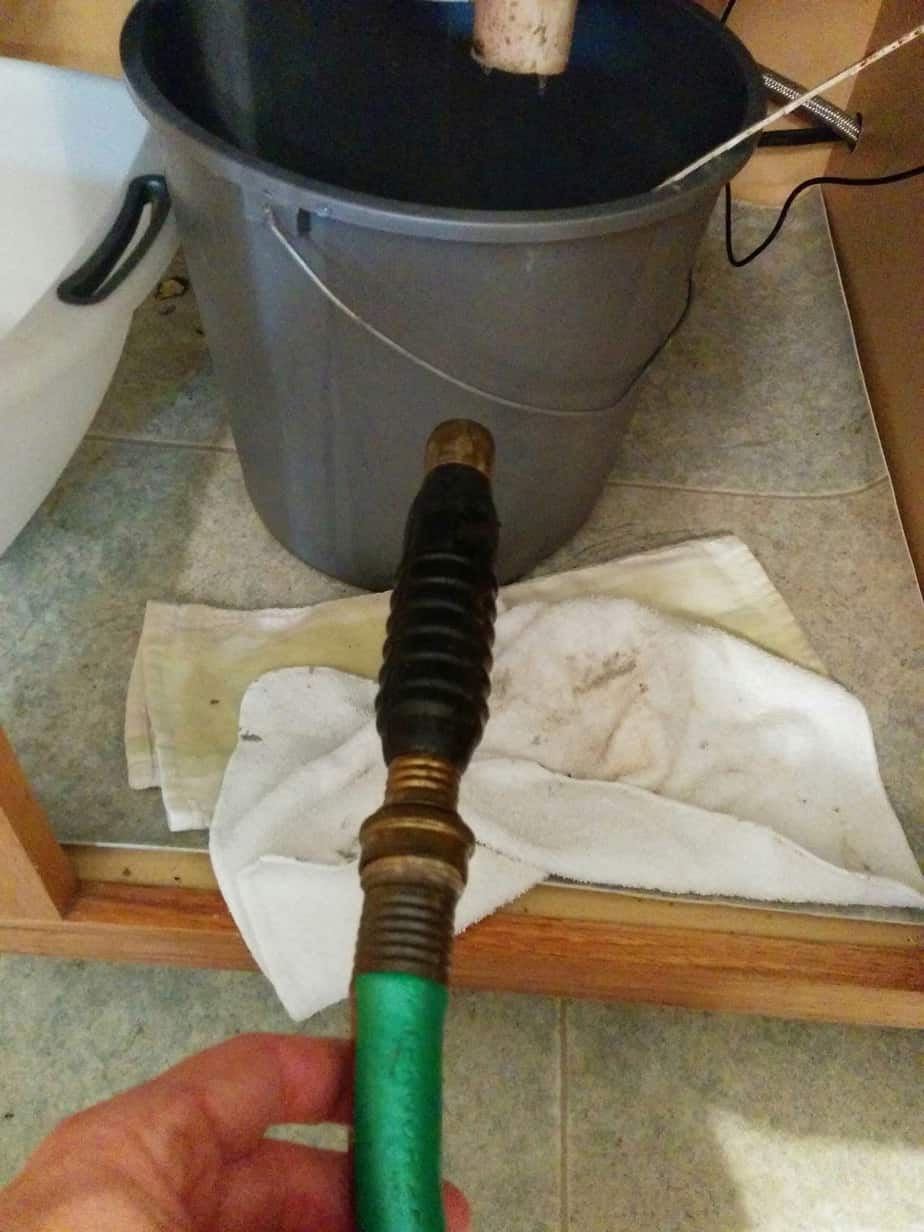
3. Push the drain clog remover as far into the pipe (leading away from the sink) as possible.
It works best if it’s all the way in the pipe. Turn on the water for the hose slightly and make sure it’s not leaking. If there isn’t any water coming back out of the pipe, turn up the water in the hose all the way. (Ours made a kind of humming noise.) Let it run for a few minutes and then turn off the water source.
Note – I did this by myself after my husband left for work, but it would be better if you had one person inside watching the hose while another turned it on/off. (You won’t have to run inside quickly to check on it). And I ran the hose through the window over the sink. It worked great.

4. Gently remove the clog buster and then reattach the trap.
Leave the bucket underneath and turn on the faucet at the sink. Let the water run for a few minutes and check to see if the drain is cleared. Ours was cleared and the water drained exactly as it was supposed to. Woot!
5. Make sure the trap is tightened, then remove the hose, bucket, and any other tools. Wipe up any water that’s remaining.
6. Pat yourself on the back because you probably just saved yourself $100.
That’s it. Easy as pie. Well, there was the small amount of water to wipe up and then placing everything back under the sink. But overall, this wasn’t bad at all. If I can do it, you can too.
Have you tried one of these clog busters before? Did it work for you? I’d love to know what you think about it.
*Always follow the manufacturer’s instructions*
Here are more helpful tips for your home (click each photo to learn more):
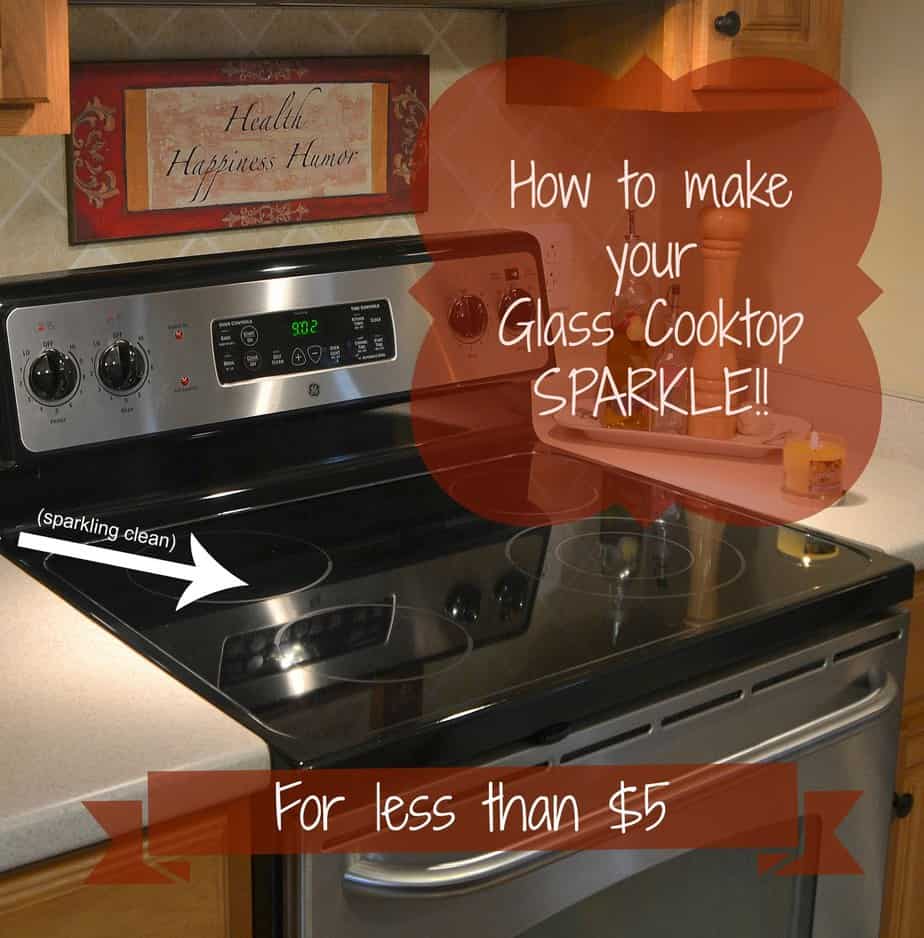
How to Clean Your Glass Cooktop
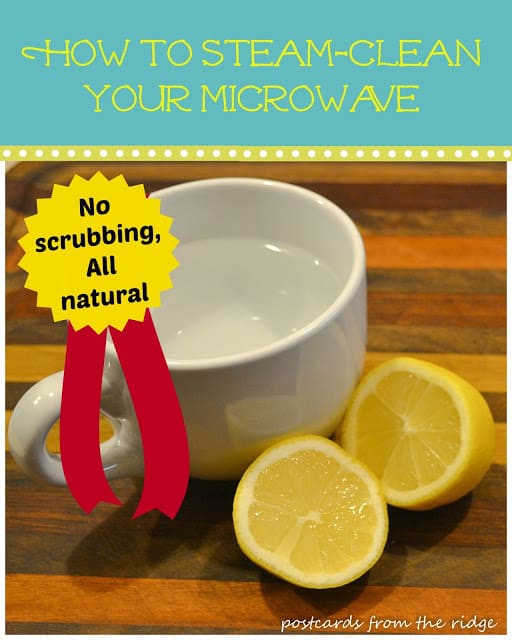
How to Steam Clean your Microwave

How to Paint Paneling Like a Pro

Craft Room/Studio Organization Tips

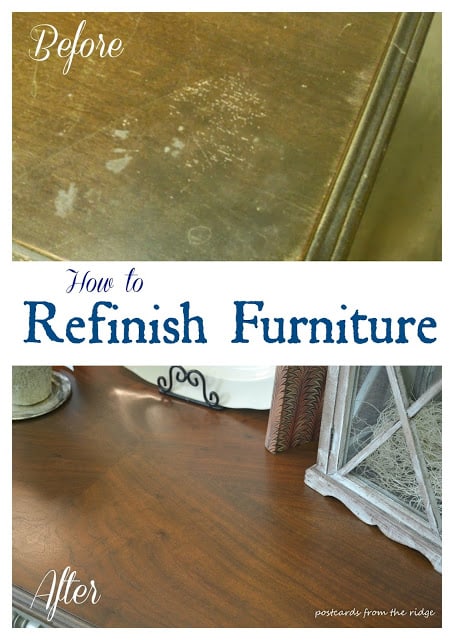
20 Ways to Update Furniture with Paint
Thanks for dropping by!
XOXOX,
Angie

If you’re new here, follow along here so you don’t miss a thing:
Email * Facebook * Hometalk * Pinterest * Twitter * Instagram
For more handy tips and tutorials, go here.
To see my painted projects, go here.
For tasty recipes from my kitchen, go HERE.
For some simple tips for capturing a great photo, go HERE.
Go here to learn about having an online design or color consultation.
And go here for dozens of photos, ideas and favorite paint colors.
Great post!
Thank you!