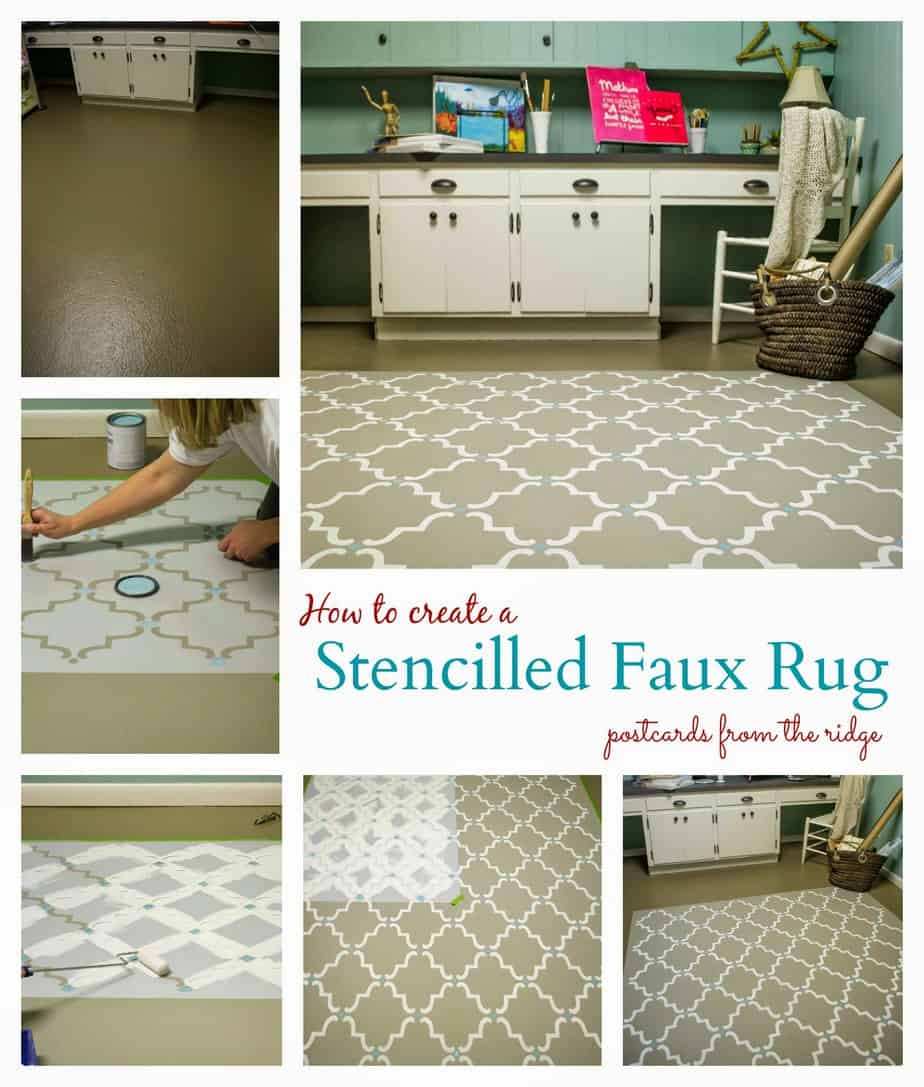
Make a floor fashion statement with a stencilled faux rug
Are you bored with your floors? I’ve got a solution for you! If you’ve been following me on Instagram, you’ve seen updates on the progress of our craft room. I’ve done LOTS of painting and purging in the room and am almost finished with the complete overhaul of the space. I can’t wait to be done and have a quiet, dedicated space to create in.
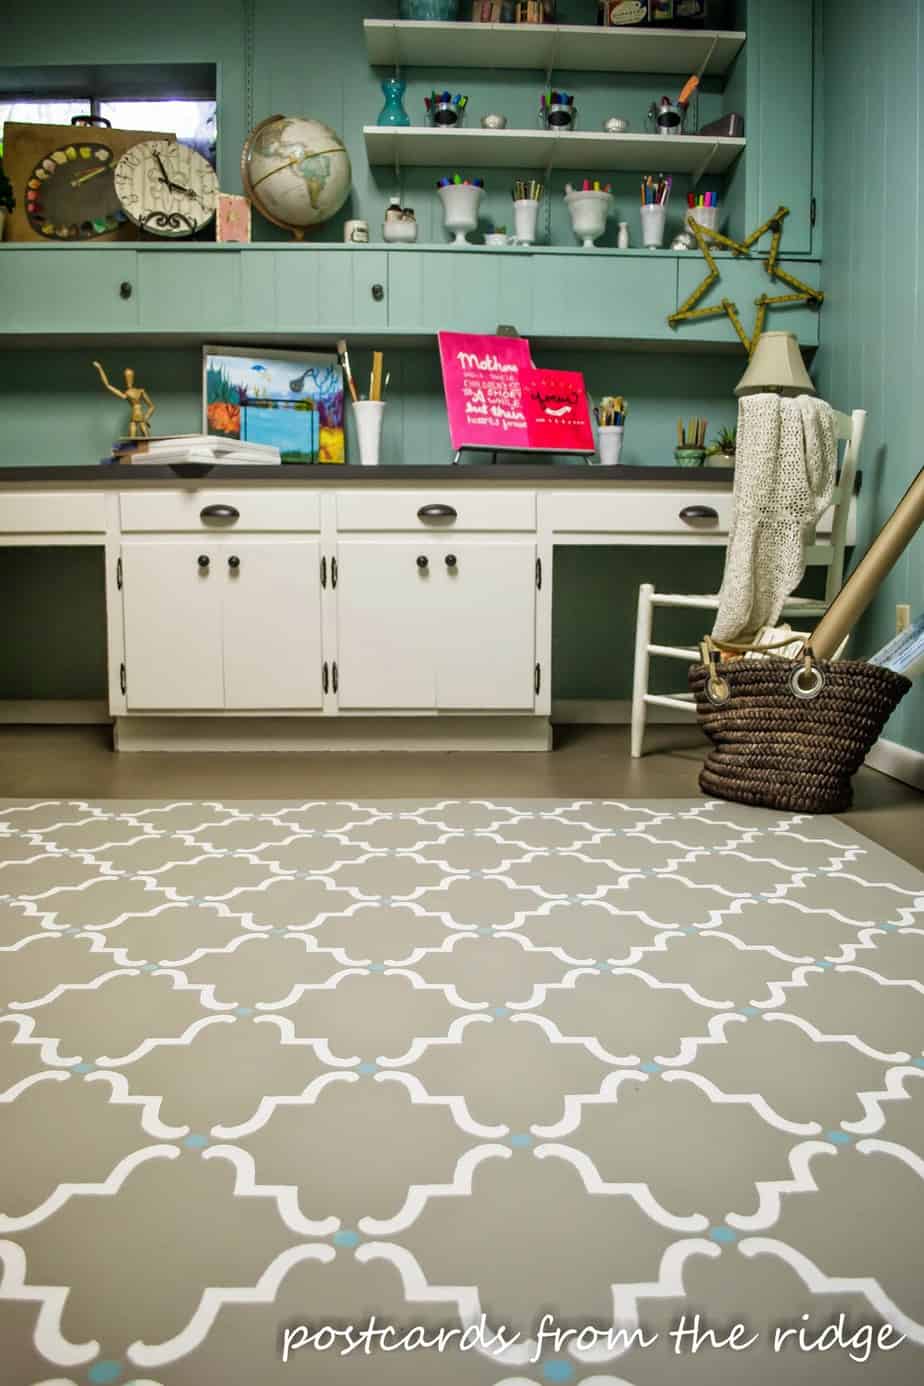
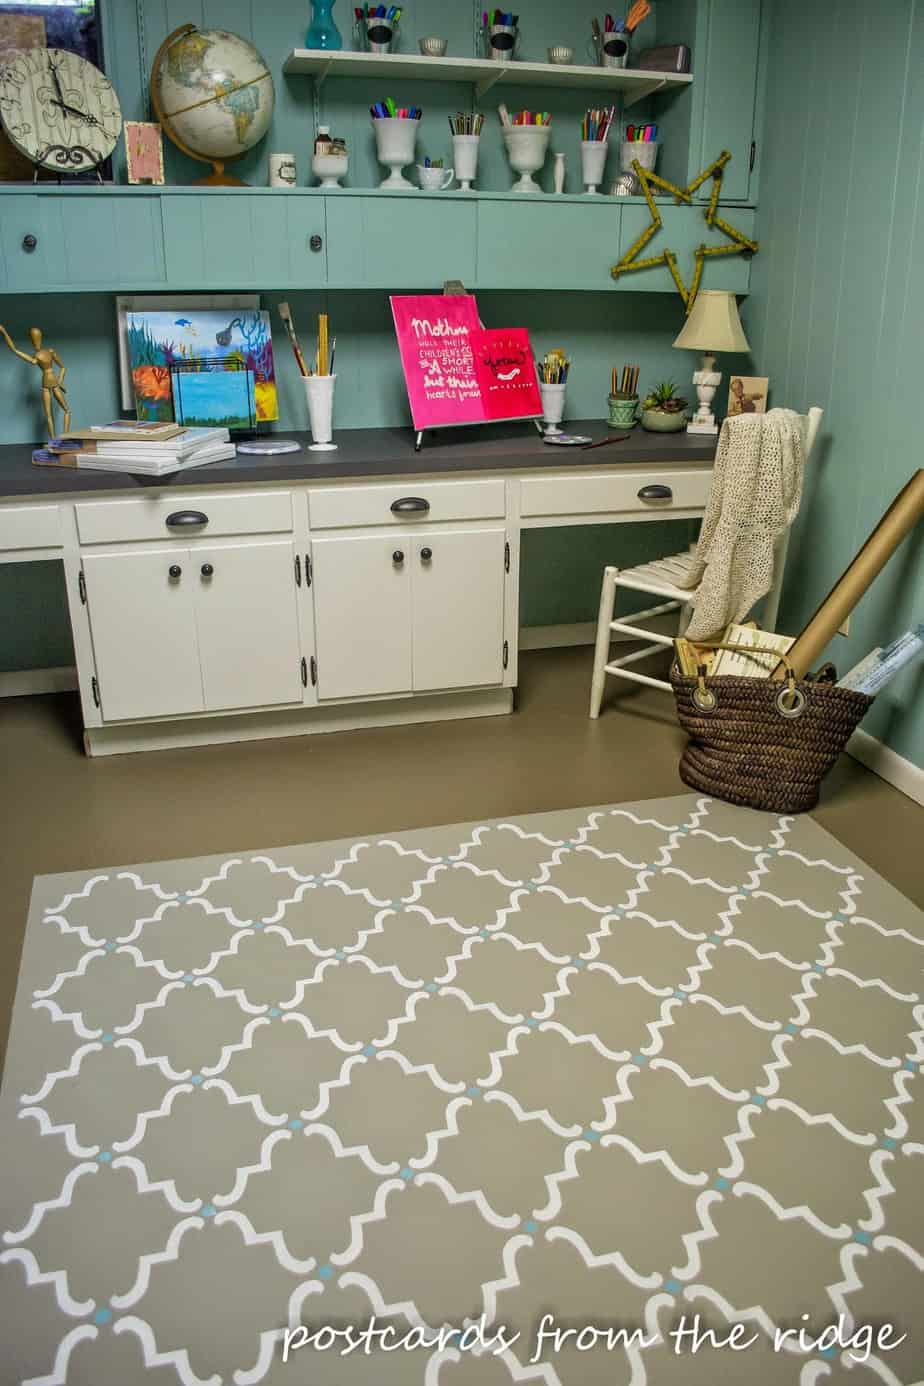
The most recent phase of this project that I completed was the floor. I’m so happy with the way it turned out.
**Disclosure: I was provided with product and/or payment for this project from Royal Design Studio. However, all opinions and experiences are completely my own, and the post is written completely in my own words. This post contains affiliate links. **
I’ve seen stencilled floors before and have always loved the way they looked but didn’t have a good place for one in our home until now. I did actually paint the floor in the other basement bedroom a couple of years ago. It looks like large tiles (below).

Go here to see how I did this project.
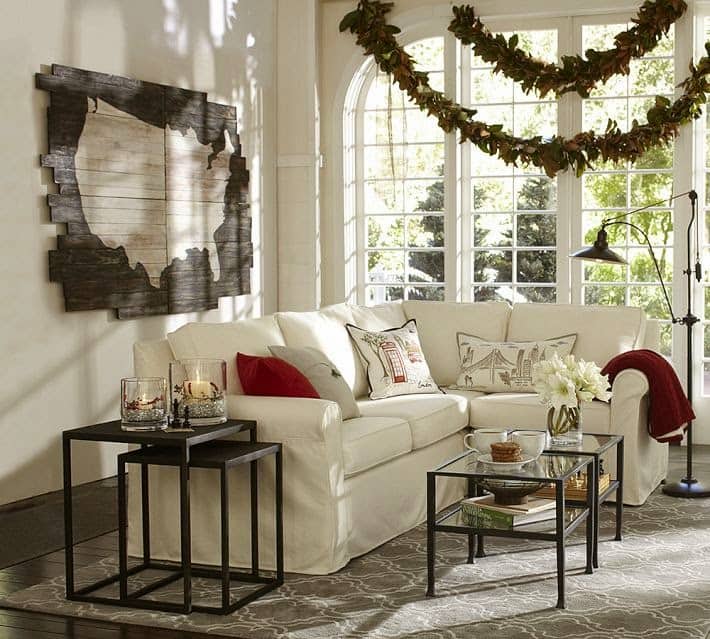
Here’s my inspiration for the rug, from Pottery Barn. I loved the idea of a rug for the craft room but wanted something I could easily wipe clean if needed. And I’ll probably be using a rolling chair in there and want to be able roll around easily.
Now, before you see photos of the transformation, I want to show you what this room looked like in its previous life. Below is the before shot, with various shades of paint that I was considering.
This beast of a room is tucked away in the far corner of our basement and was used for storing things that probably should have been purged a long time ago. I had a vision for this underutilized space. I wanted a dedicated room for me and my daughters to create and to store all of those things needed for our creations!

The gray paneled walls got a fresh coat of paint since this photo, and so did the floor. Go here to find out how I paint paneling. It’s not as difficult as you think and is totally worth the effort.

Here’s how the floor looked after I painted it with one coat of primer and 2 coats of floor paint. So much better already! The cabinets and counter top also got painted. Go here to see how I painted the laminate counter tops. The hardware on the cabinets and drawers got updated as well.
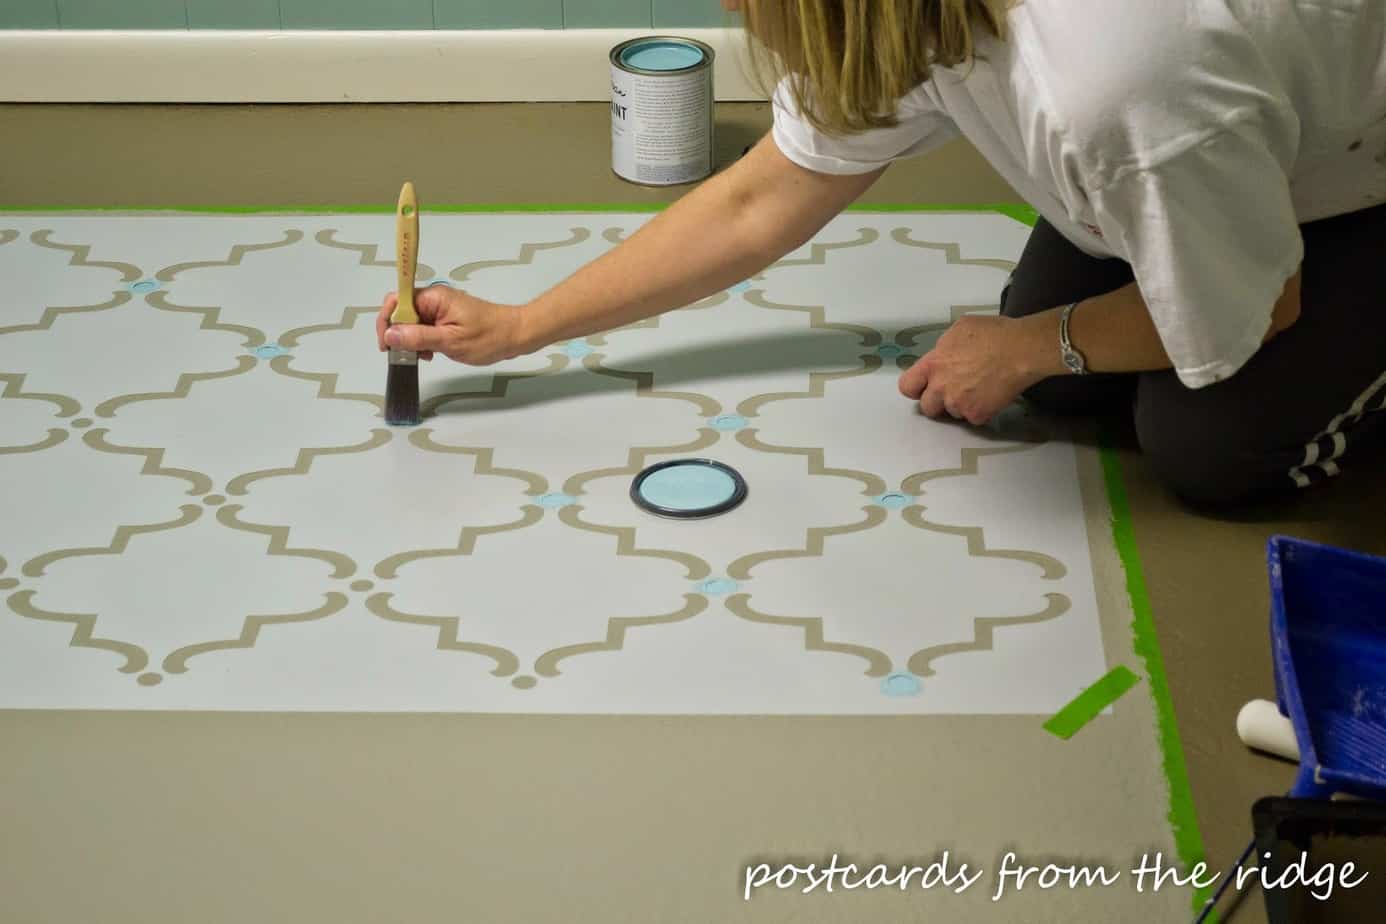
I used a large Moroccan stencil and two colors of Annie Sloan Chalk Paint for the rug, Provence and Old White.
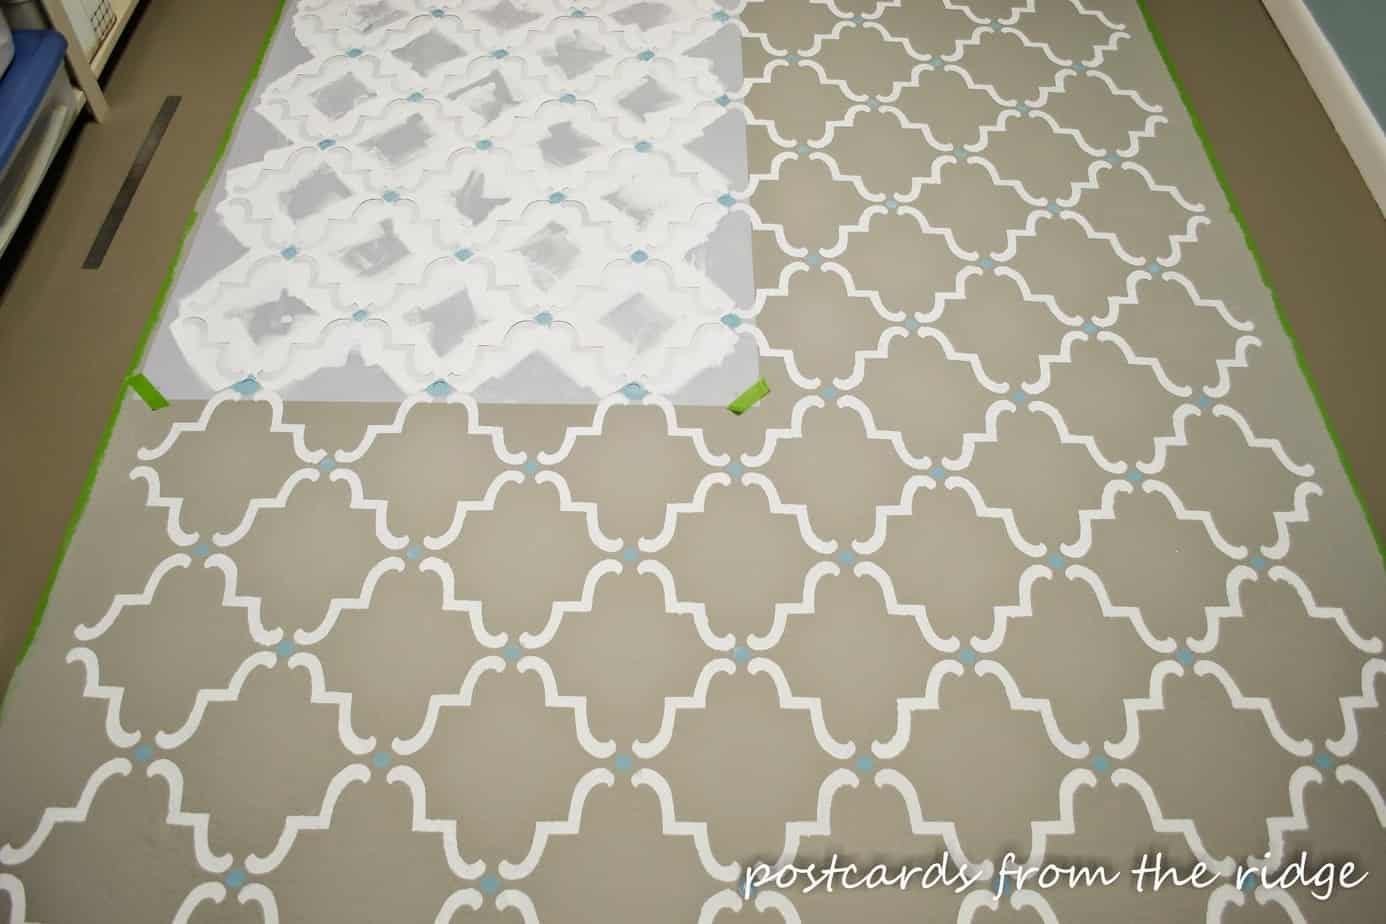
It love the way the colors and design turned out. For the complete how-to for stenciling your floor or any surface, visit my instructional post over at Paint + Pattern, the design blog of Royal Design Studio.
This project took me several days to finish since there were multiple layers. It’s not difficult, but it might make your knees a little sore.
Let me know if you have questions, and if you paint your floor I’d love to hear how it turns out!
Thanks for stopping by, and have a great day!

For more handy tips and tutorials, go here.
Go here to learn about having an online design or color consultation.
To see my painted projects, go here.
And go here for dozens of photos, ideas and favorite paint colors.

If you’re new here, I’d love for you to follow along and see upcoming projects, tips and tutorials, favorite paint colors, and much more. You can follow here:
Email * Facebook * Hometalk * Pinterest * Twitter * Instagram
It turned out awesome Angie! I love the stencil and colors you chose! Great job!
Thanks, Shanna! I love the way it turned out!
What was the floor before? Was it wood subfloor?
I am loving this makeover as I am about to tackle updating my downstairs craft room / office. I need a carpet and have an ugly blue one so this is a perfect solution. Thank you