
Easy DIY Pom pom Garland
Easy DIY tutorial for a pom pom garland
This post contains affiliate links for your convenience. If a purchase is
made after clicking one of the links I might make a small commission. Your
price does not change. For full disclosure, go here.
DIY Pom pom garland
Have you ever had something that you really didn’t pay much attention to the
first time you saw it, but then it kinda grew on you? That’s what happened
to me and those cute pompom or snowball garlands that are all over the
place.

The first time I noticed them was a year or so ago and they didn’t exactly
move mountains for me. But then I kept seeing them in different spaces and
grew to love them.
Today I’m sharing a tutorial for this pompom garland as part of an “Inspired
by Pinterest” tour I’m participating in that includes some of my very
talented blog friends and their pinterest-inspired projects.
Since I’m not the world’s craftiest chic,
I keep my craft projects really simple.
As in, you probably made these or something similar in Girl Scouts or VBS when
you were a kid. It’s that easy.
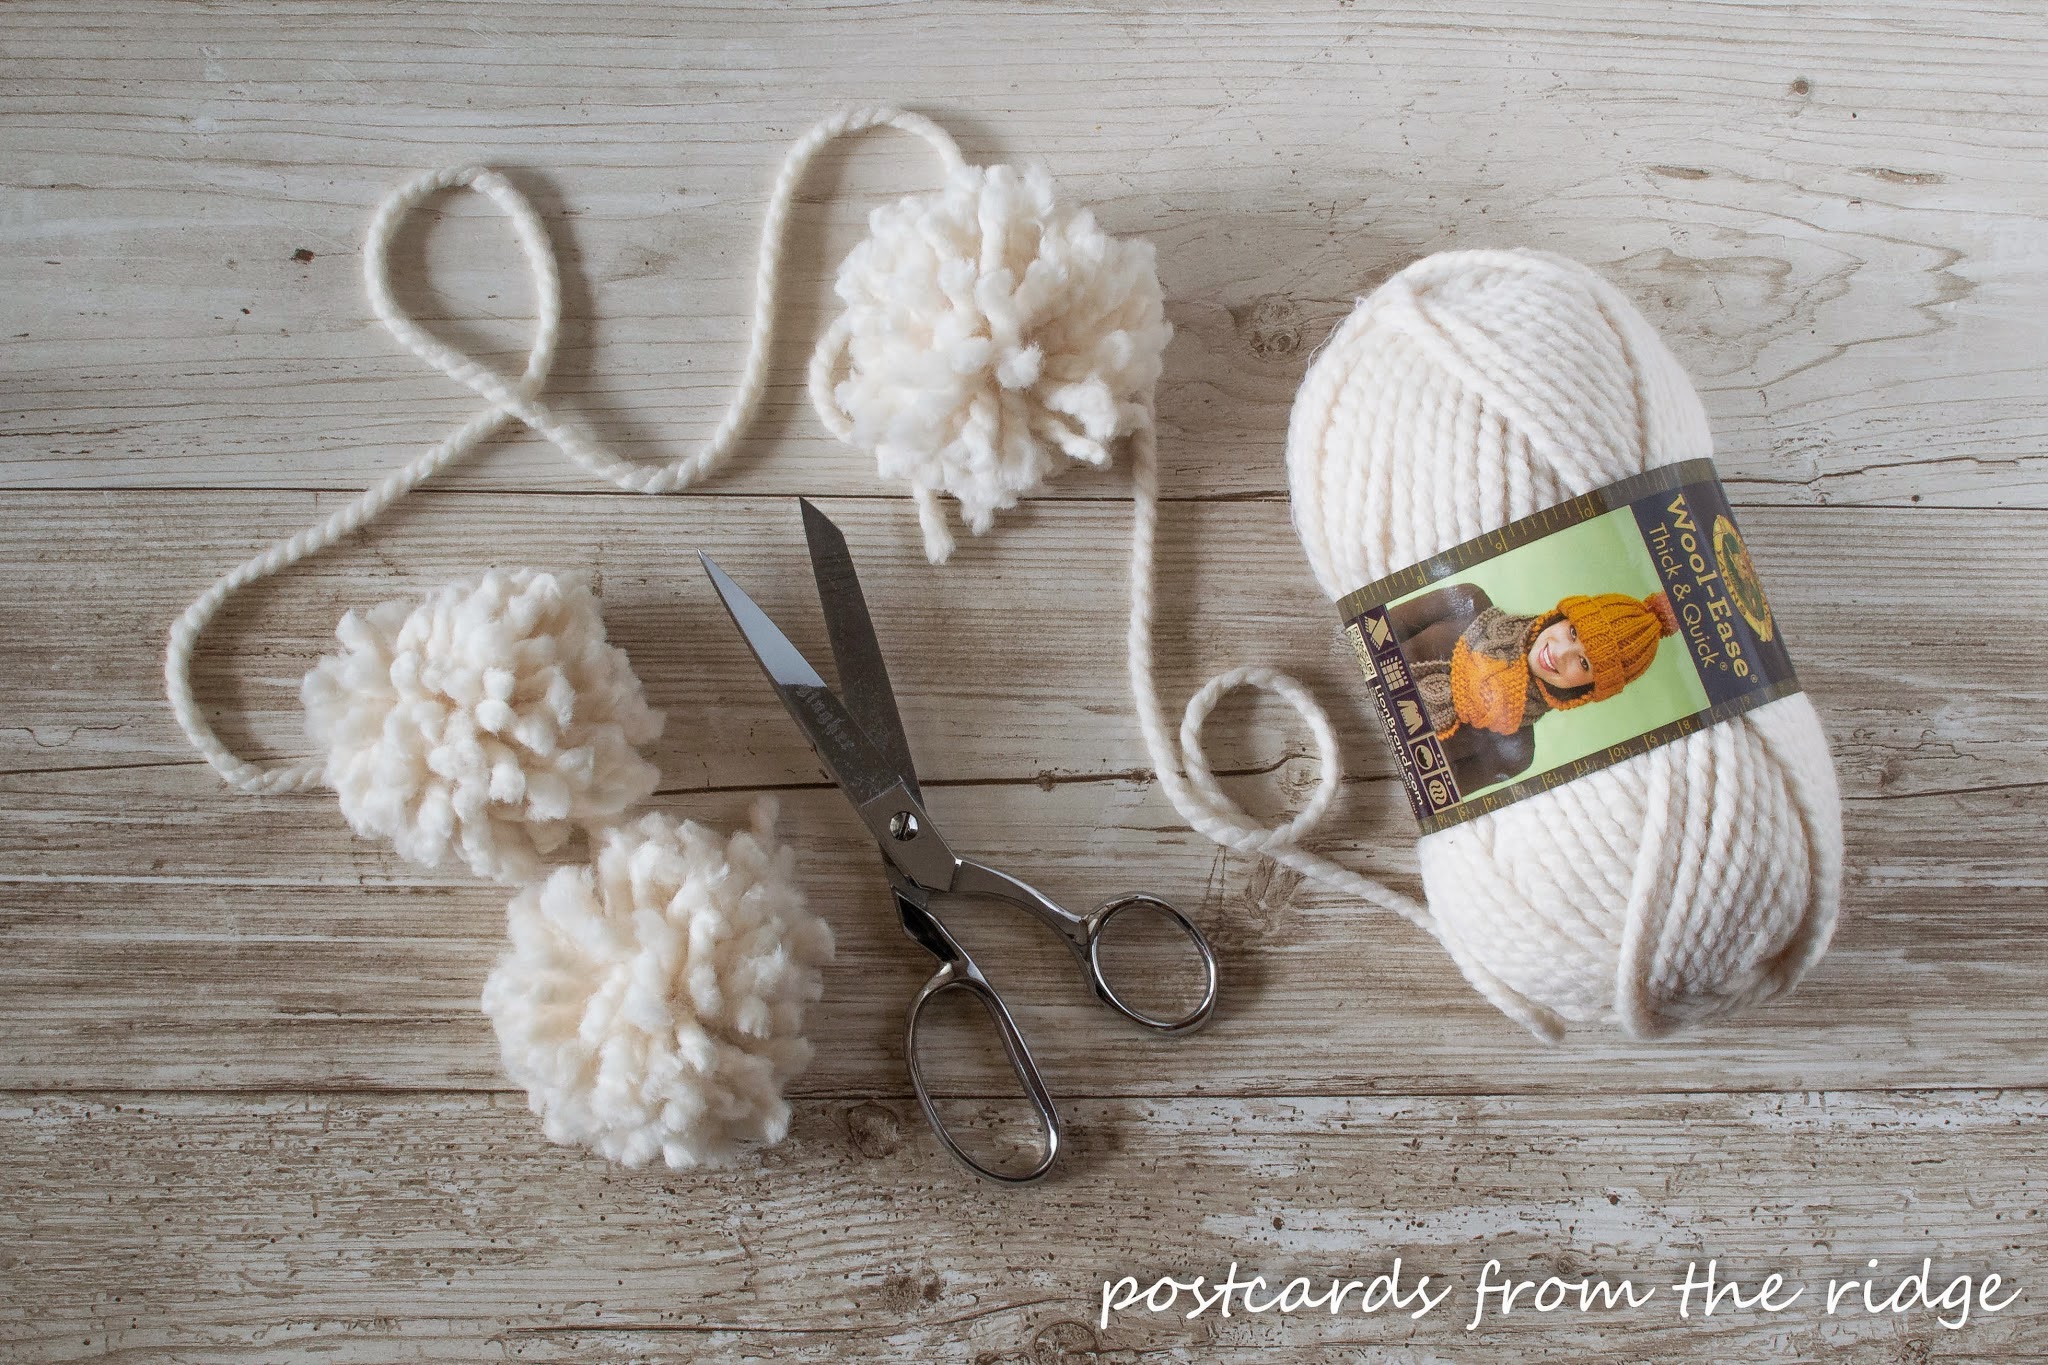
Supplies Needed:
- 2 skeins of thick yarn – here’s the one I used ==> chunky yarn. (affiliate link) I got 8 pompoms from one skein.
-
Sharp fabric-cutting scissors. I used these (affiliate link) that I purchased when I took a
drapery making class 12 years ago. (Not that I make draperies
very often, but I did learn how to do it from a pro.)
How to Make a Pom Pom Garland
And here’s how to make this simple project.
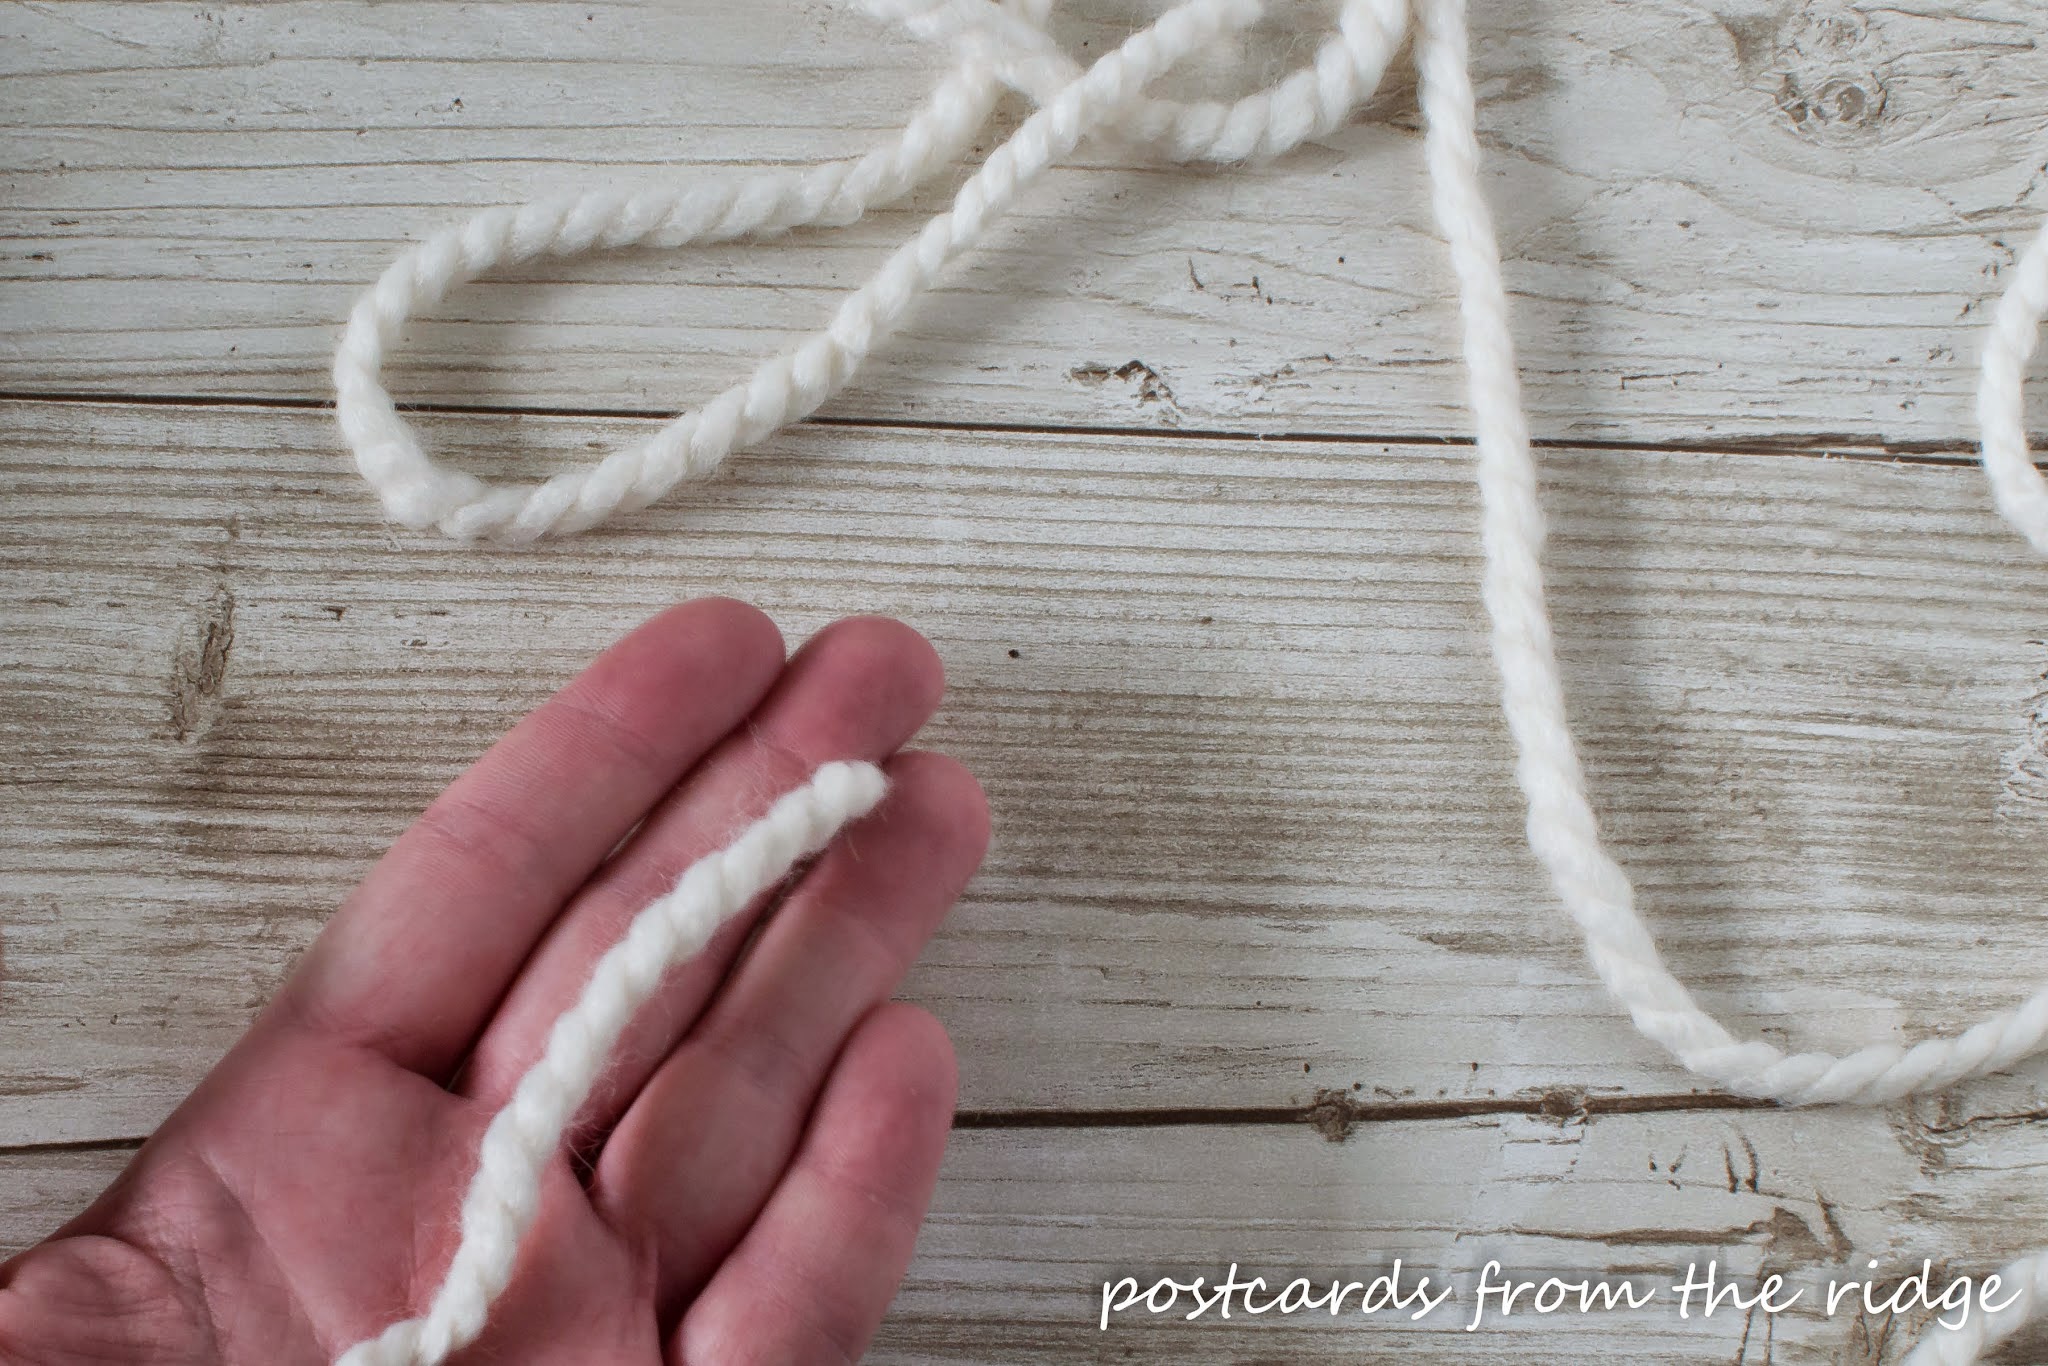
Step 1.
Start by cutting a piece of yarn about 9″ and lay it in your hand. I
secured one end between my fingers so it wouldn’t slip.
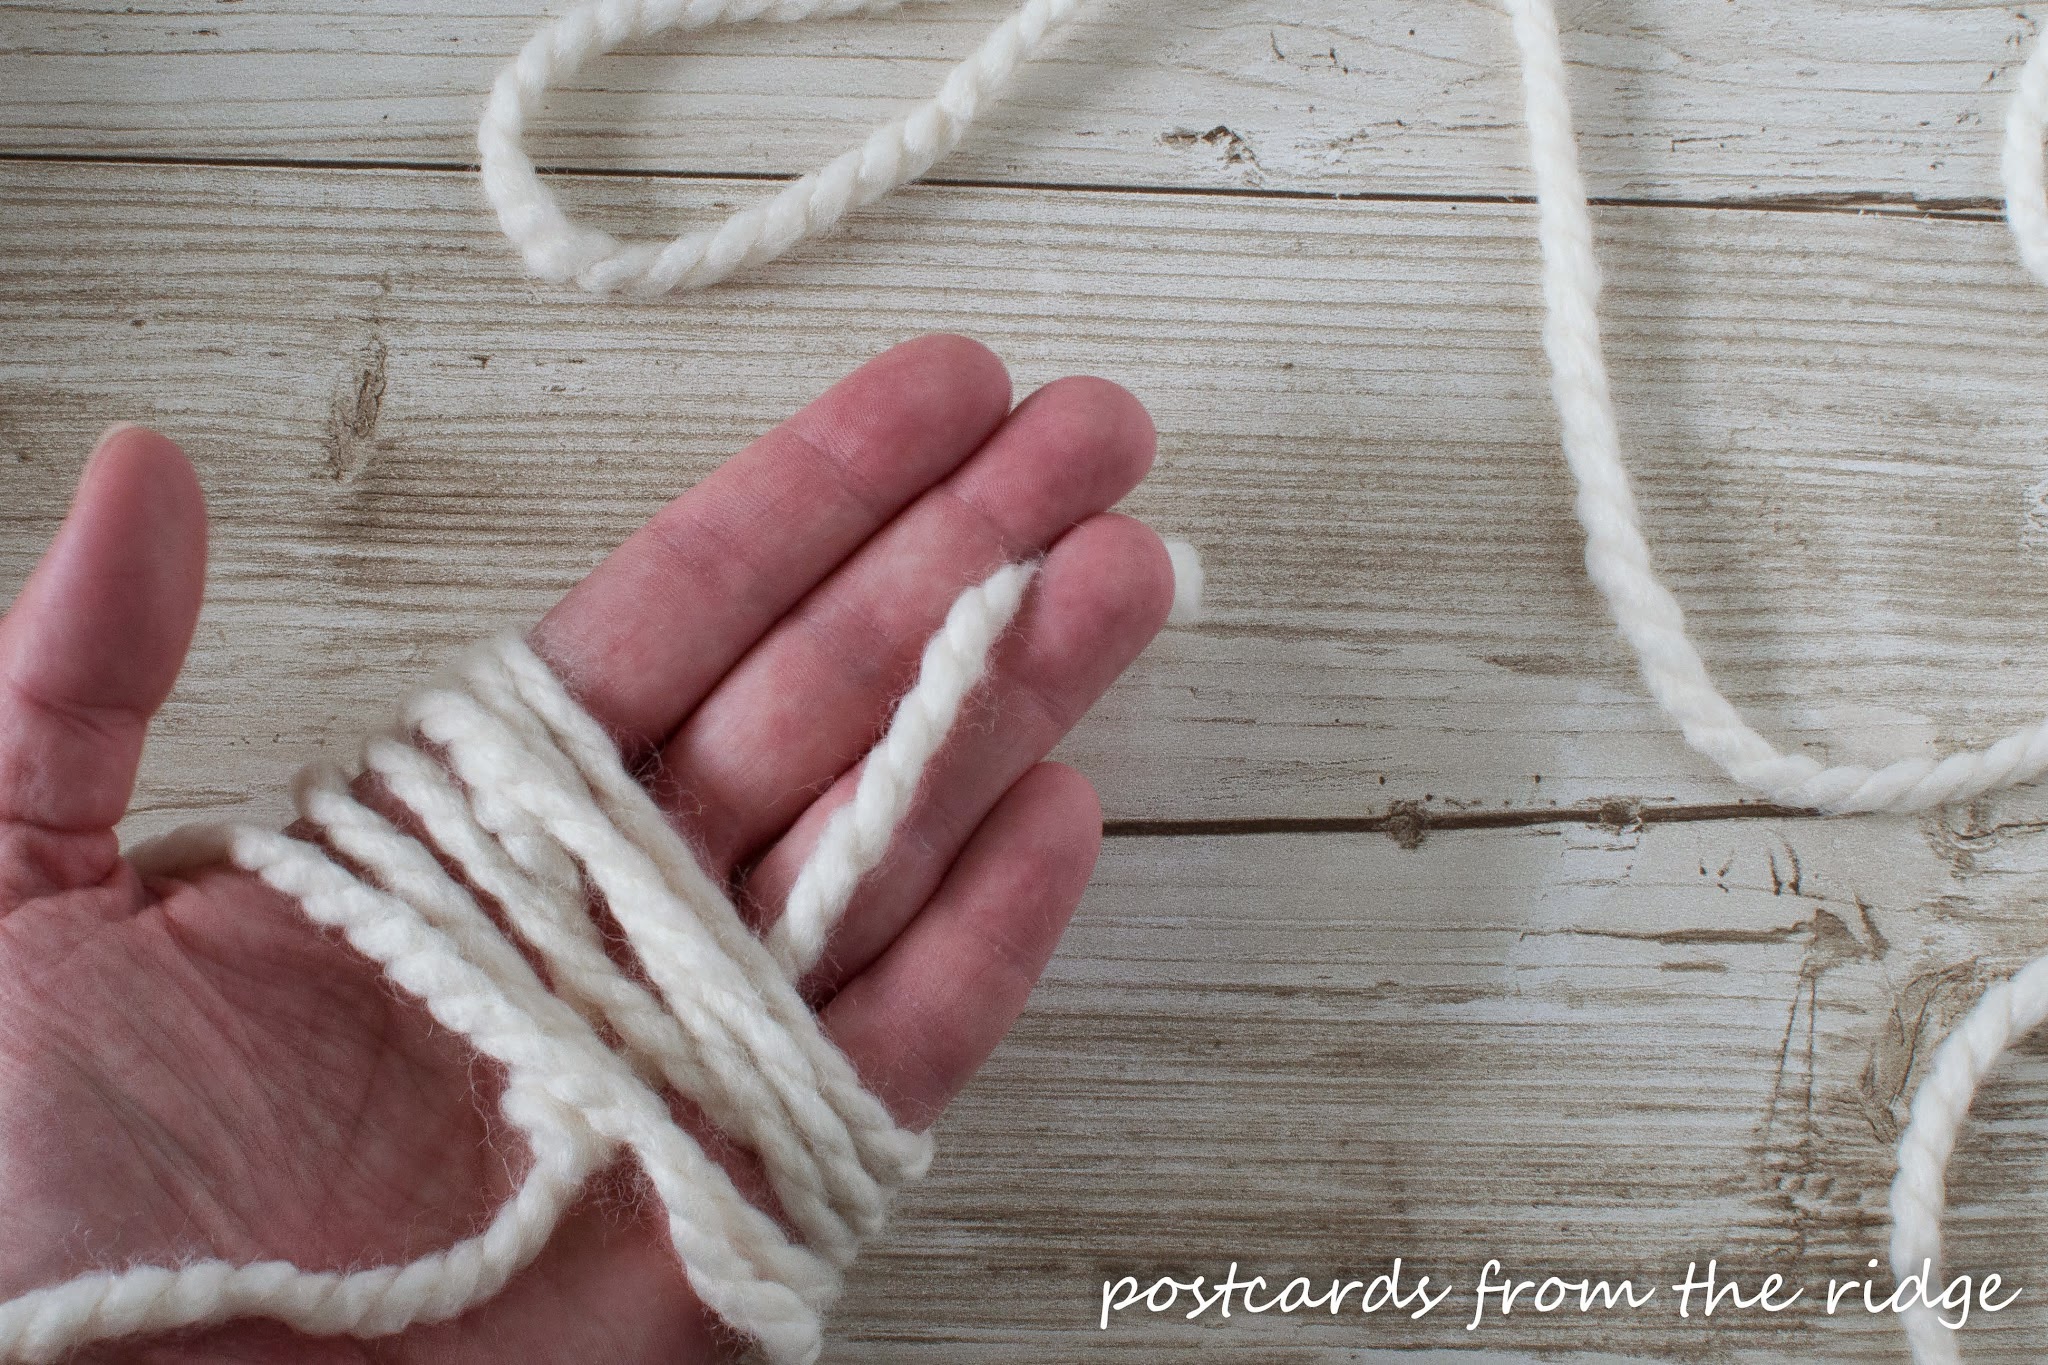
Step 2.
Wrap the yarn around the palm of your hand 50 times. You could do more
for fuller pompoms. Easy so far, right?
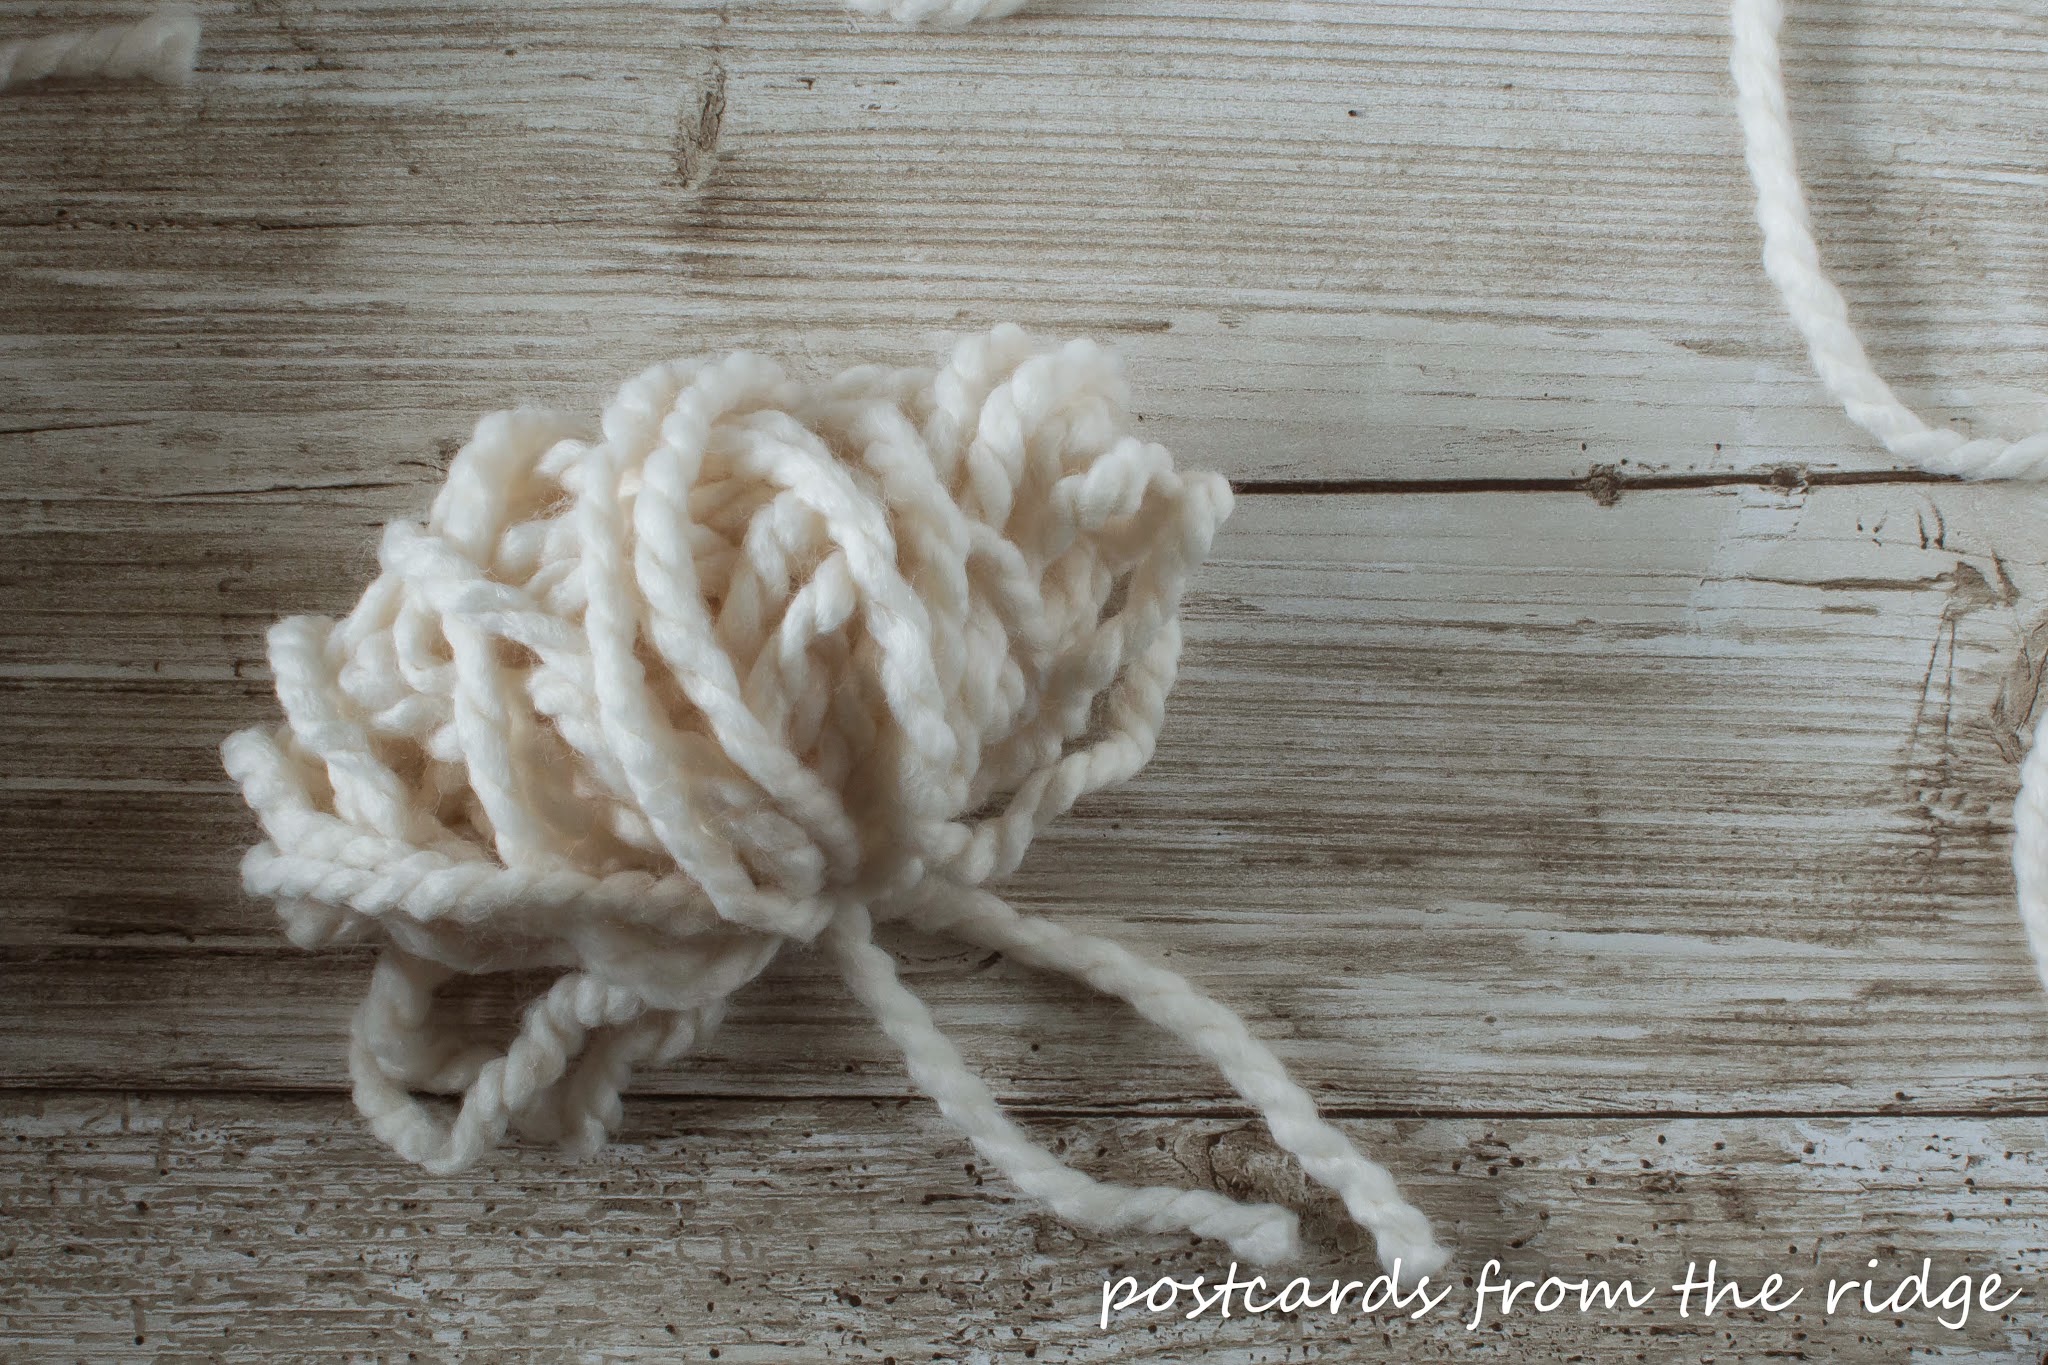
Step 3.
Remember the short piece you laid on your hand? Take the ends of that piece
and tie a knot one one side of the yarn you just wrapped around the palm of
your hand. Keep track of these ends and don’t trim them yet.
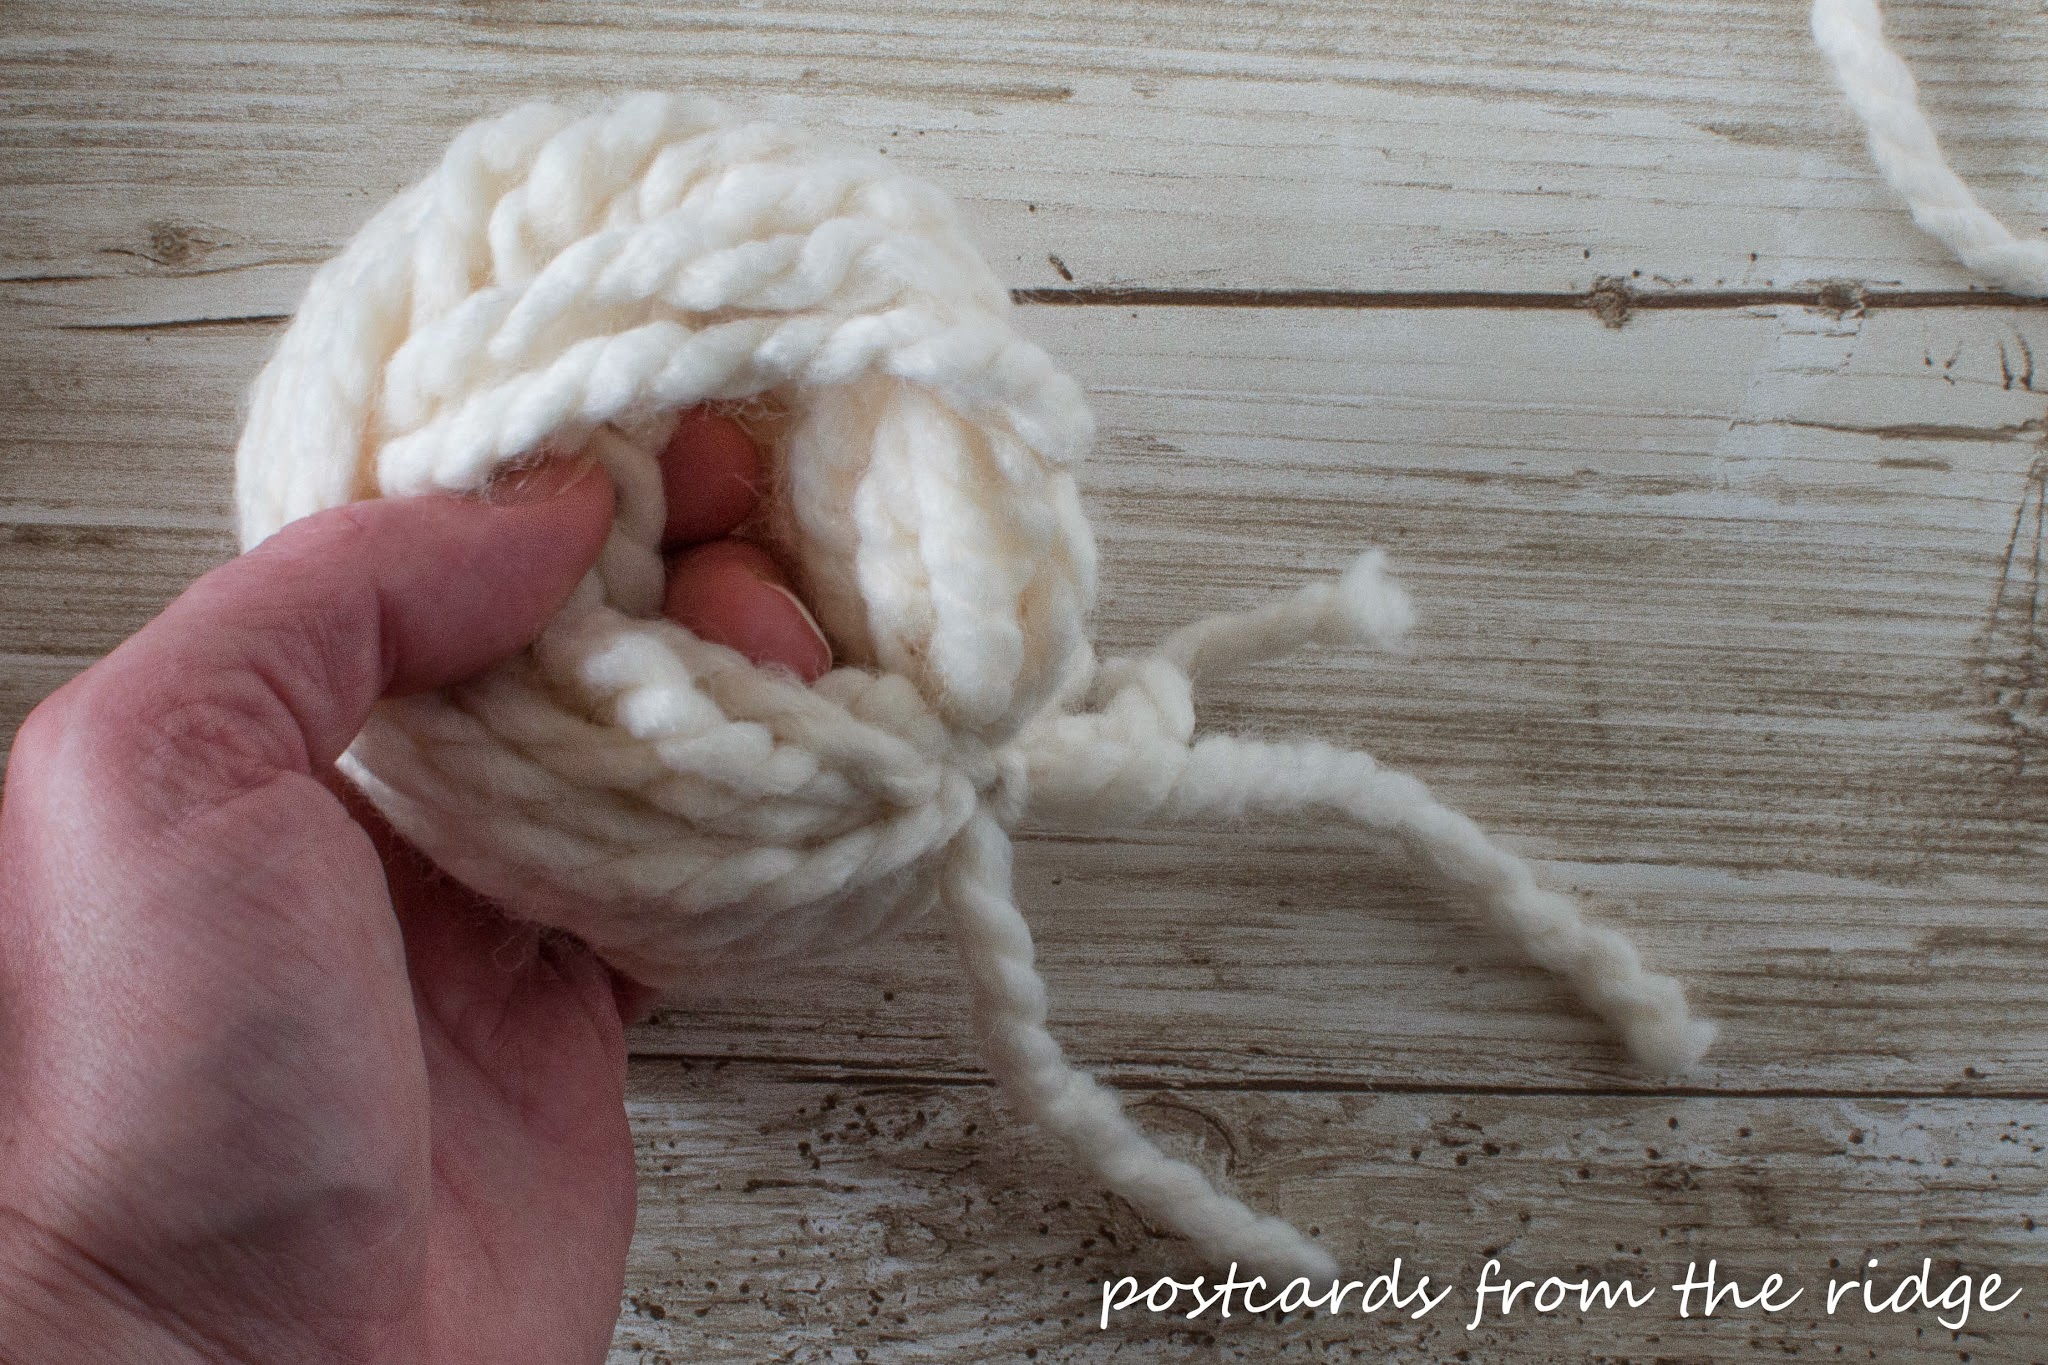
Step 4.
Find the center of the ring of yarn and hold it open slightly.
Step 5.
Using your sharp scissors, cut through the yarn ring on the opposite edge
from the knot you tied with the short piece.
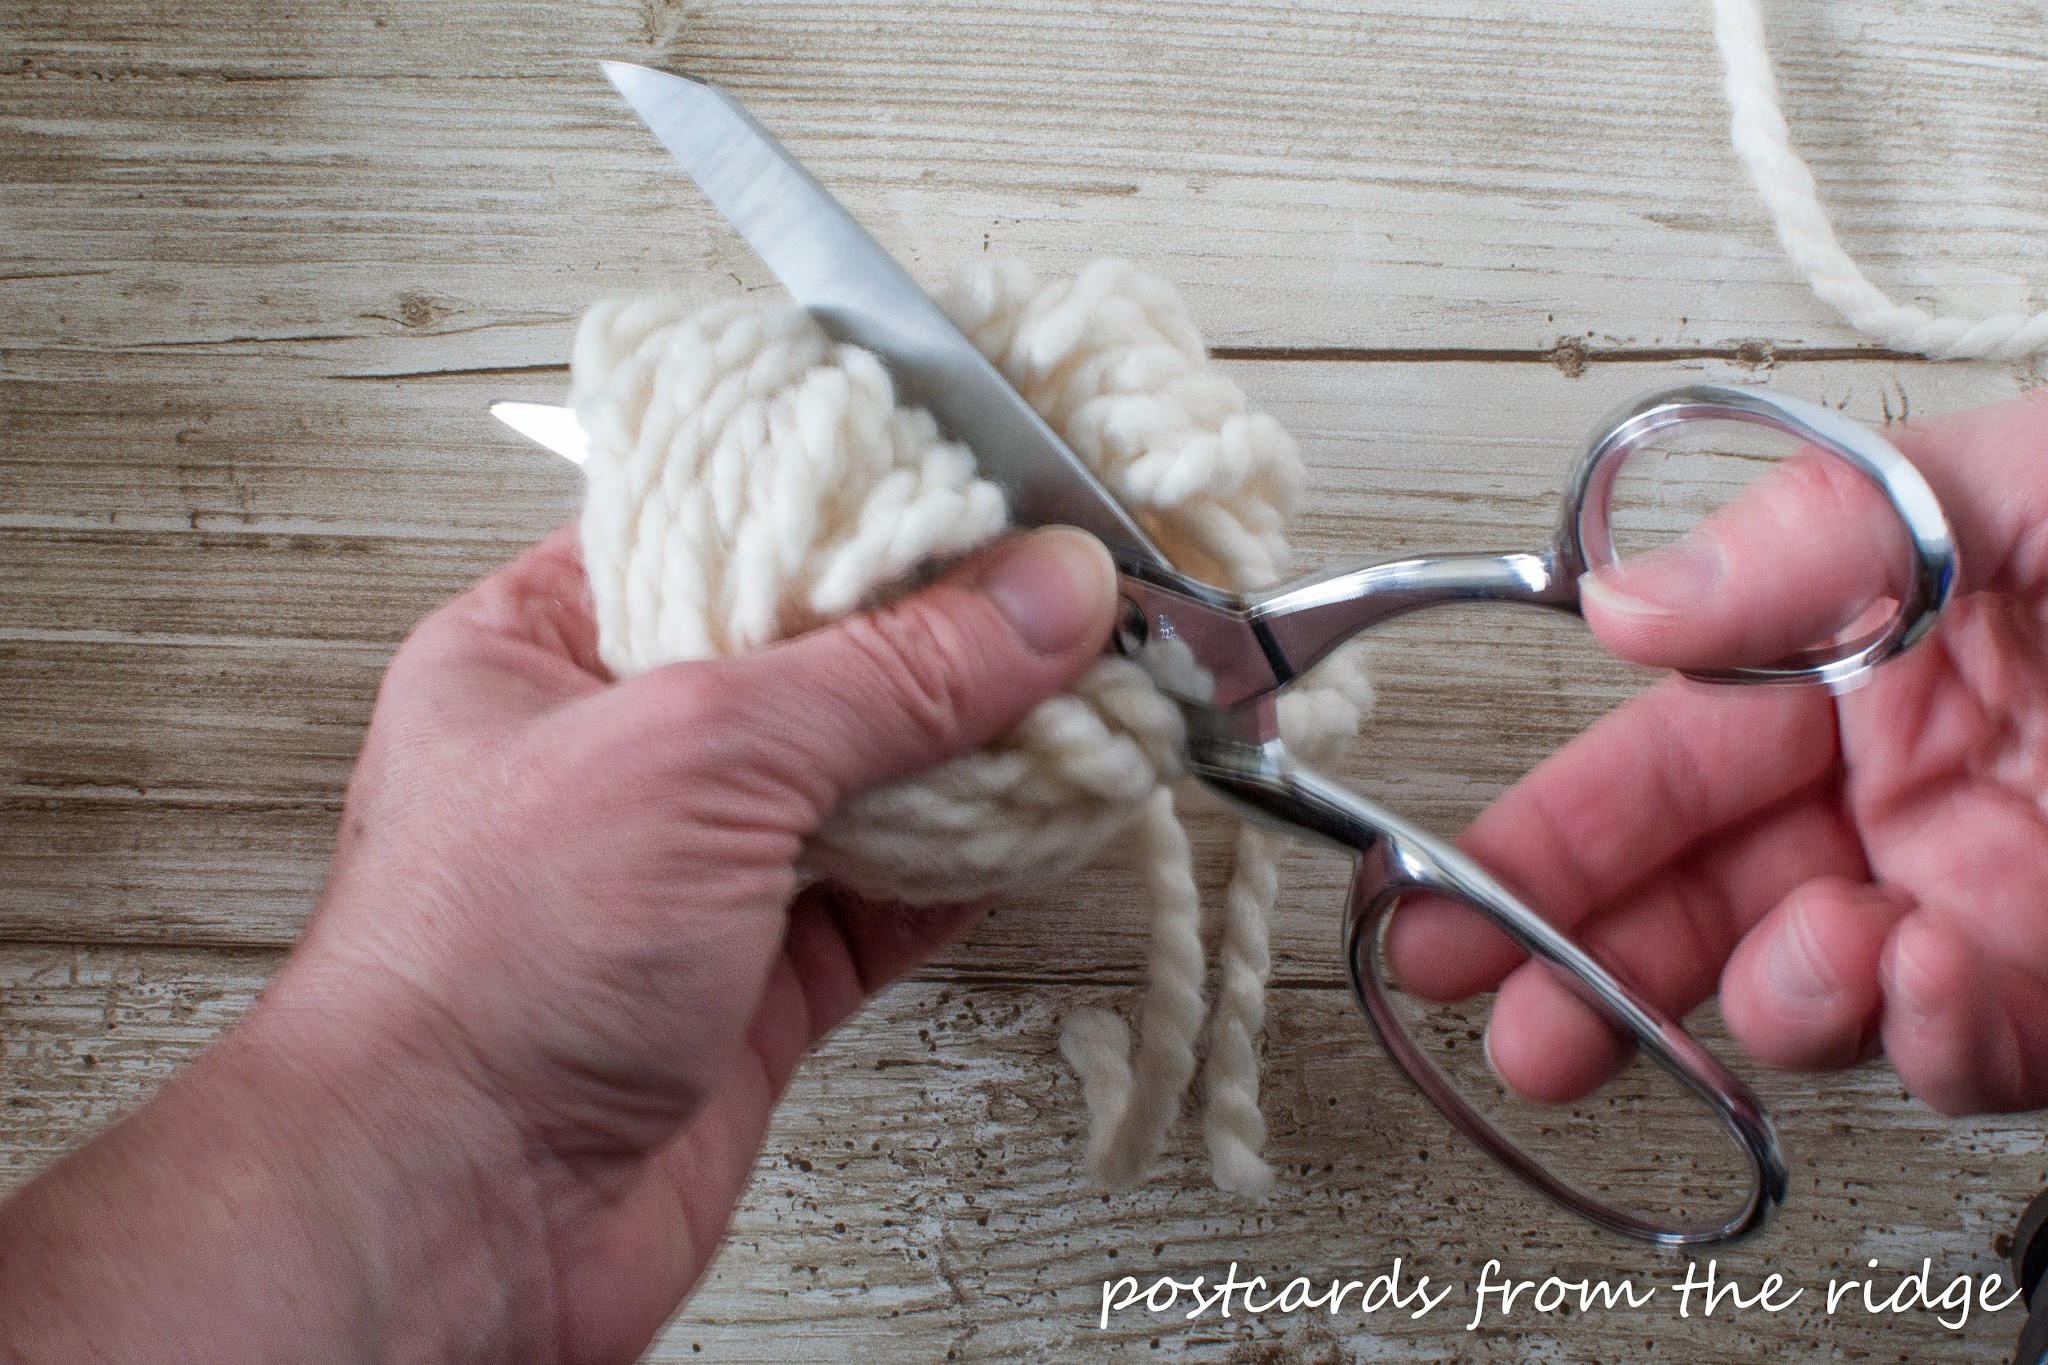
Step 6.
Next, trim the yarn pompoms so they’re all the same length. Don’t trim off the ends from the knotted piece yet.

Repeat until you have the amount of pompoms you want.
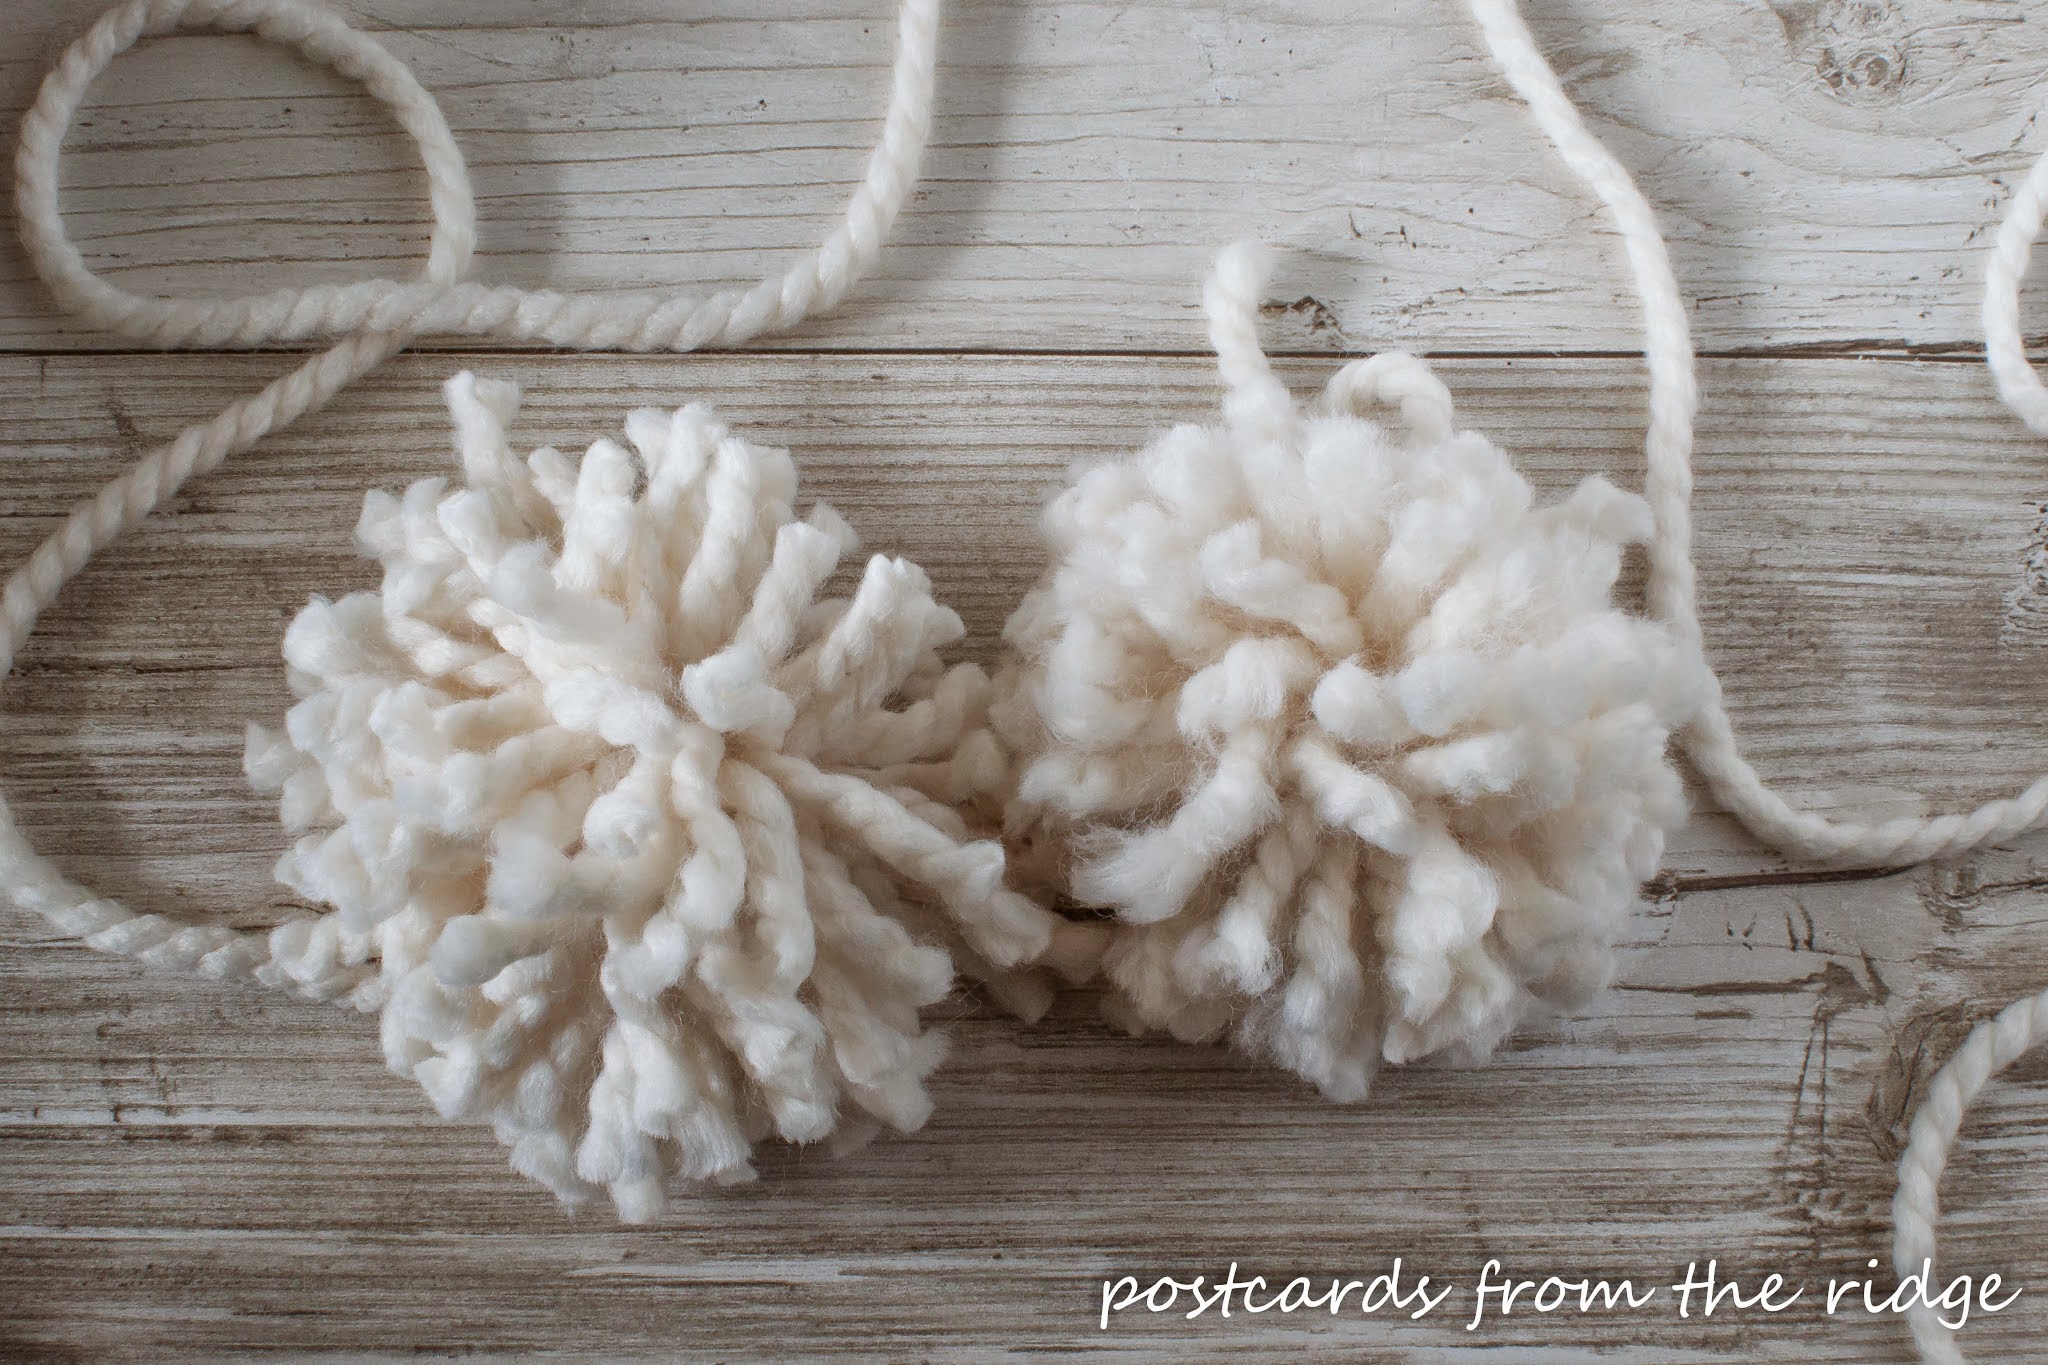
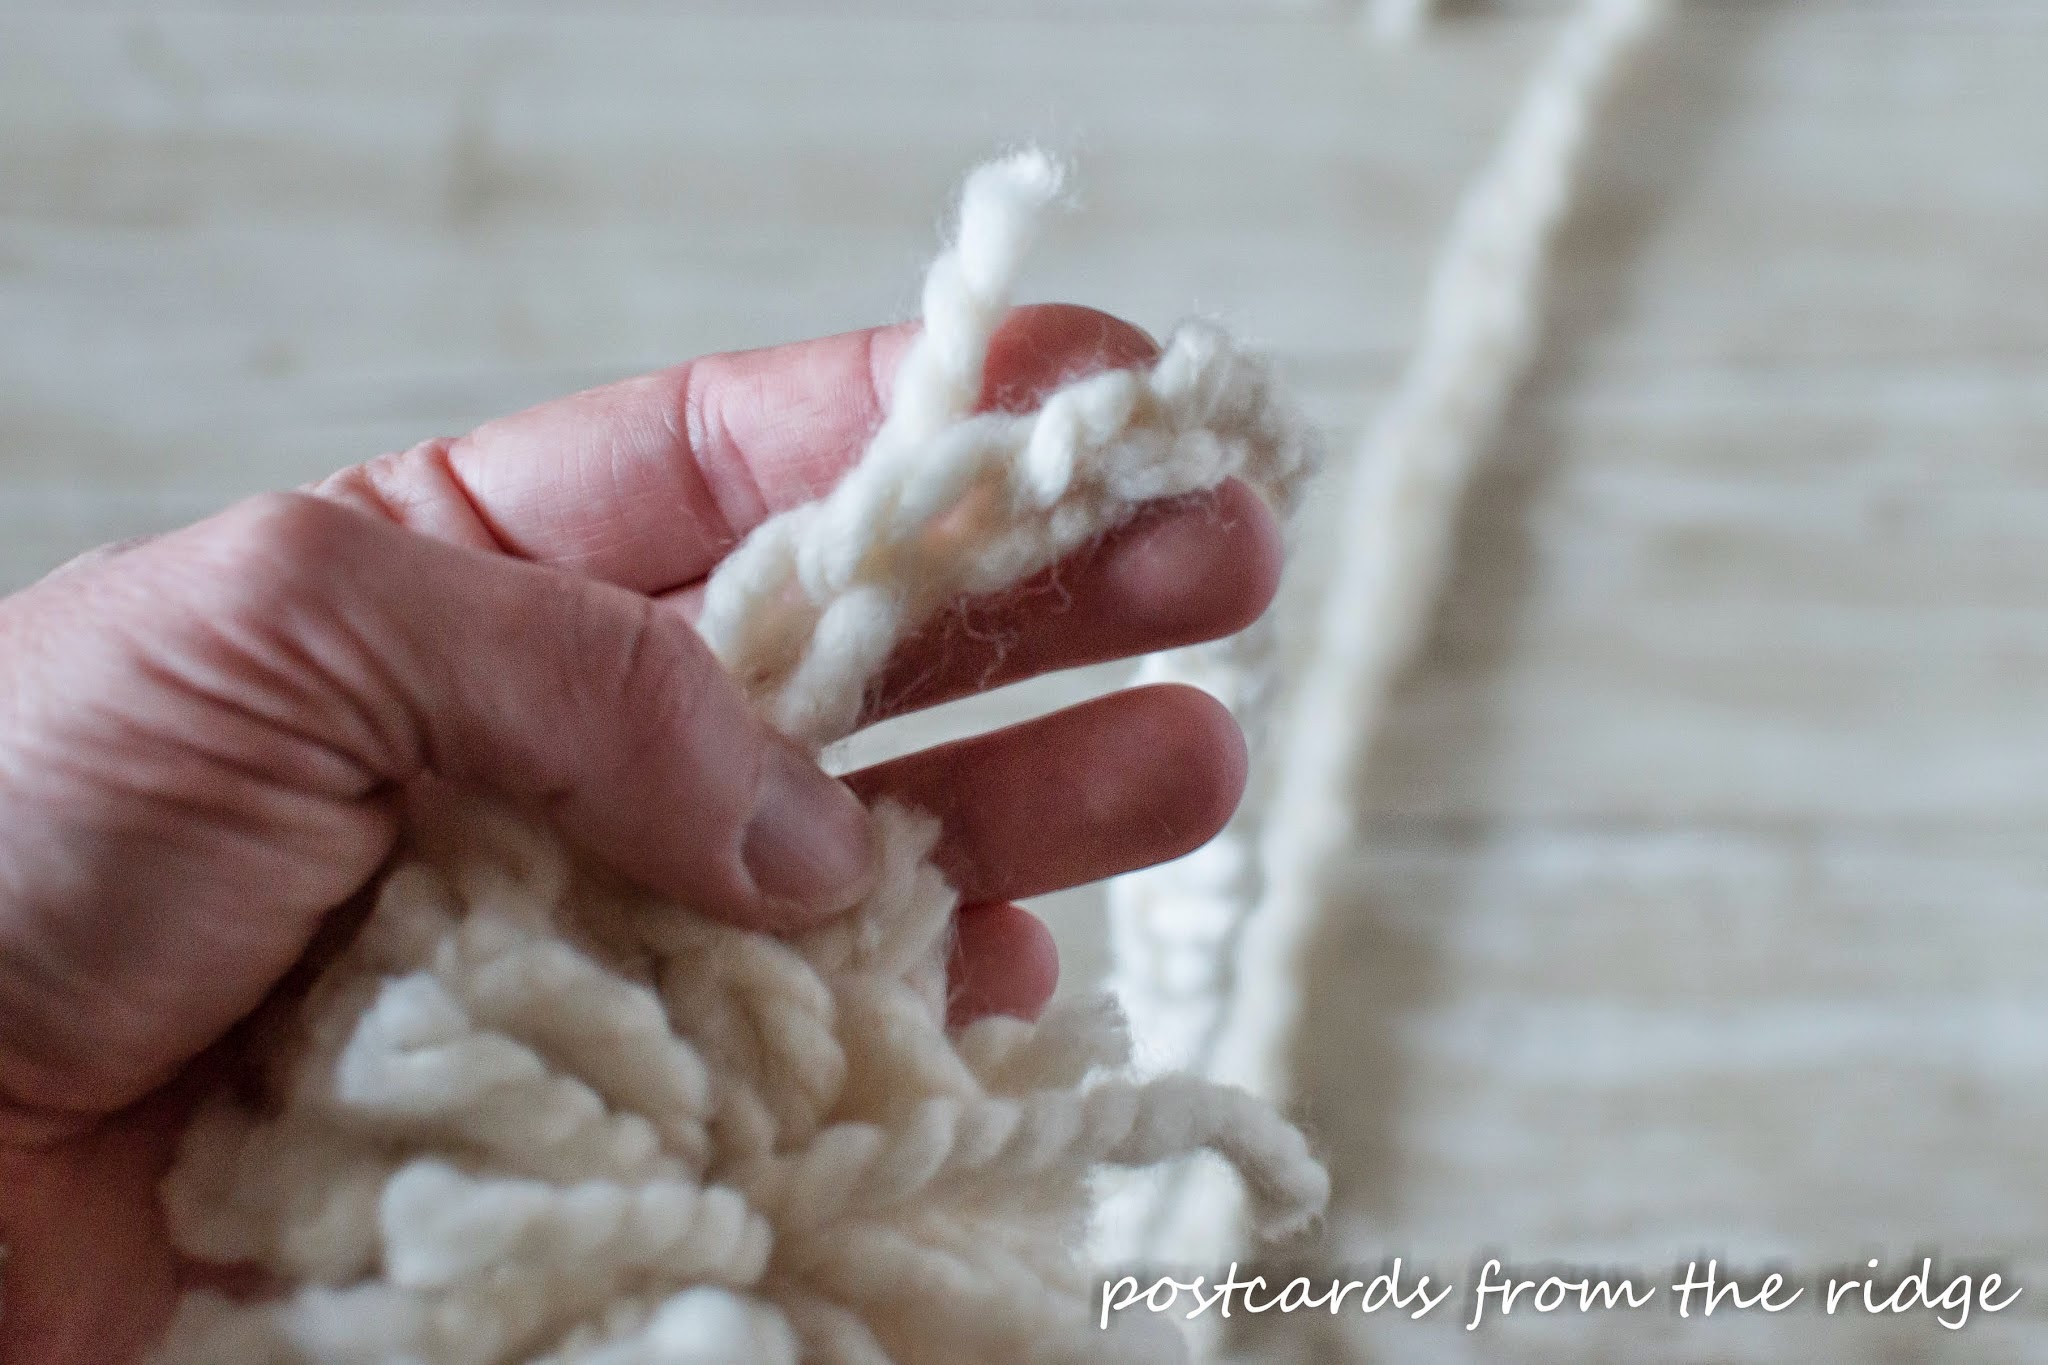
Step 7.
Now you’ll want to fluff the yarn. In the photo above, the right pompom
has been “fluffed” and the left one hasn’t. I like them fluffy.
You can fluff them by simply rubbing the strands of yarn between your
finger tips until they’re the thickness you want. You could also use of
wide tooth comb or a fork, but be careful not to pull out any
strands.
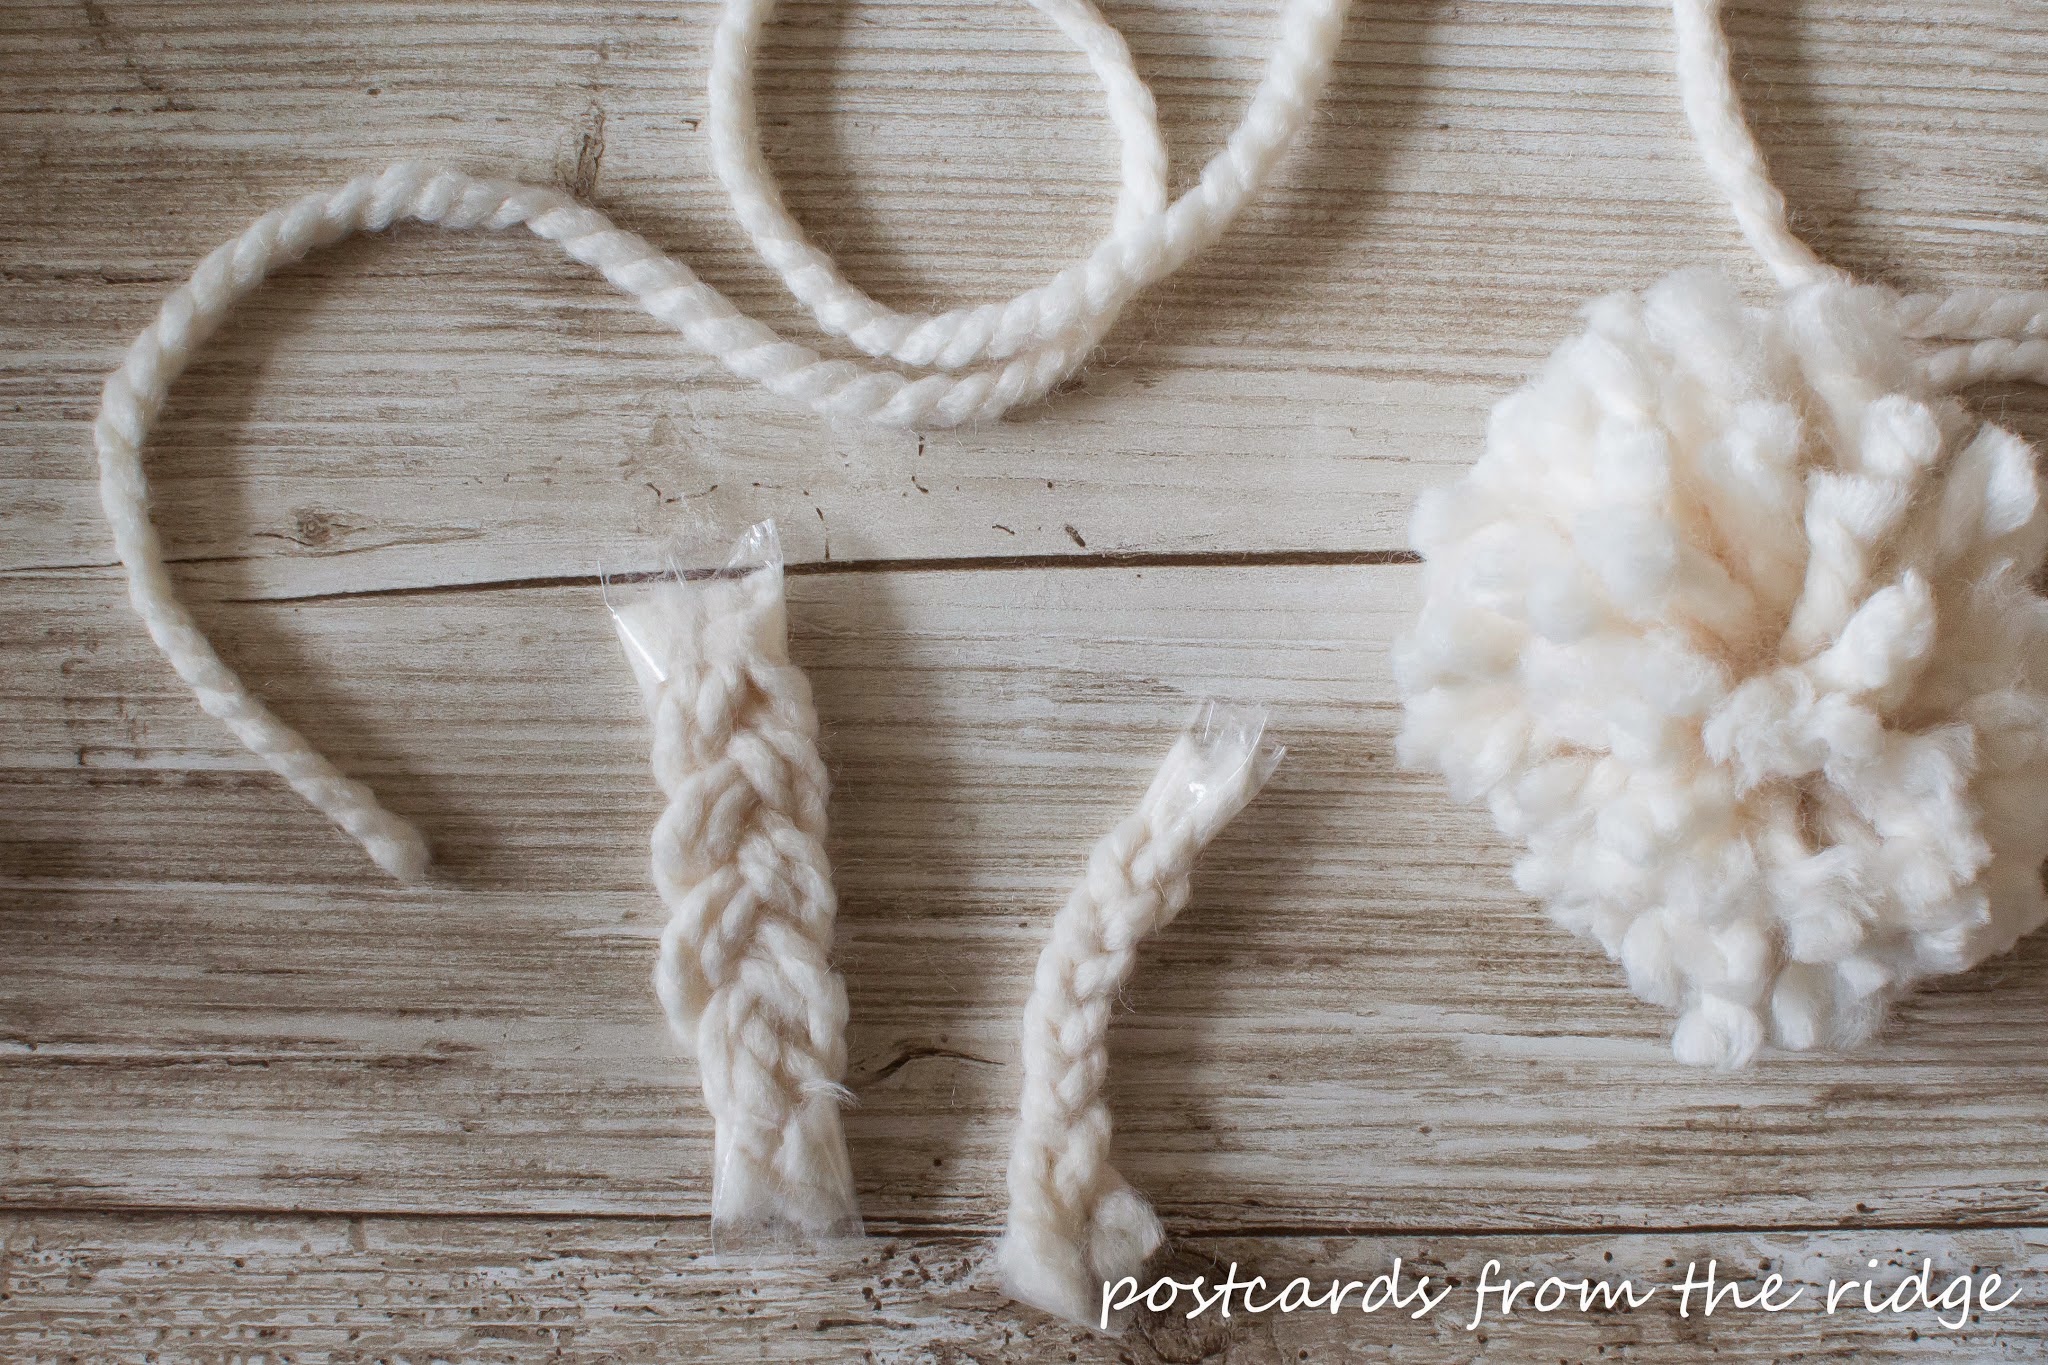
Step 8.
At this point you can be done and tie them to a long single strand of
thread, or you can make a thicker, braided strand to tie them on to. I
wanted something thicker so I experimented a bit.
The braid on the left was made with 6 strands, and the right one was
made with 3 strands. I decided on the one with 3 strands.
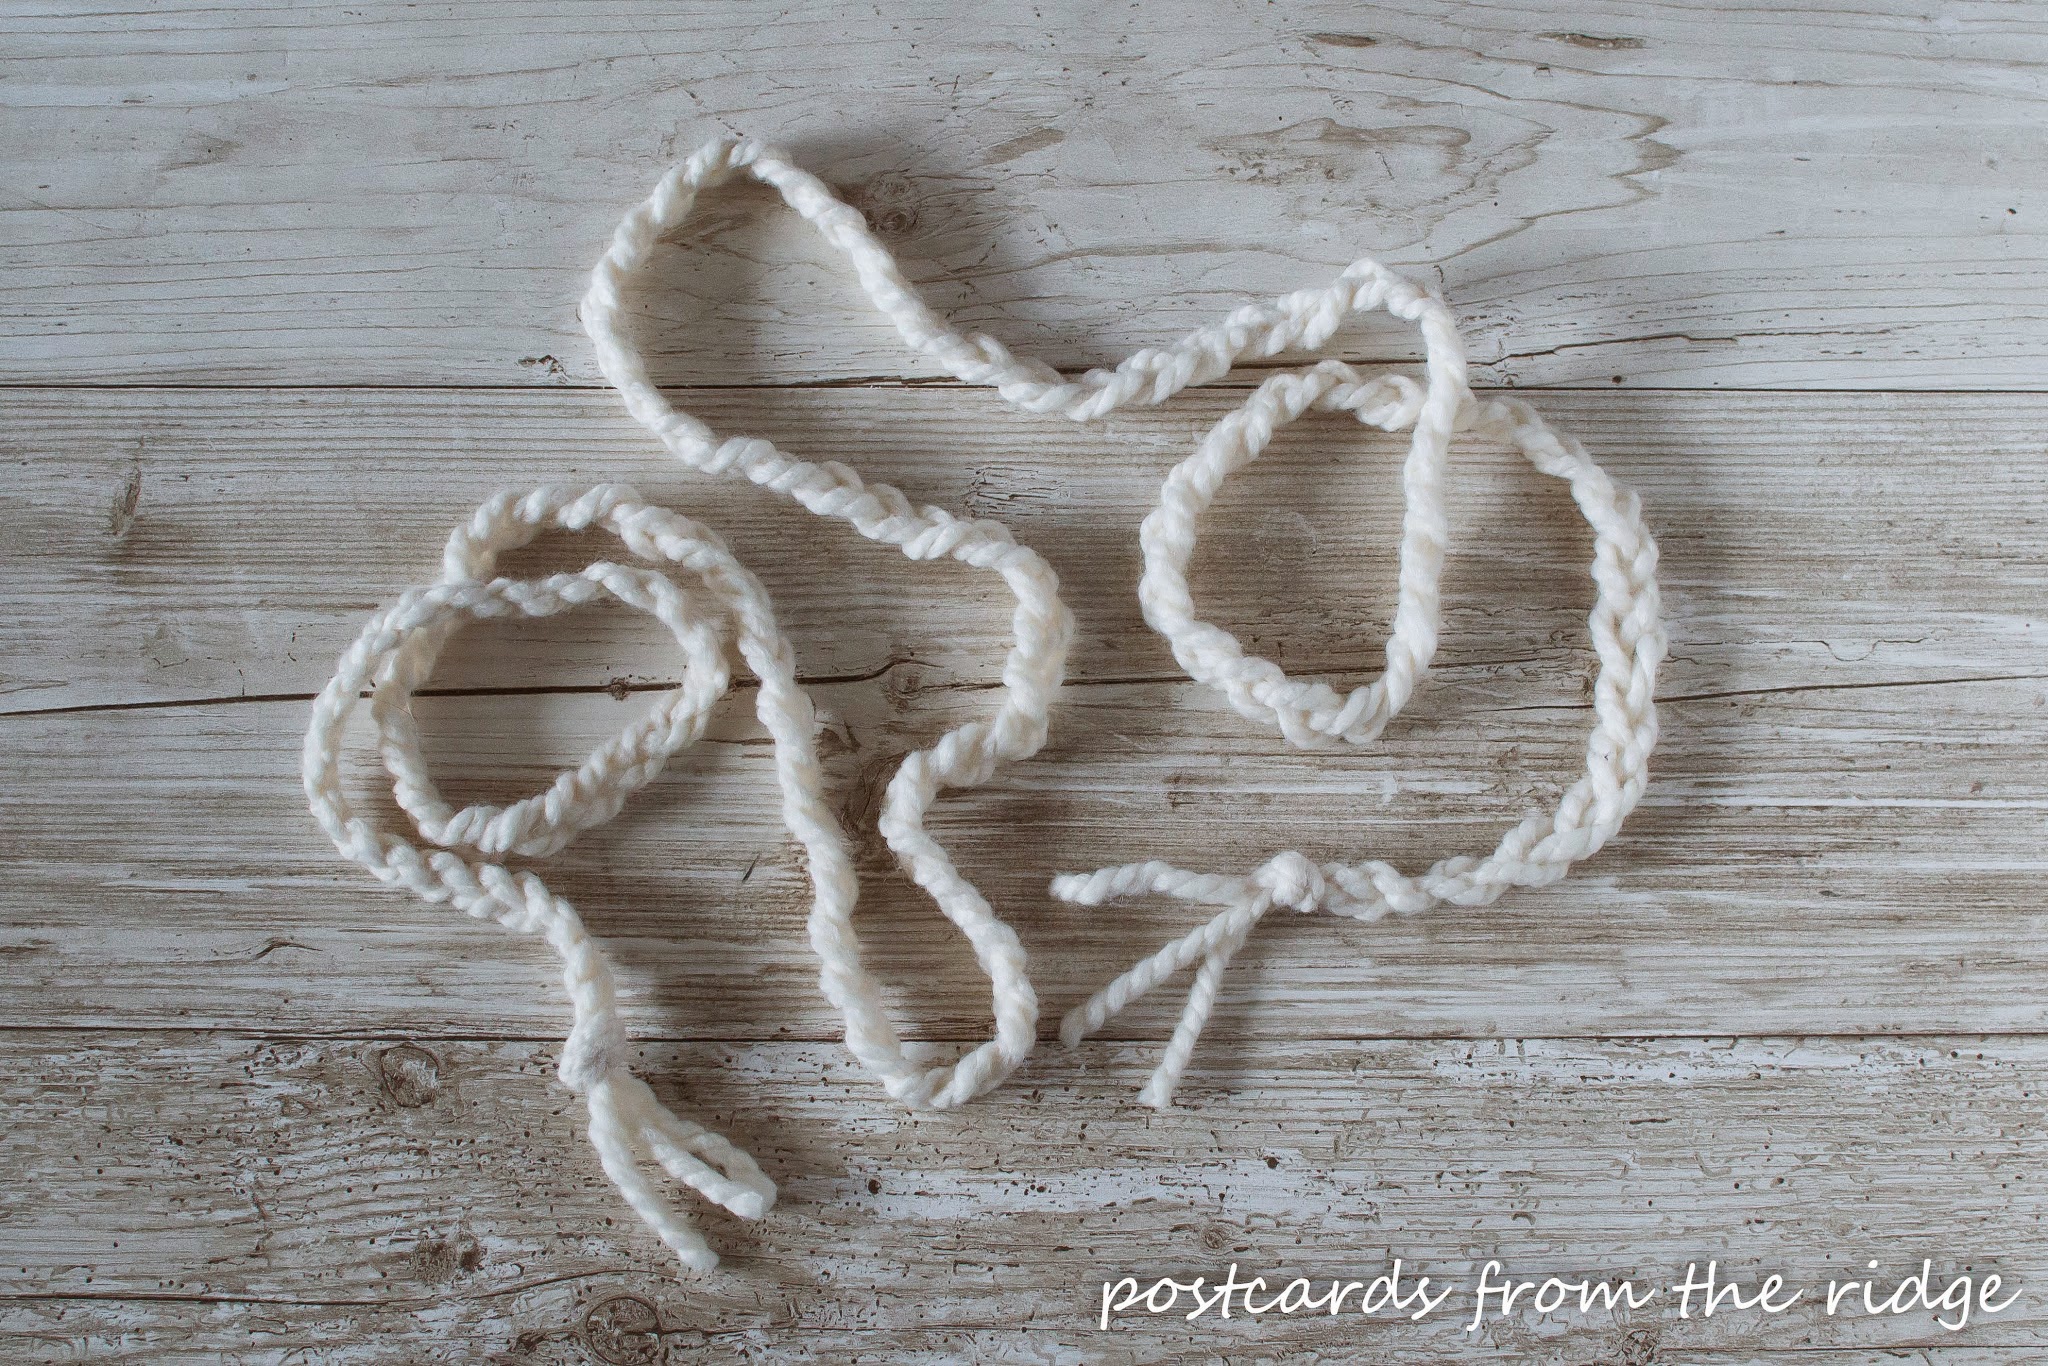
Step 9.
To make the braided strand, cut 3 strands of yarn (or 6 if you
want it extra chunky) to the length you want. I cut mine to 8′. Next, tape
one end to a solid surface and do a simple braid all the way to the end of
the strands. Tie both ends off with a knot and trim the edges.
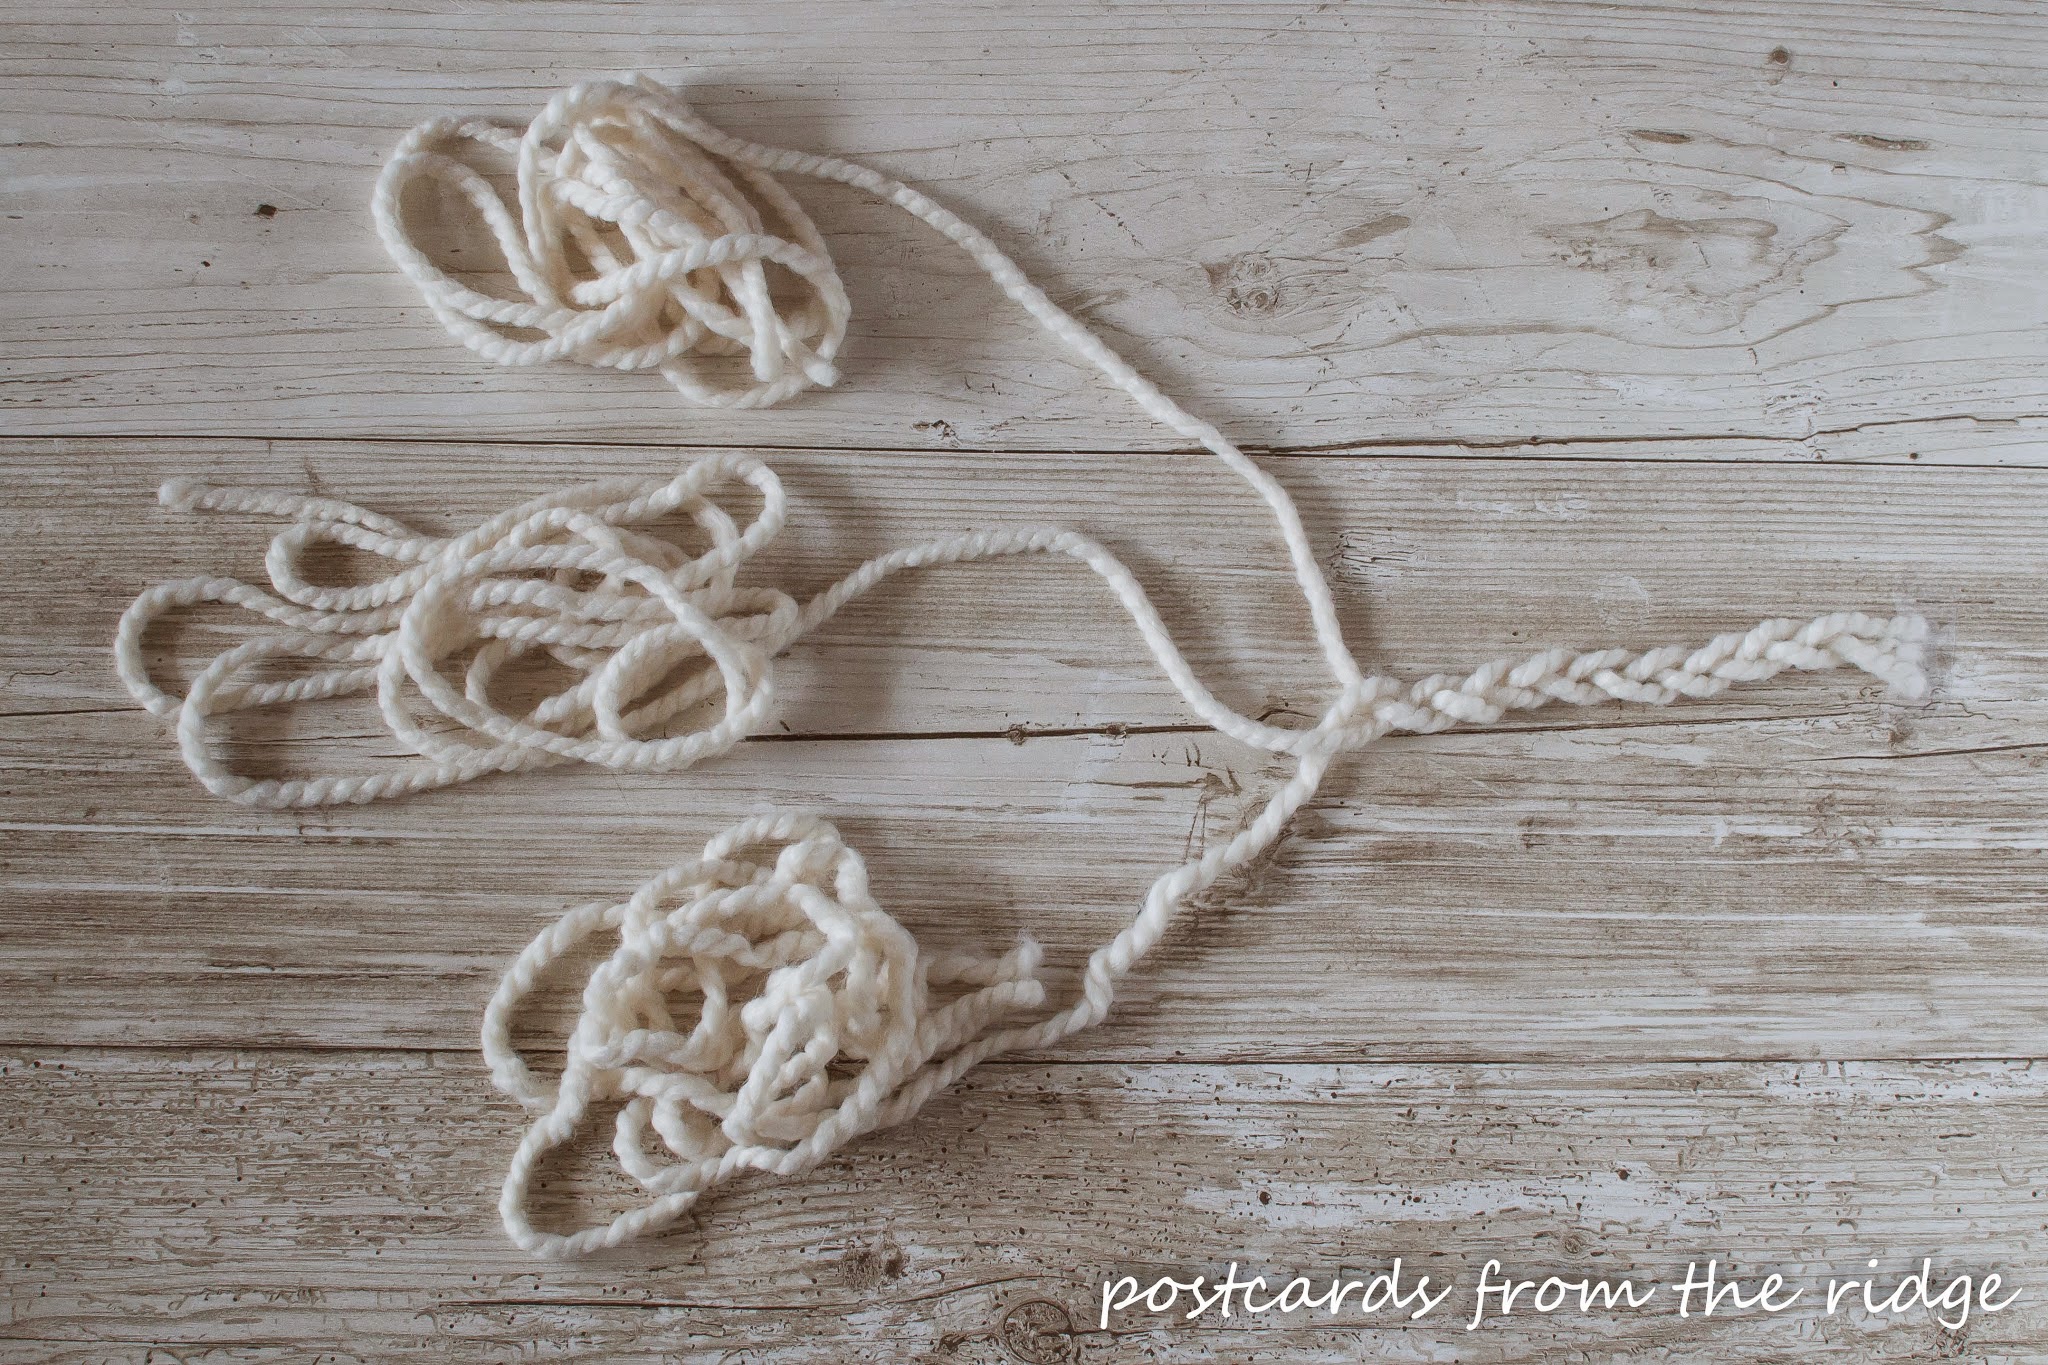
It will look like the photo below when you’re finished.
Step 10.
Now decide the spacing of your pompoms and tie them on to the braided
strand.
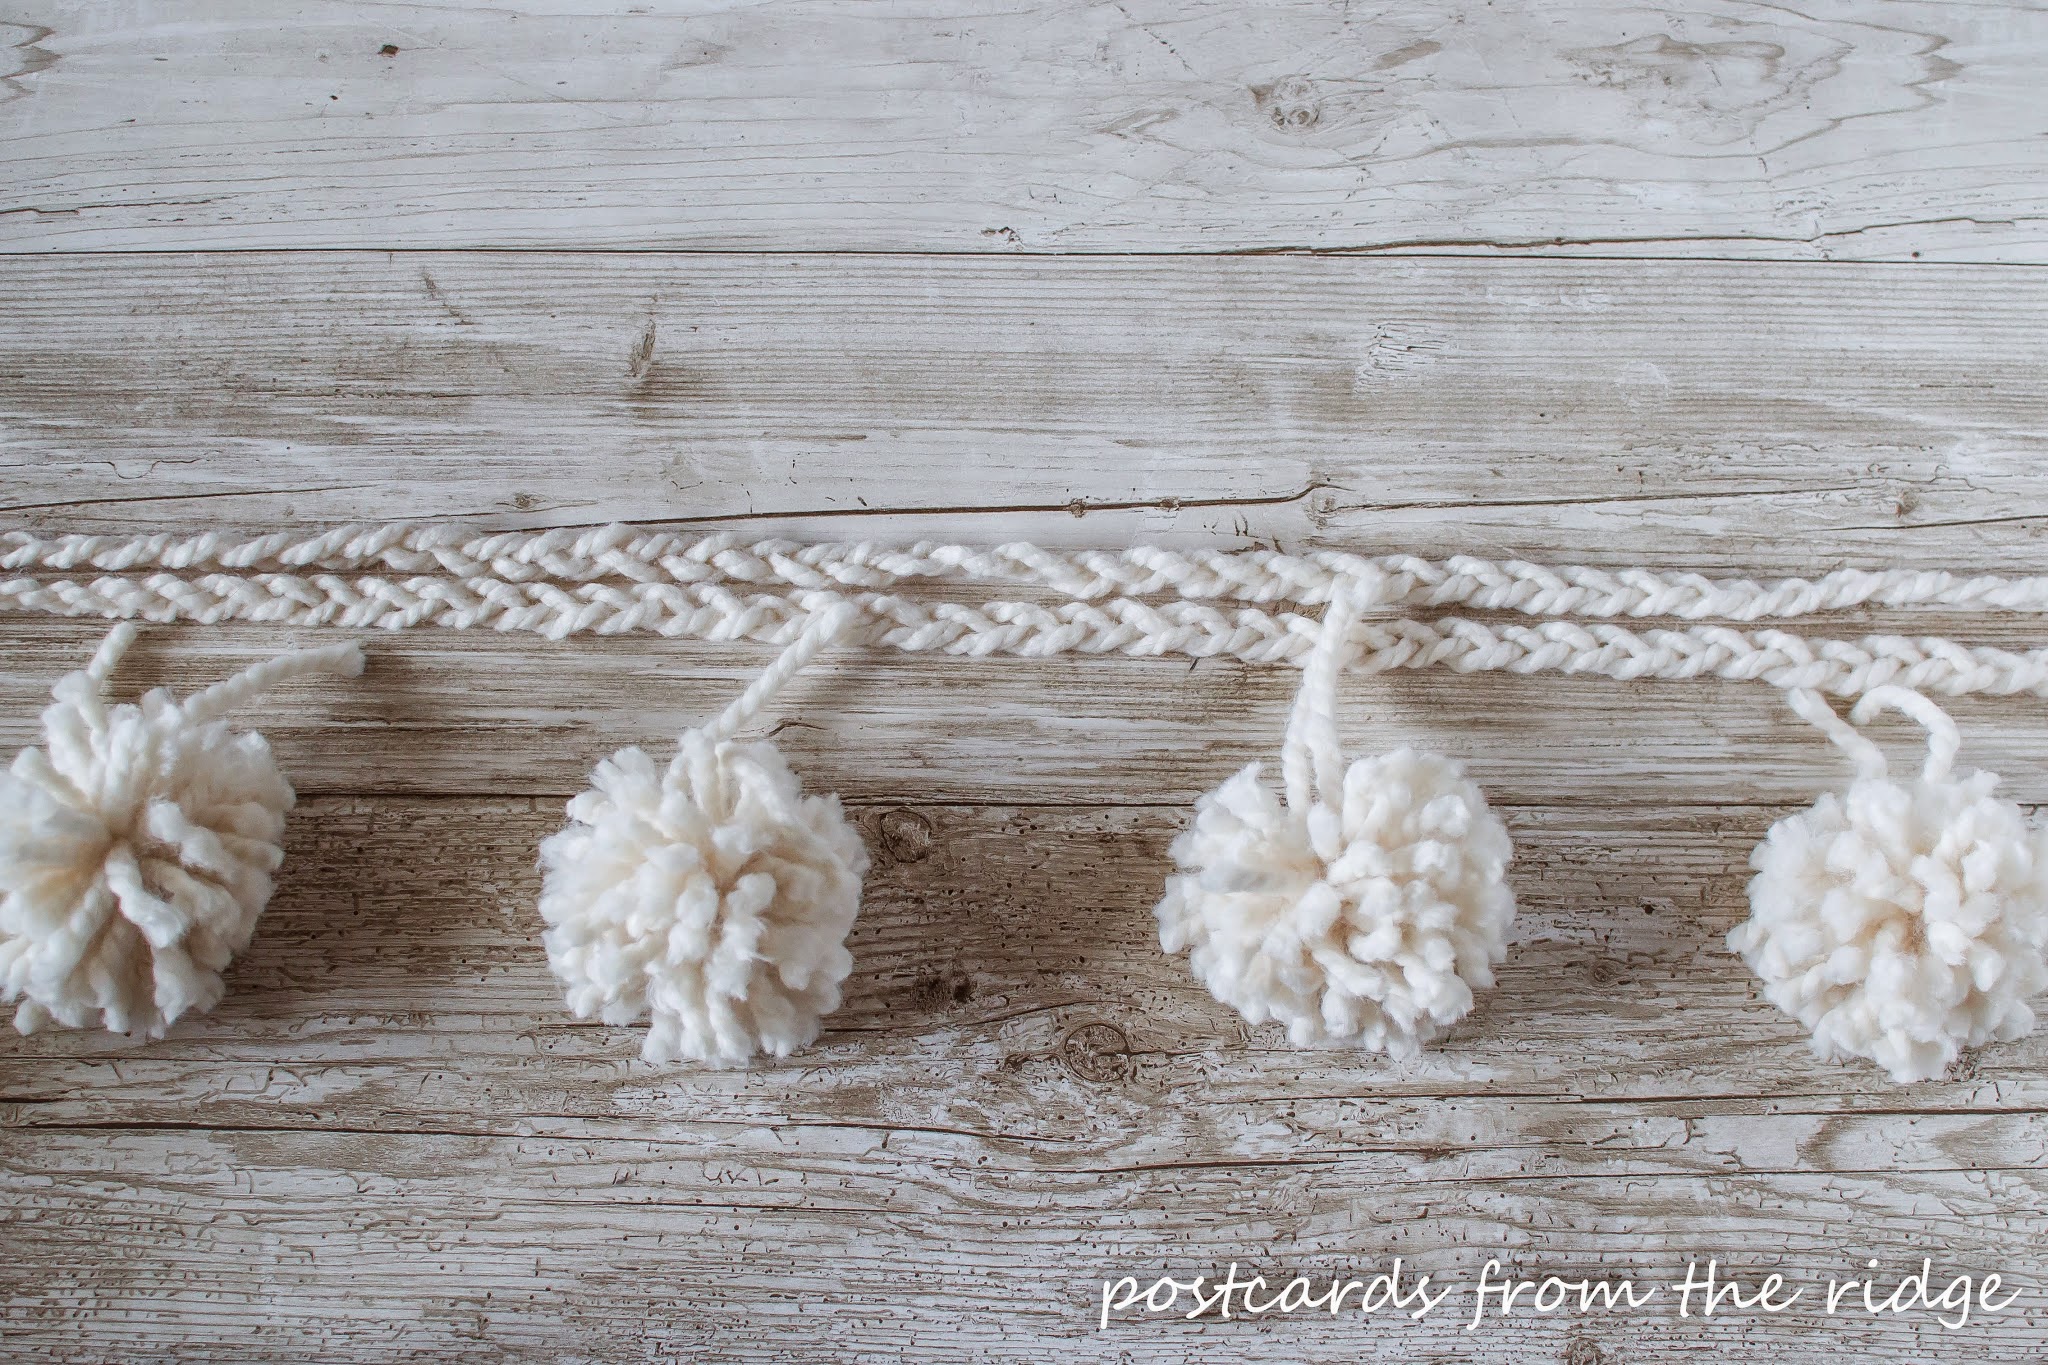
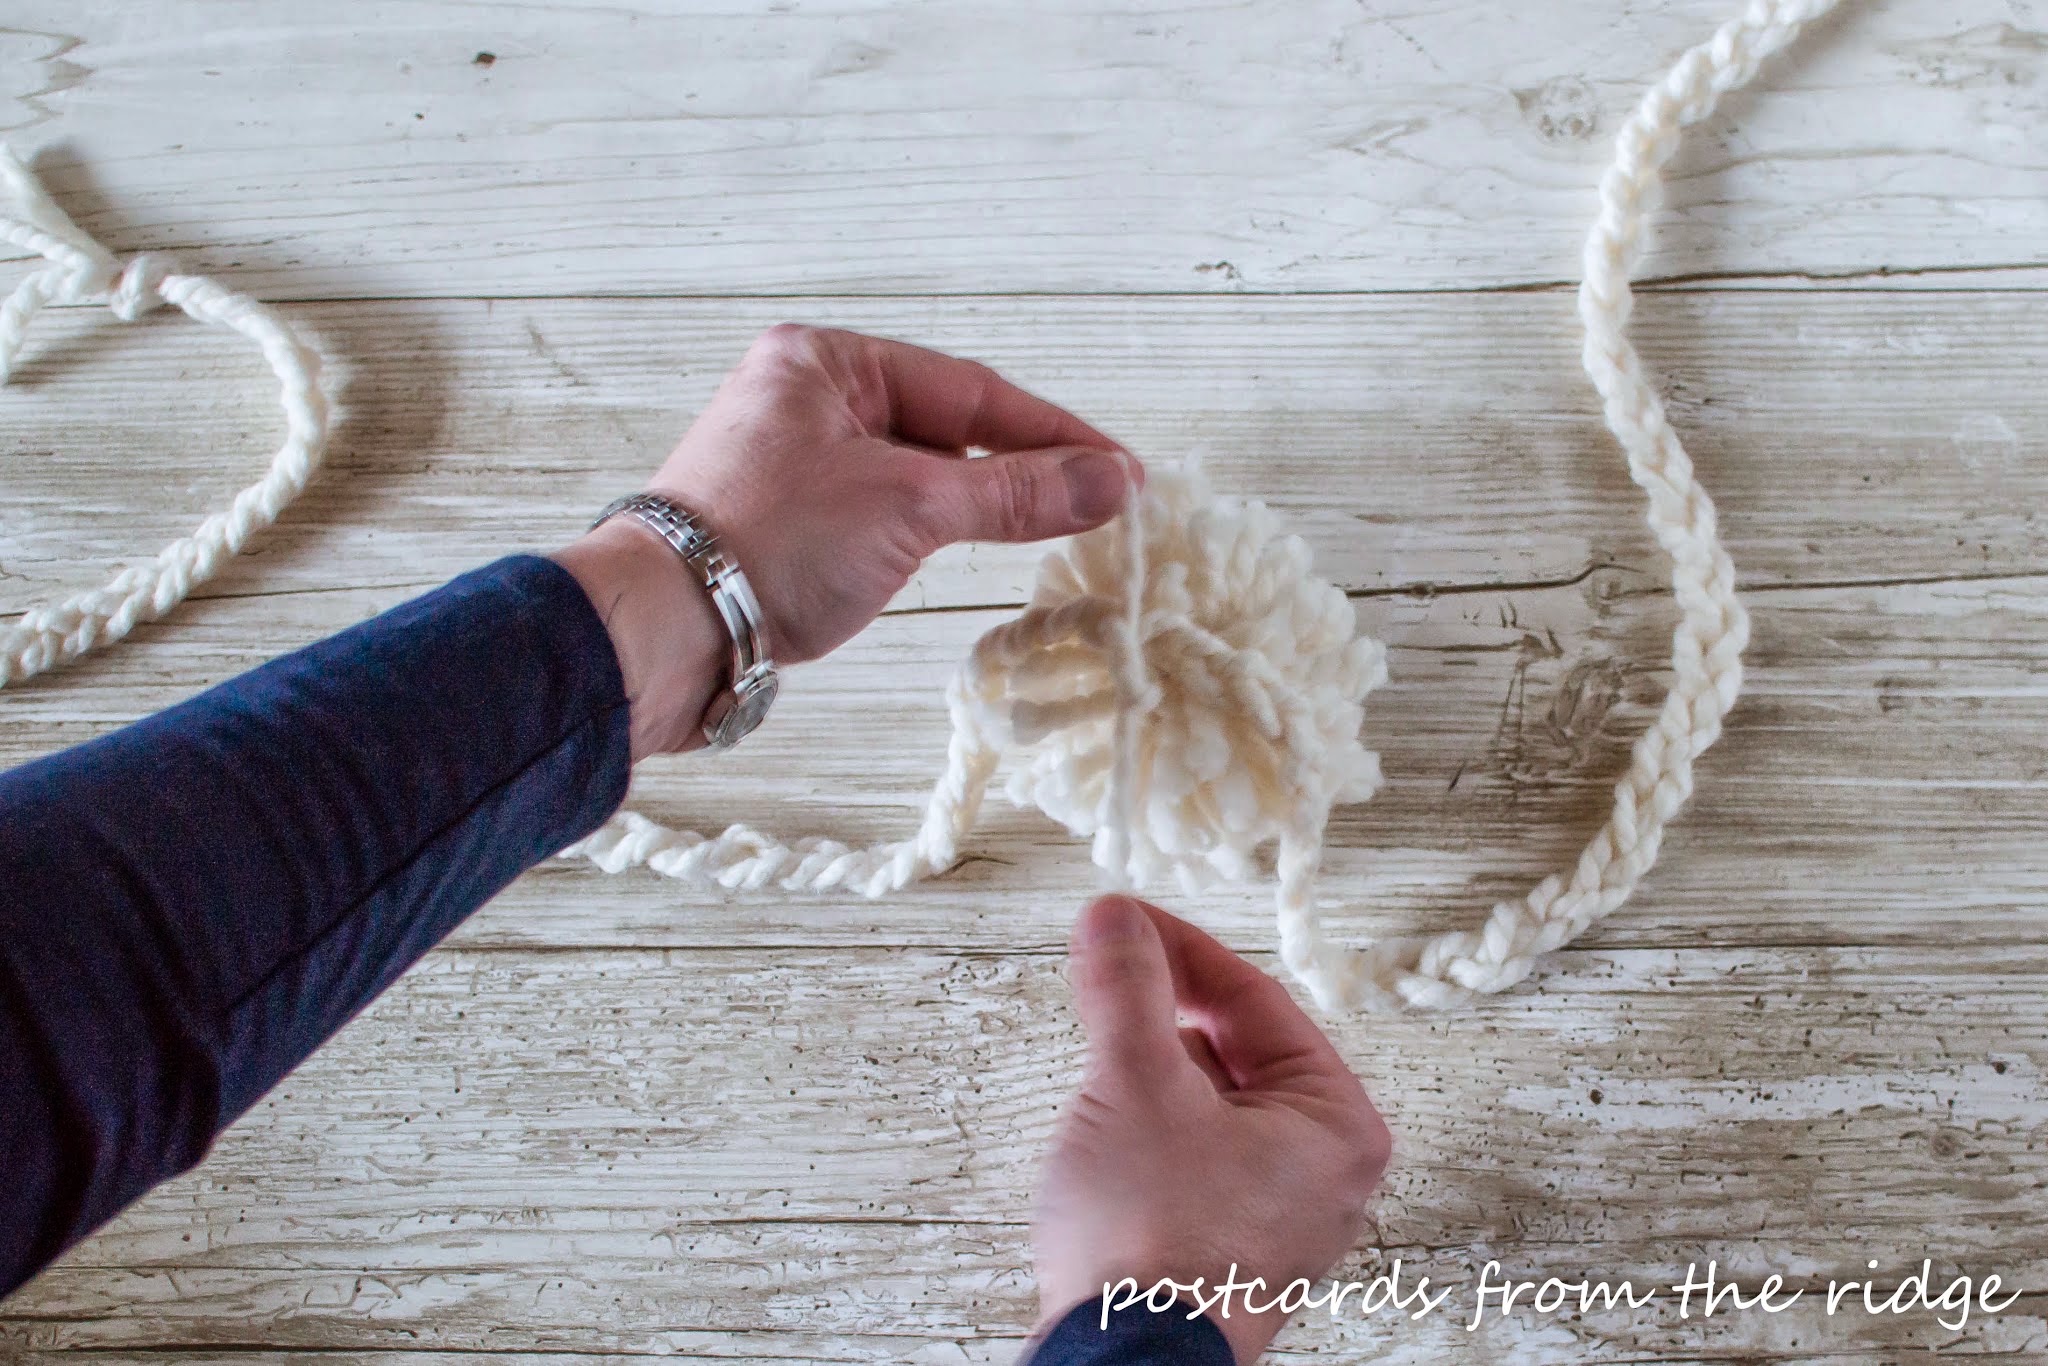
Step 11.
Remember those ends I told you not to trim yet? Here’s where
you need them. Run one end through the braided strand and tie on the
pompom with a knot. Repeat until all the pompoms are attached.
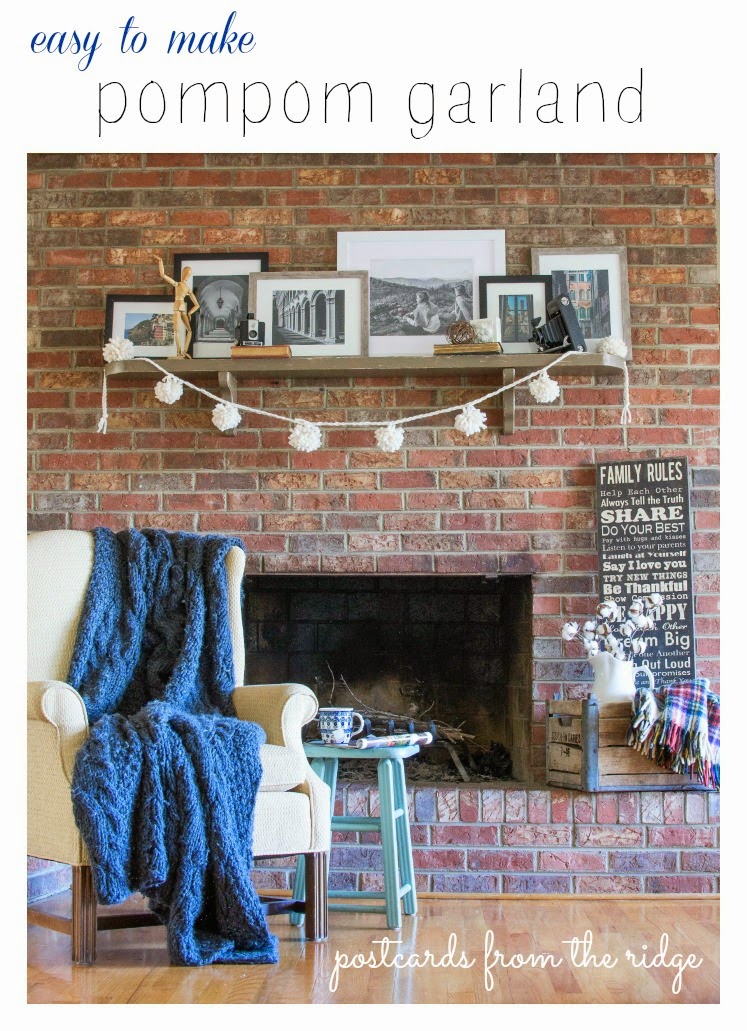
You’re done! Now all you have to do is hang it up.
How’s that for simple, even though it does take an hour or so?
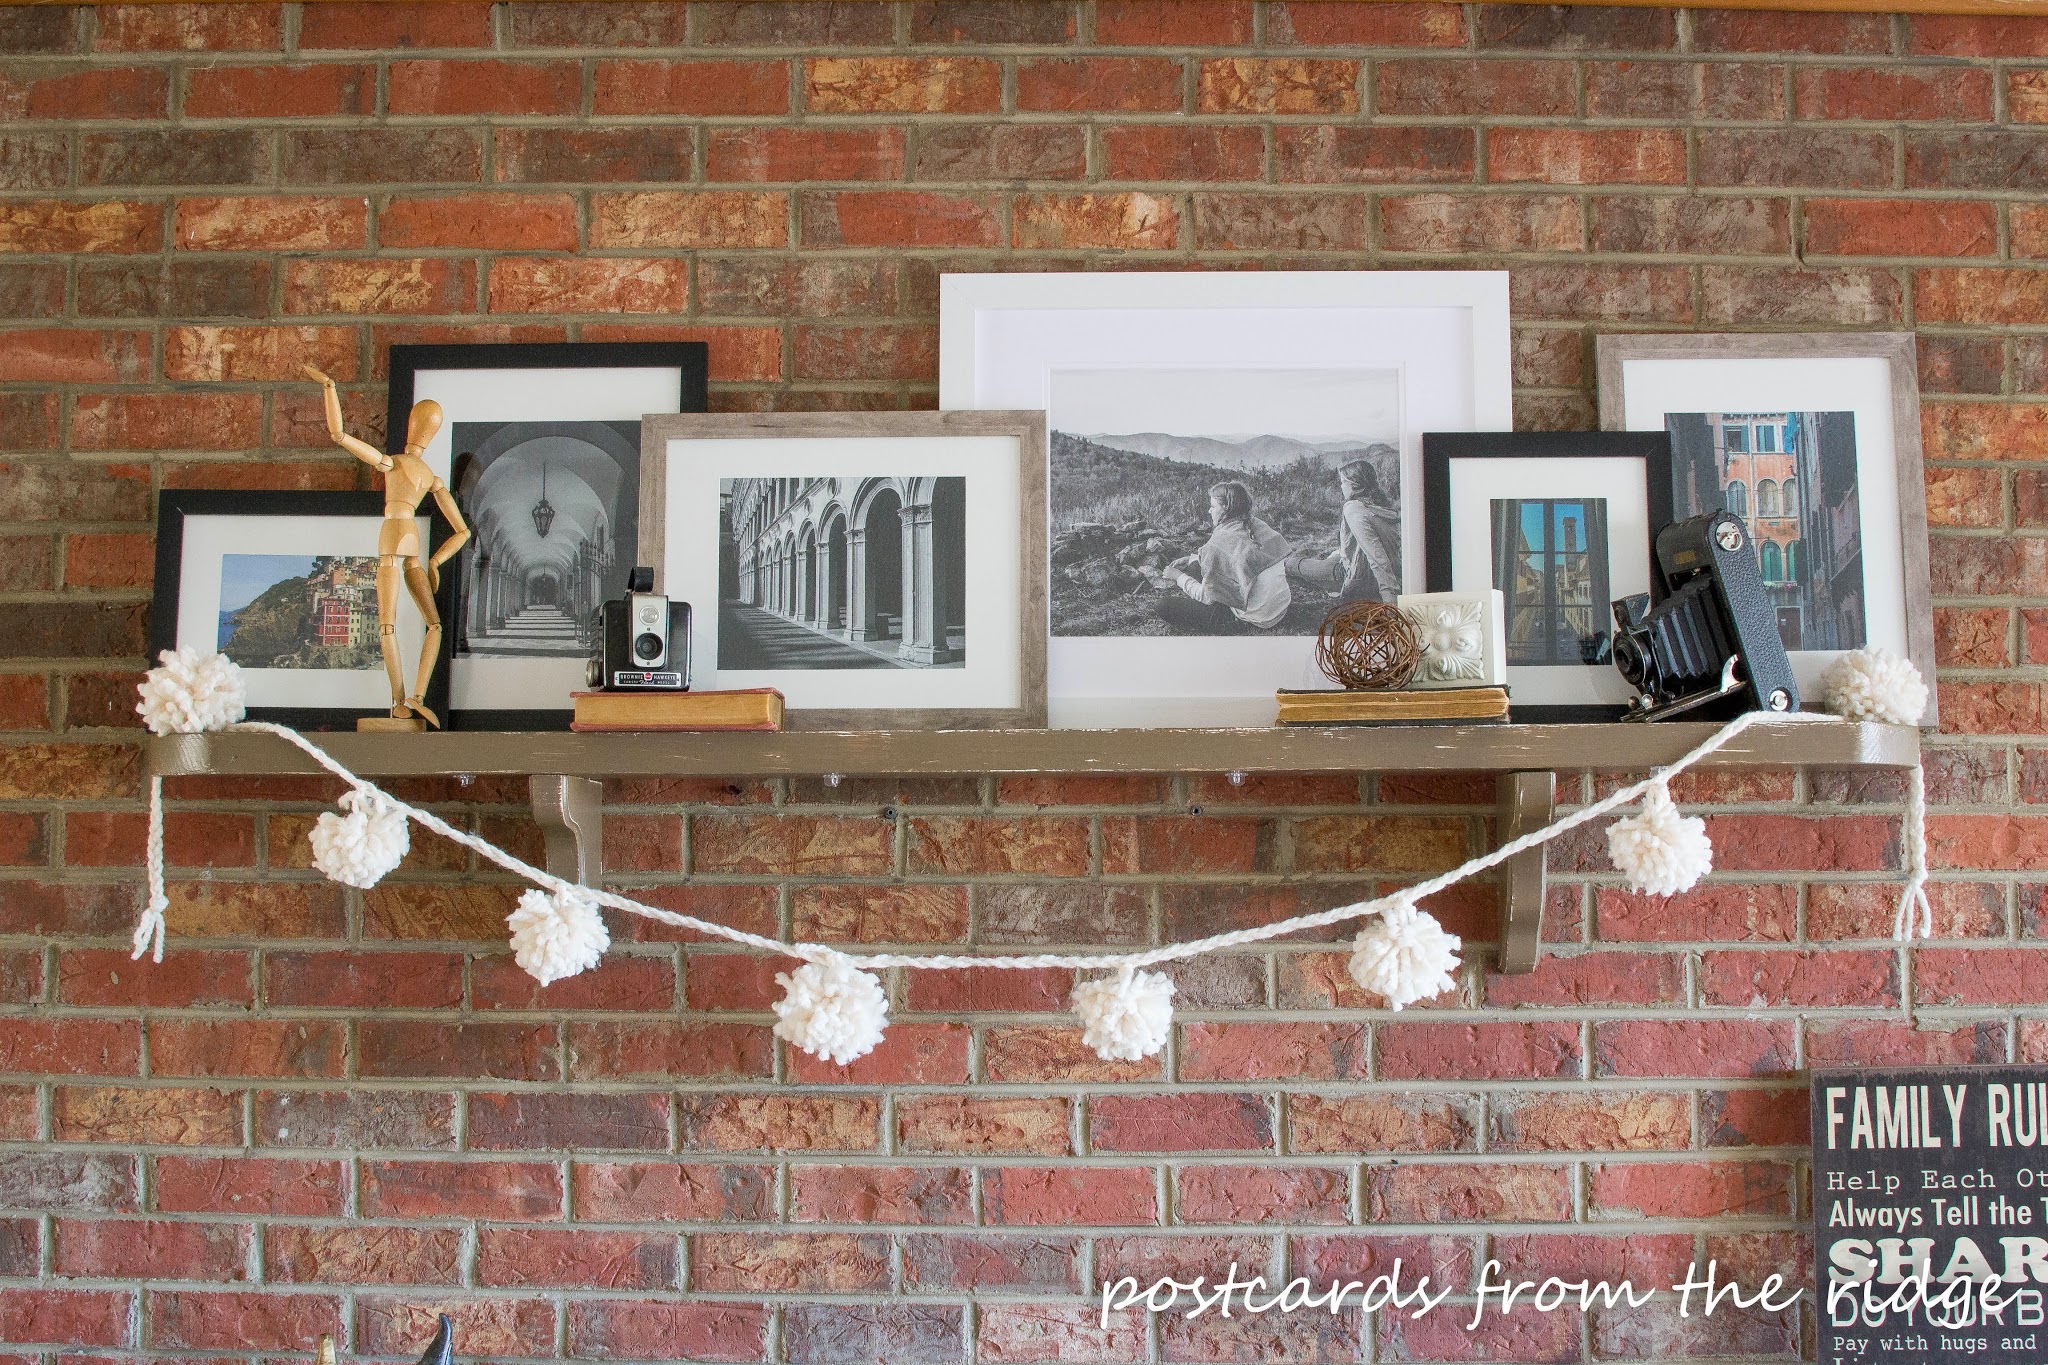
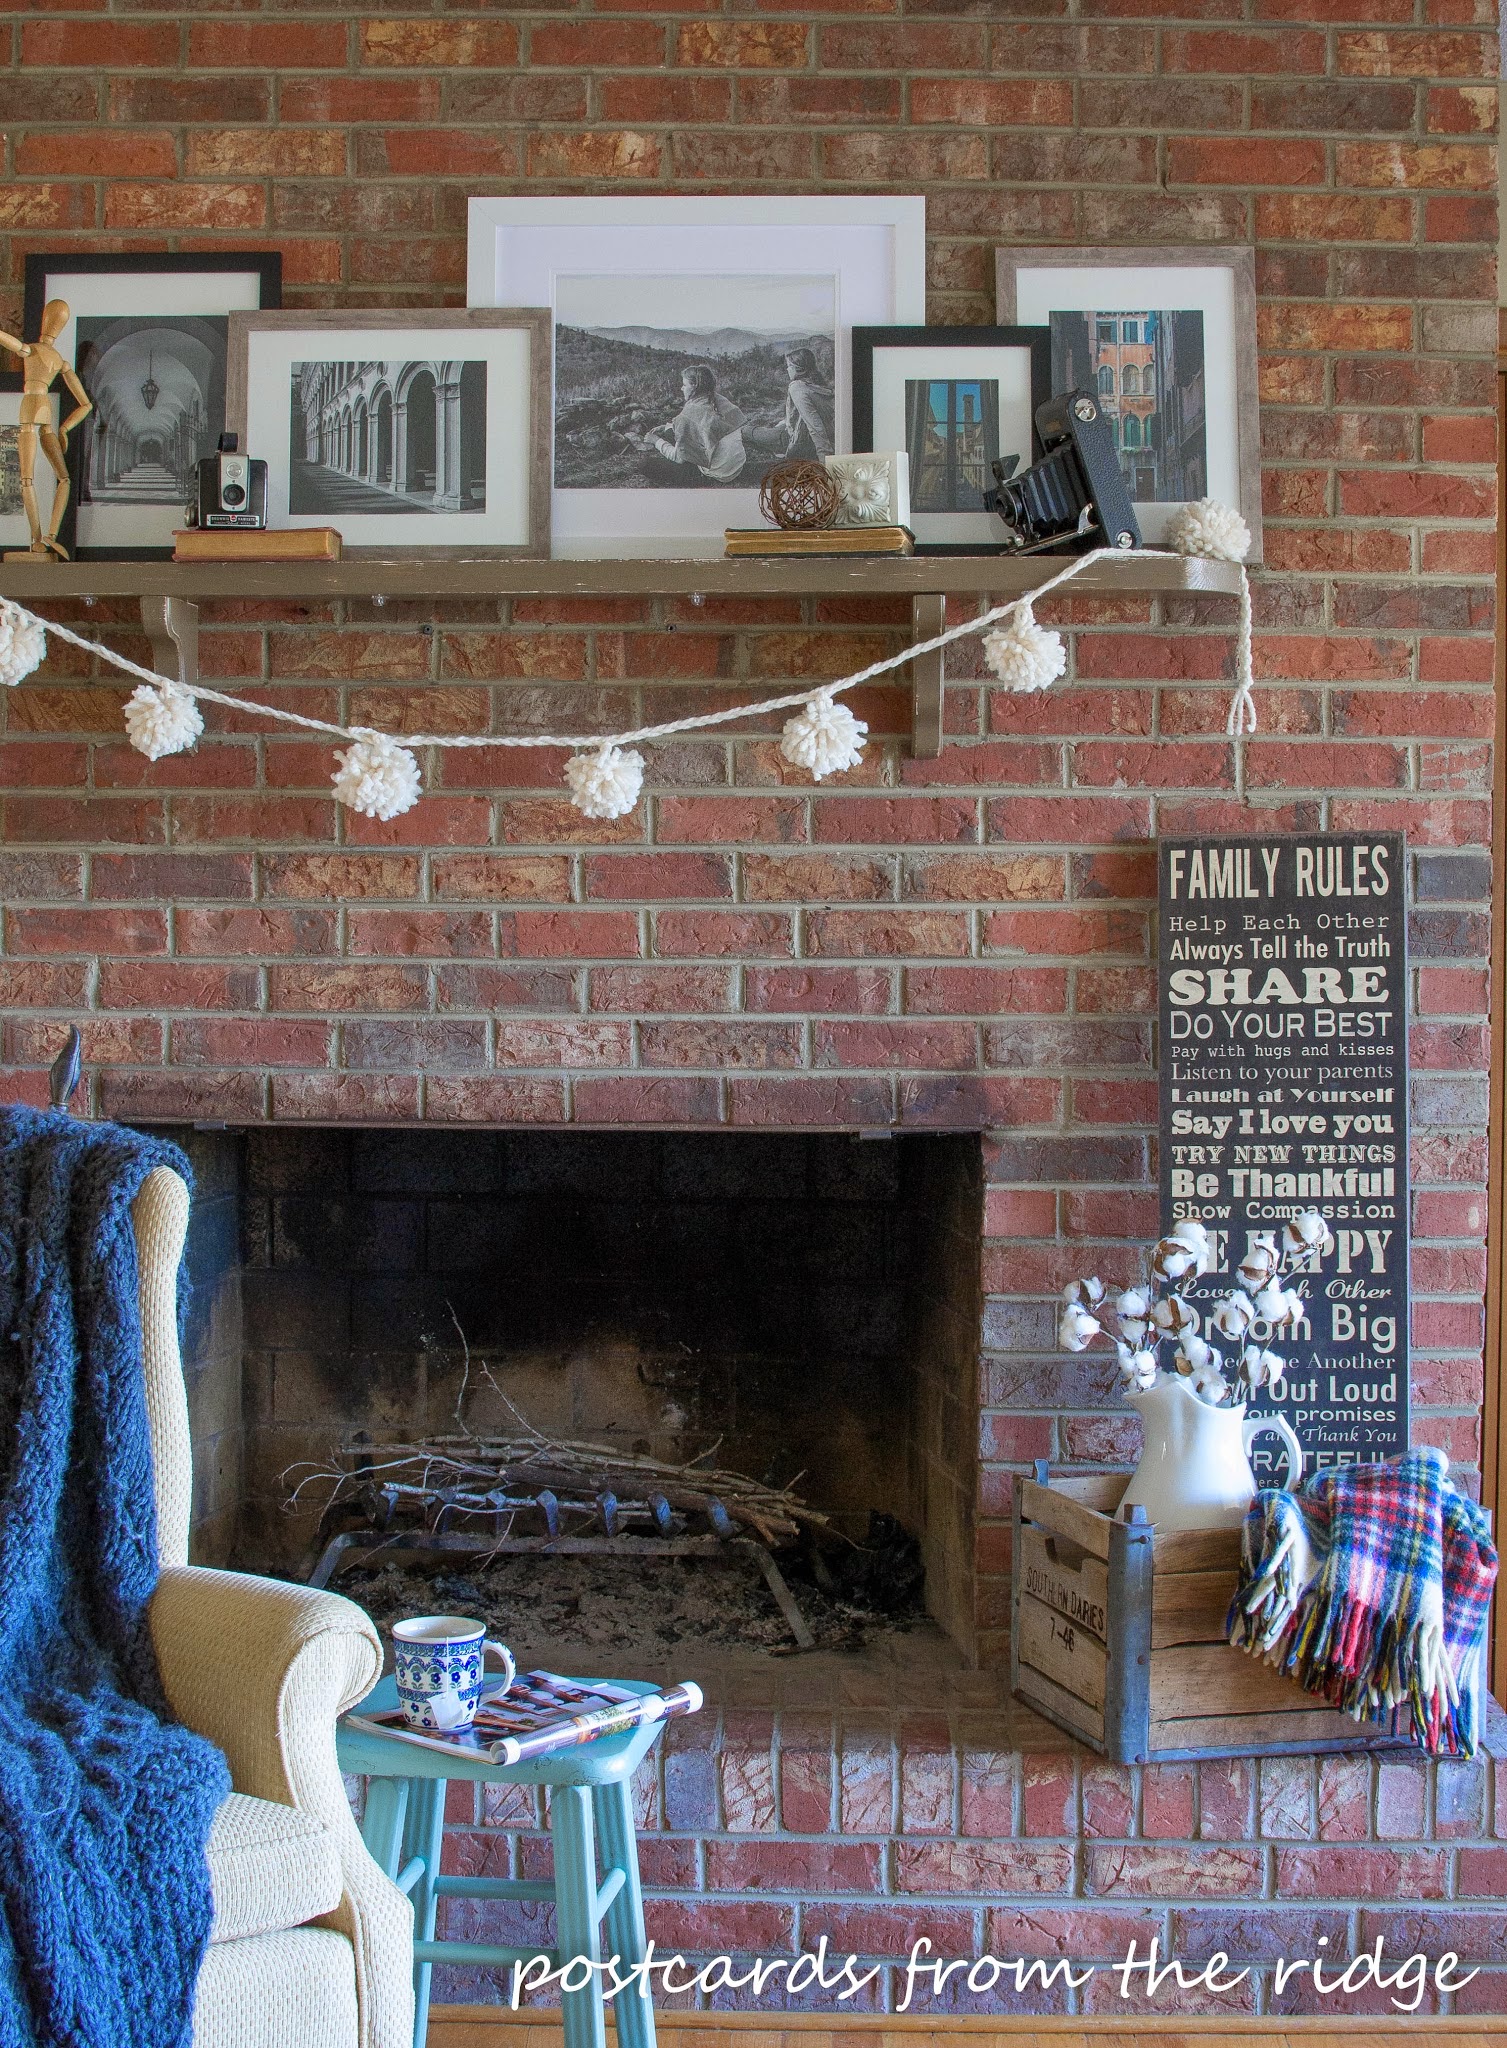
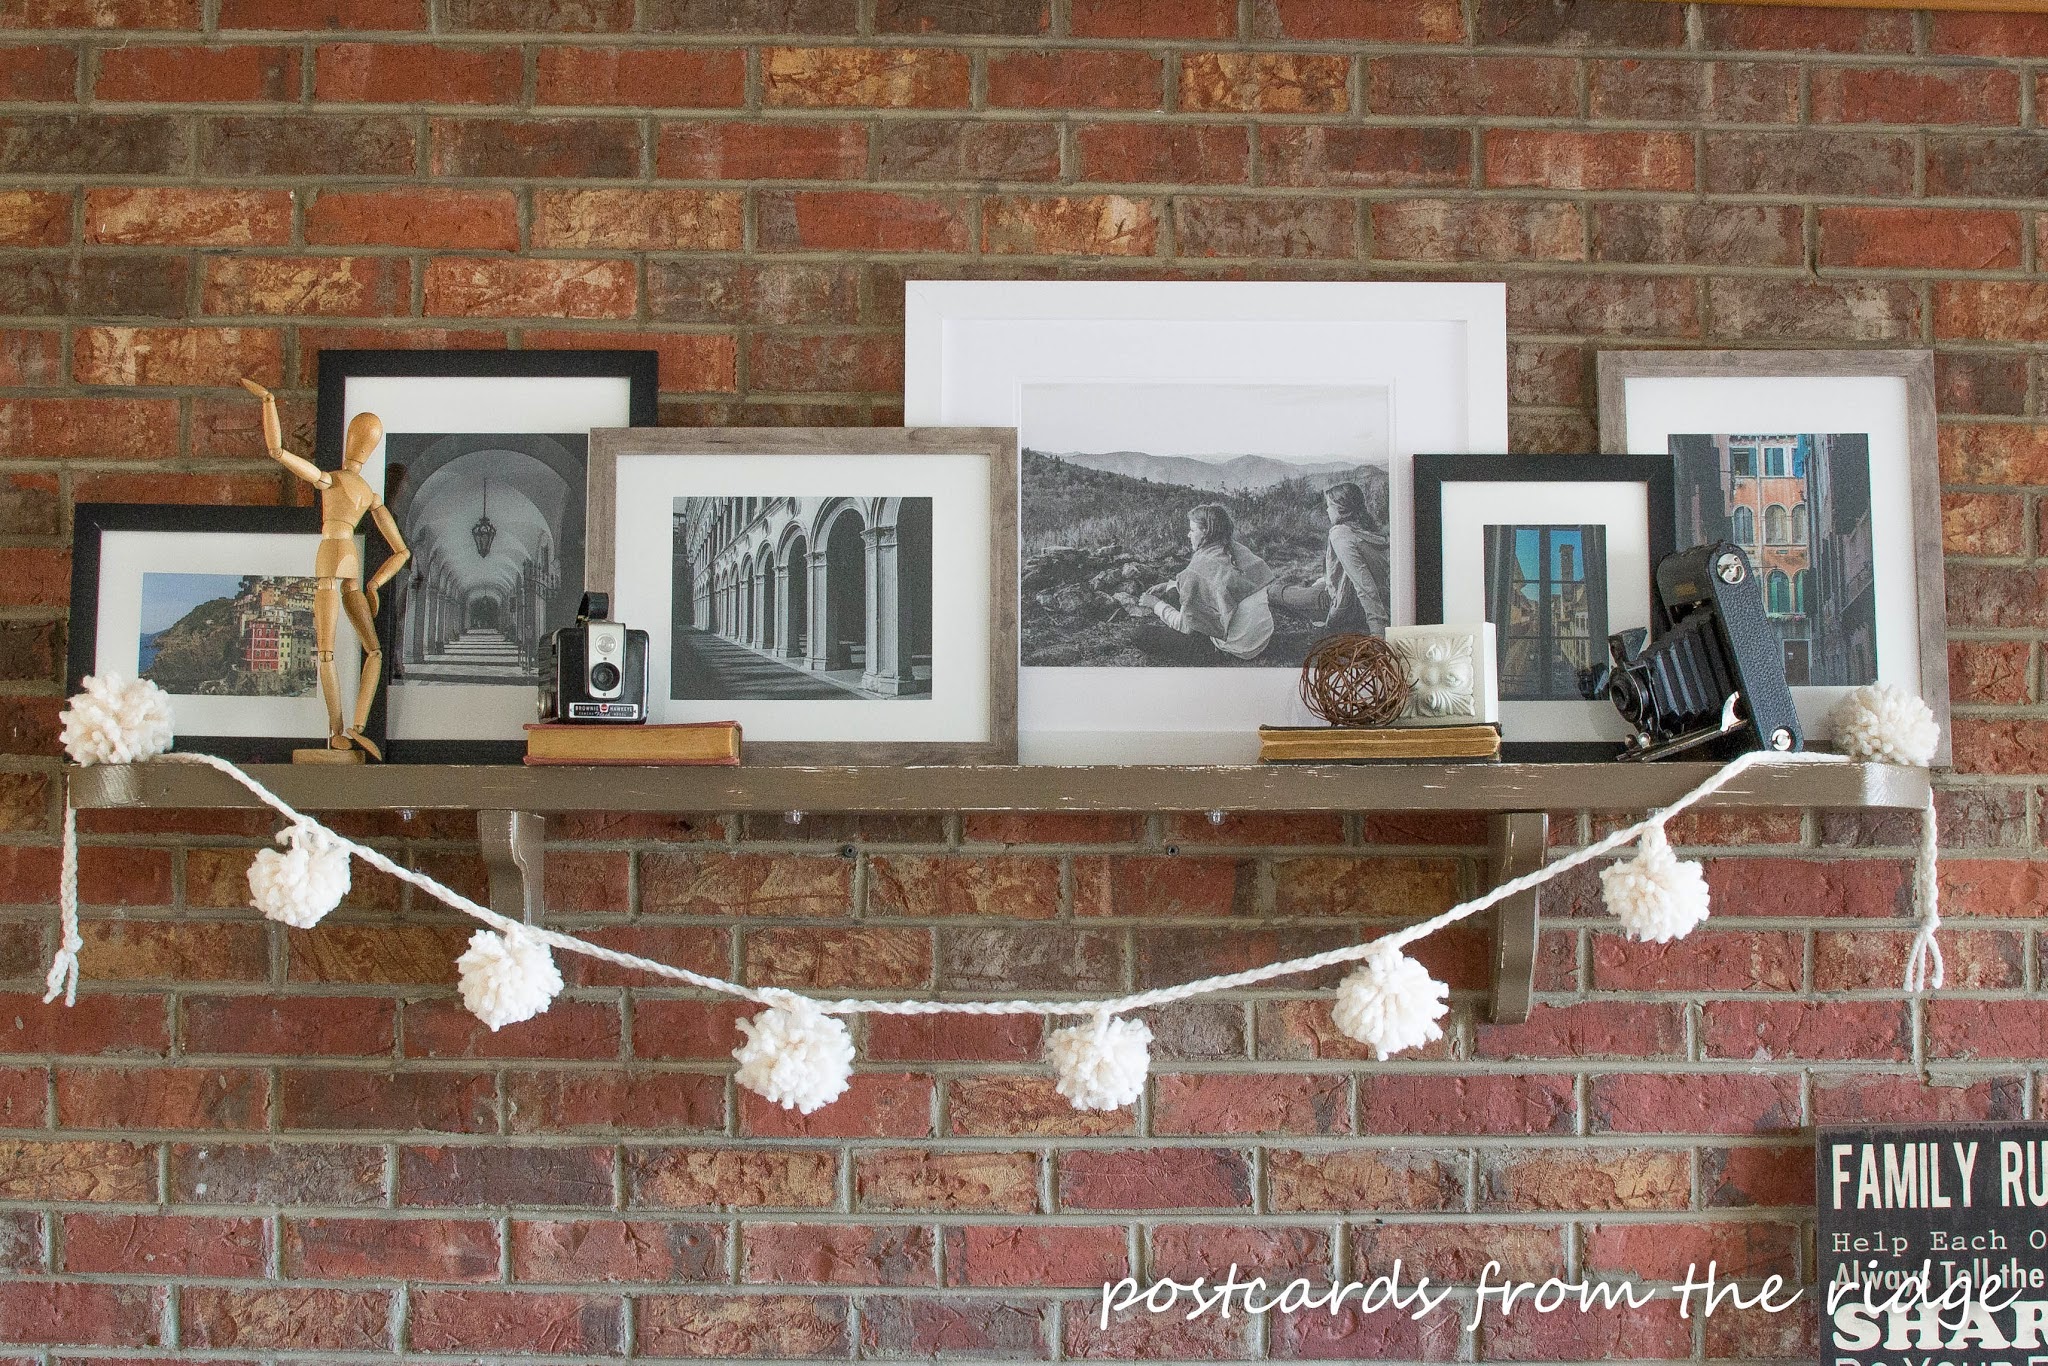
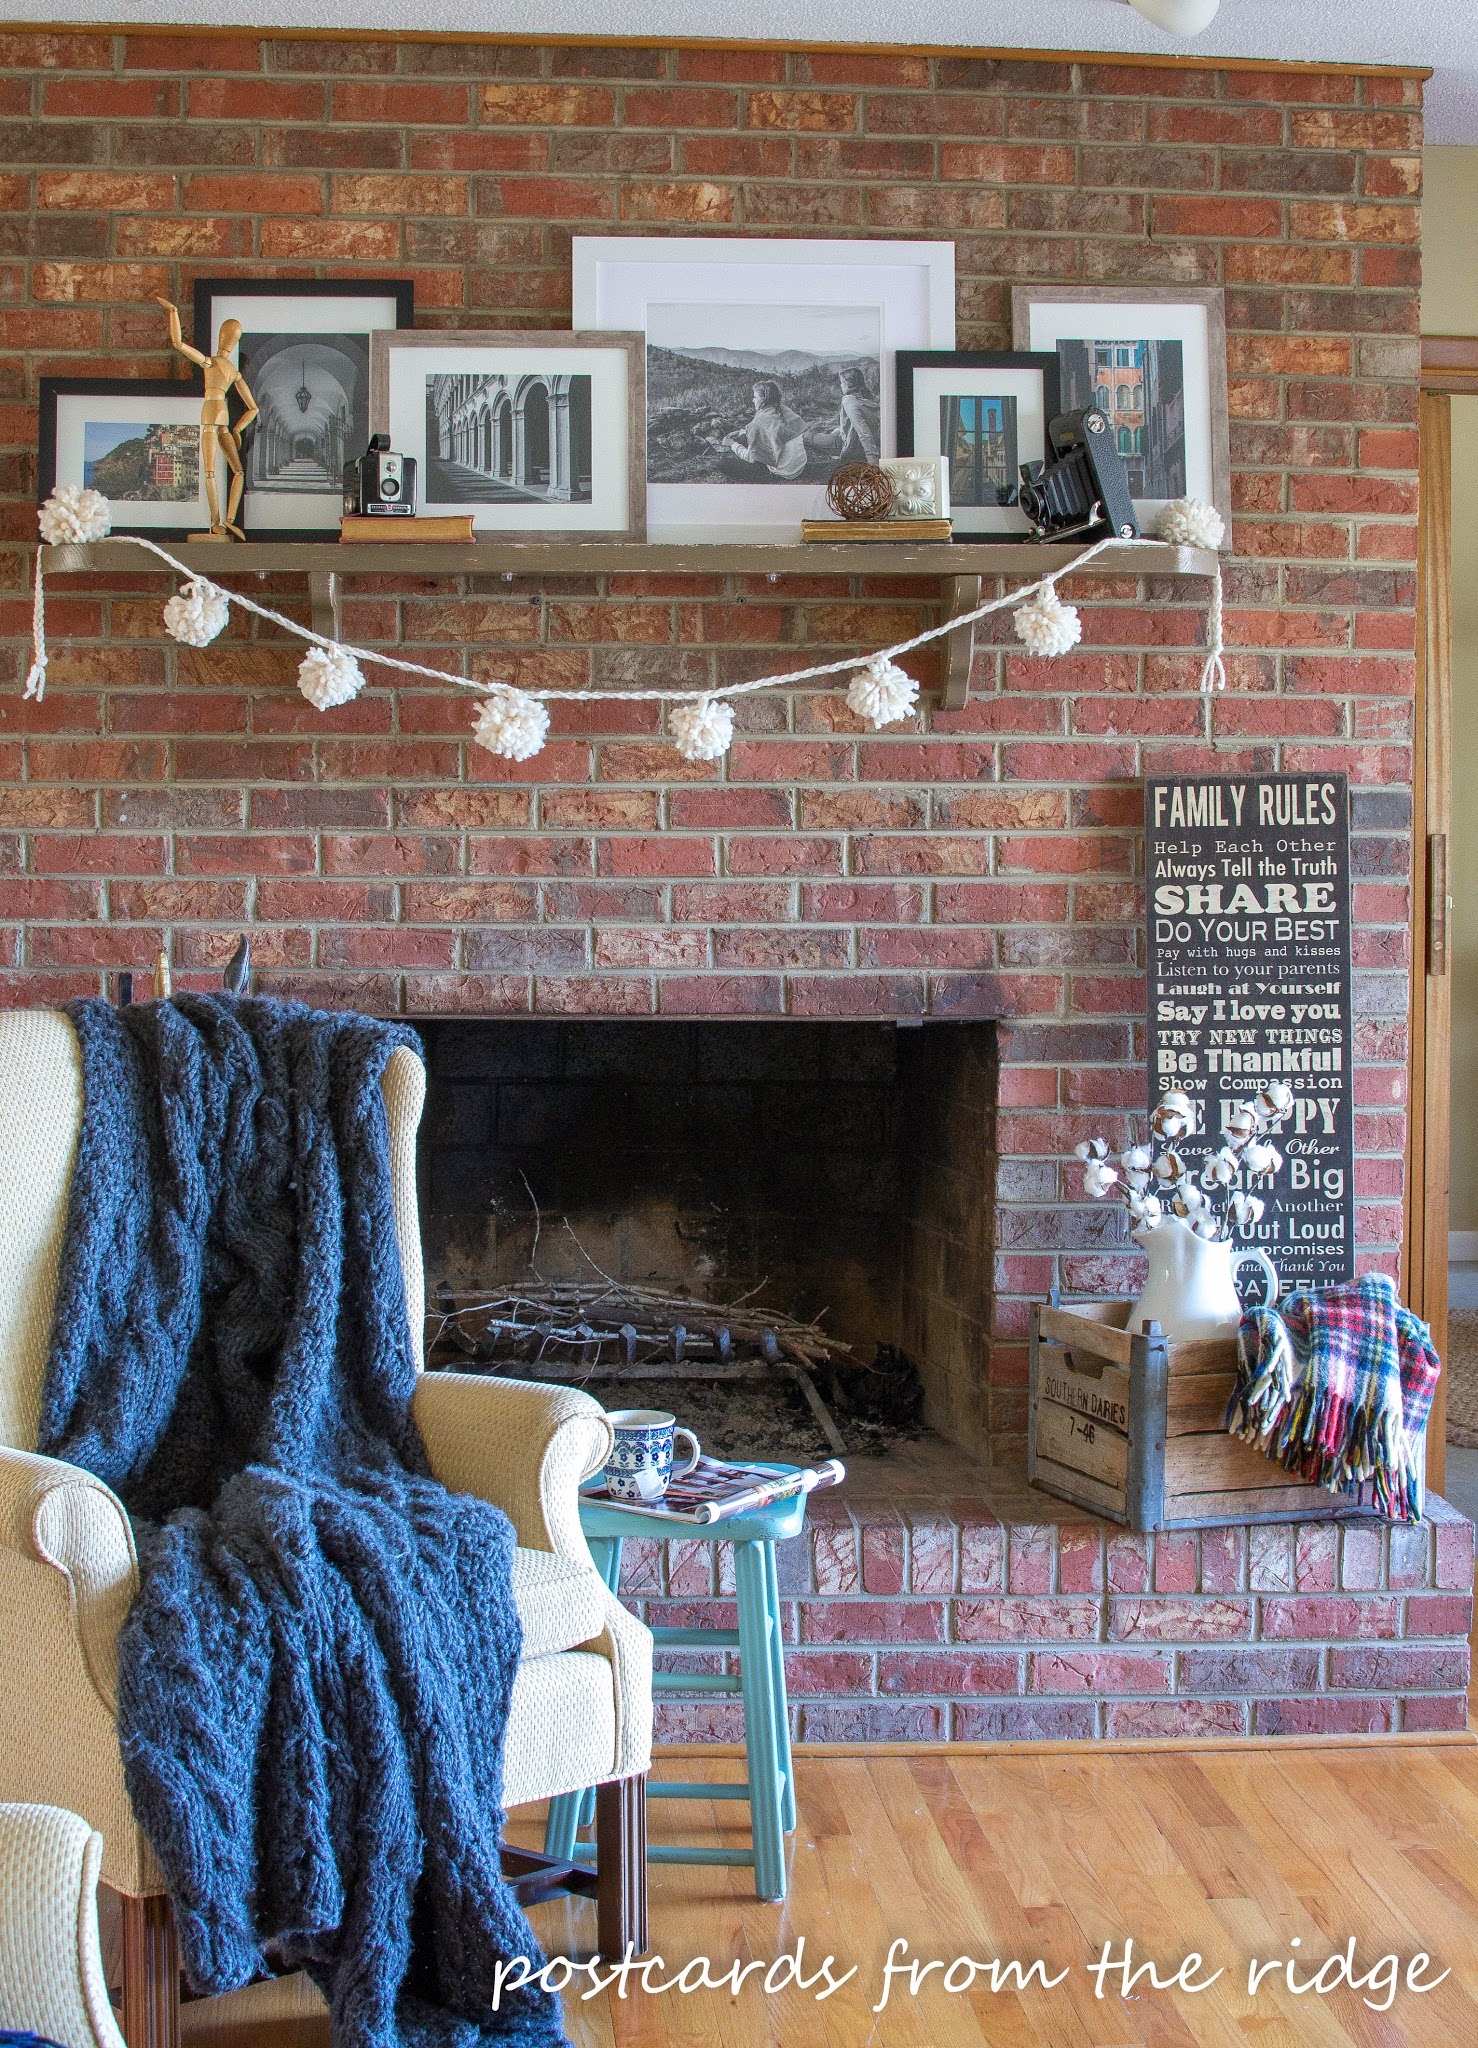
Our living room fireplace mantel is too skimpy for my taste so I hung my
pompom garland here to fill in some of the empty space. Building a
chunkier mantel is on my to-do list for this space. That and 500 other
things.
Let me know if you decide to make one of these fun garlands. I’d love to
know how you decide to use it too.
Sources (click on the item to shop)
- Wooden Milk Crate (similar)
- Cable Knit Throw
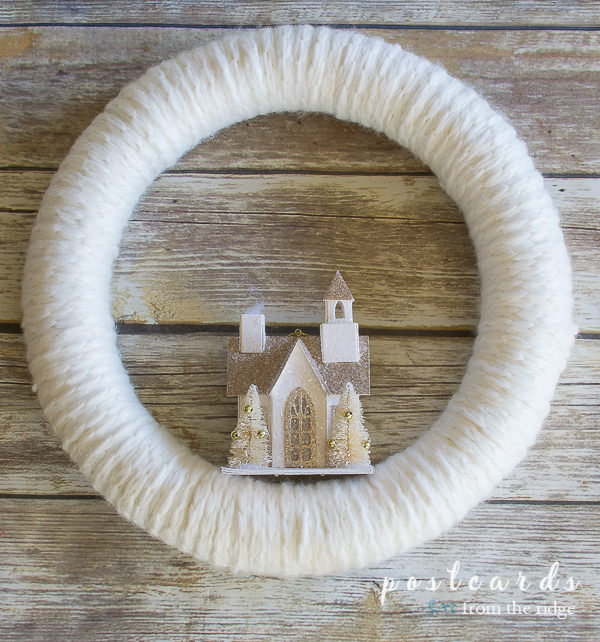
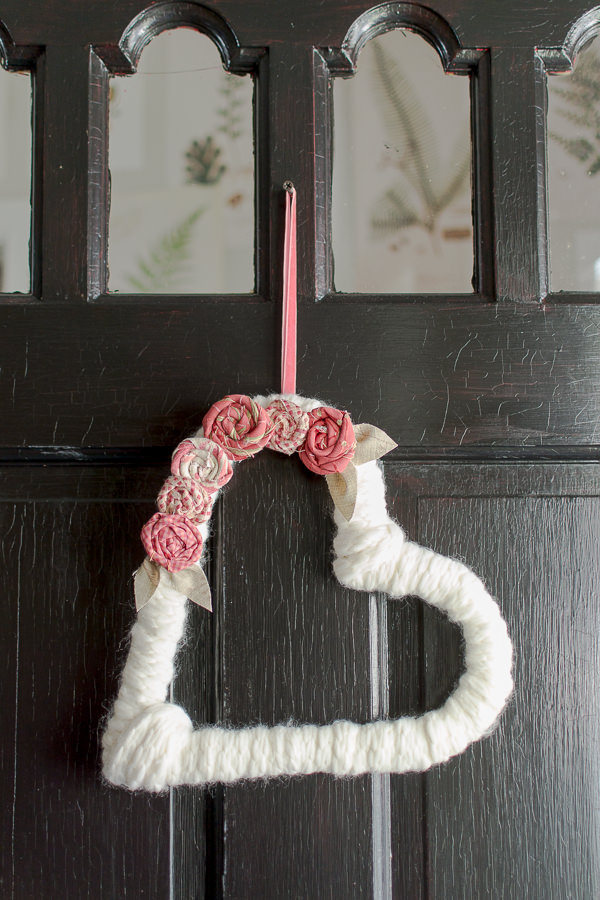
Looking for more easy yarn projects? You might like these!
Easy DIY Heart-Shaped Wreath with Handmade Fabric Flowers
Thanks so much for dropping by my little space on the world wide
web!
Honored to have this project featured on
The Spruce Crafts
Love your pom pom garland…I made two garlands and a wreath this month…it's a fun little project.
Blessings,
Linda
Thanks, Linda. It's definitely a fun project to work on. And easy too! Have a great week. ~ Angie
Angie I love your chunky pompoms! 😉 It turned out beautiful and really softens up your mantel area.
Thanks, Jen! I agree…it softens all that brick. Have a great week. ~ Angie
This is a perfect interpretation of Anthro….so much more rewarding when you DIY it. Awesome!
Thanks, Jeanette! So much better when we make it ourselves! Have a great week. ~ Angie
Very cute, Angie! Things have a way of growing on me over time too. 🙂
Thanks, Christy!
I love pom poms! The chunkiness of the yarn makes this garland extra cool!
Thanks, Jeanette. I love the chunkiness of it!
What a fun way to dress up your mantel for winter. Mine is still bare after taking Christmas down! I look forward to seeing the gallery wall that you are working on.
Thanks Paula. It was pretty bare after Christmas here too and this looks somewhat like snowballs so it will stay up until at least Valentine's Day. I hope to finish the gallery wall soon. There's more planning to it than I expected. Plus I'm as slow as a snail. 🙂
Love these! That junky yard is perfect, thanks for the tutorial!
Debbie
Thanks, Debbie! I love the chunky yarn. Such an easy project!
I love this so much! I made pom poms two years ago but never did anything with them,now I'm inspired, you did a beautiful job!
Thanks, Dria! It's such an easy project! You could do it in no time!
This is so sweet. I love it.
Thanks Vanessa! It was so easy to make!