Simple DIY Hanging Frame For Art and Printables
Learn how to make a simple hanging frame

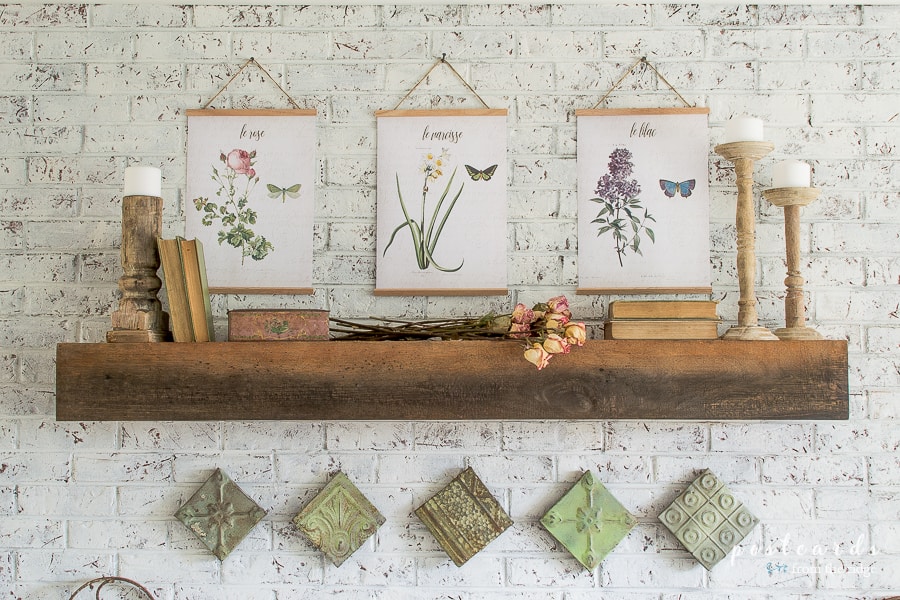
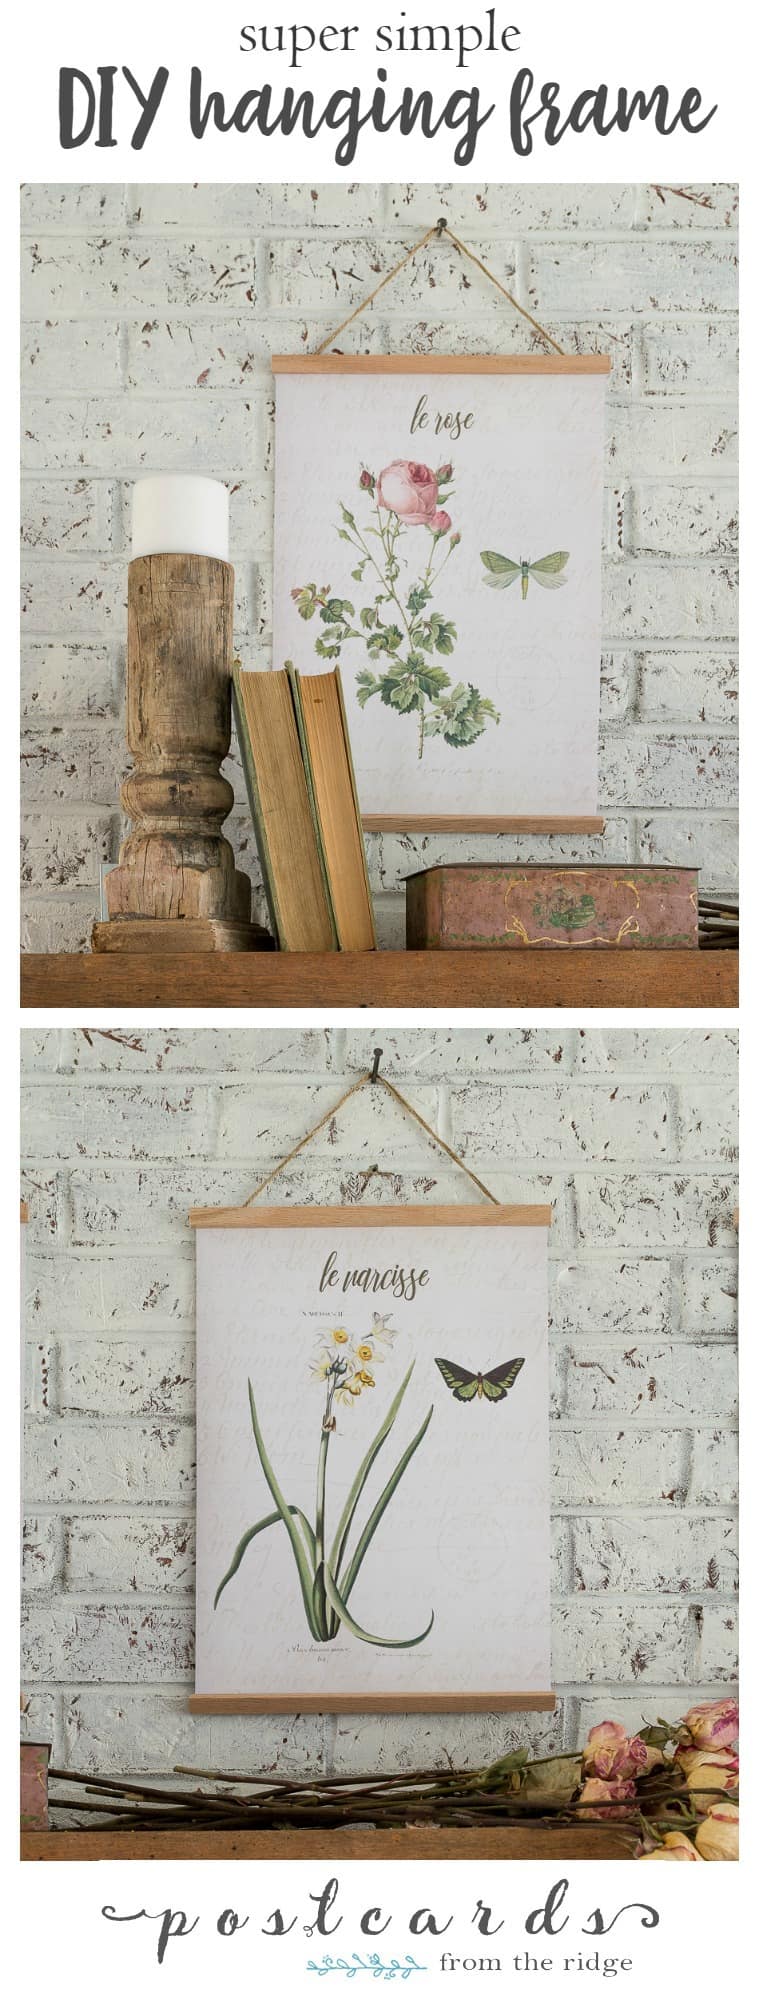
A couple of weeks ago I showed you our spring mantel with some botanical printables that I designed and framed. It was a super simple project and I wanted to share how I did it.
My power tool skills are limited, at best, so I can promise you that this is a project anyone can do.
FYI, if you want more ideas for budget-friendly art, you might also like these posts:
DIY Hanging Frame
This post contains affiliate links for your convenience. If a purchase is made after clicking one of the links I might make a small commission. Your price does not change. For full disclosure, go here.
Supplies Needed
- Wood trim, cut to size (they will usually cut it for you at Home Depot or Lowes)
- Sandpaper
- Wood stain, if desired
- Metal straight edge
- Sharp cutting knife
- Twine, rope, or ribbon
- Tape
- Hot glue gun, staple gun, clear adhesive, or eye hooks
How to Make a DIY Hanging Frame
1. Trim your artwork

If your artwork needs to be trimmed, use a metal straight edge and a sharp cutting knife to trim off any excess. Be sure to place a cutting mat underneath so you wont damage your surface.
2. Cut and sand your trim pieces
Measure the finished or trimmed width of your artwork and add 1/2″ to 1″. This makes the trim pieces overlap the sides of the artwork slightly. Cut your trim to this size. Usually you can have it cut at Home Depot or Lowe’s if necessary.
Sand the edges of the trim until they’re nice and smooth.
You will need 2 pieces of trim for each piece of art that you’ll be framing.
Note – You could attach additional trim pieces to the back of the artwork for a heavier look. And you could use wider trim for larger artwork.
3. Attach your artwork to the wood trim
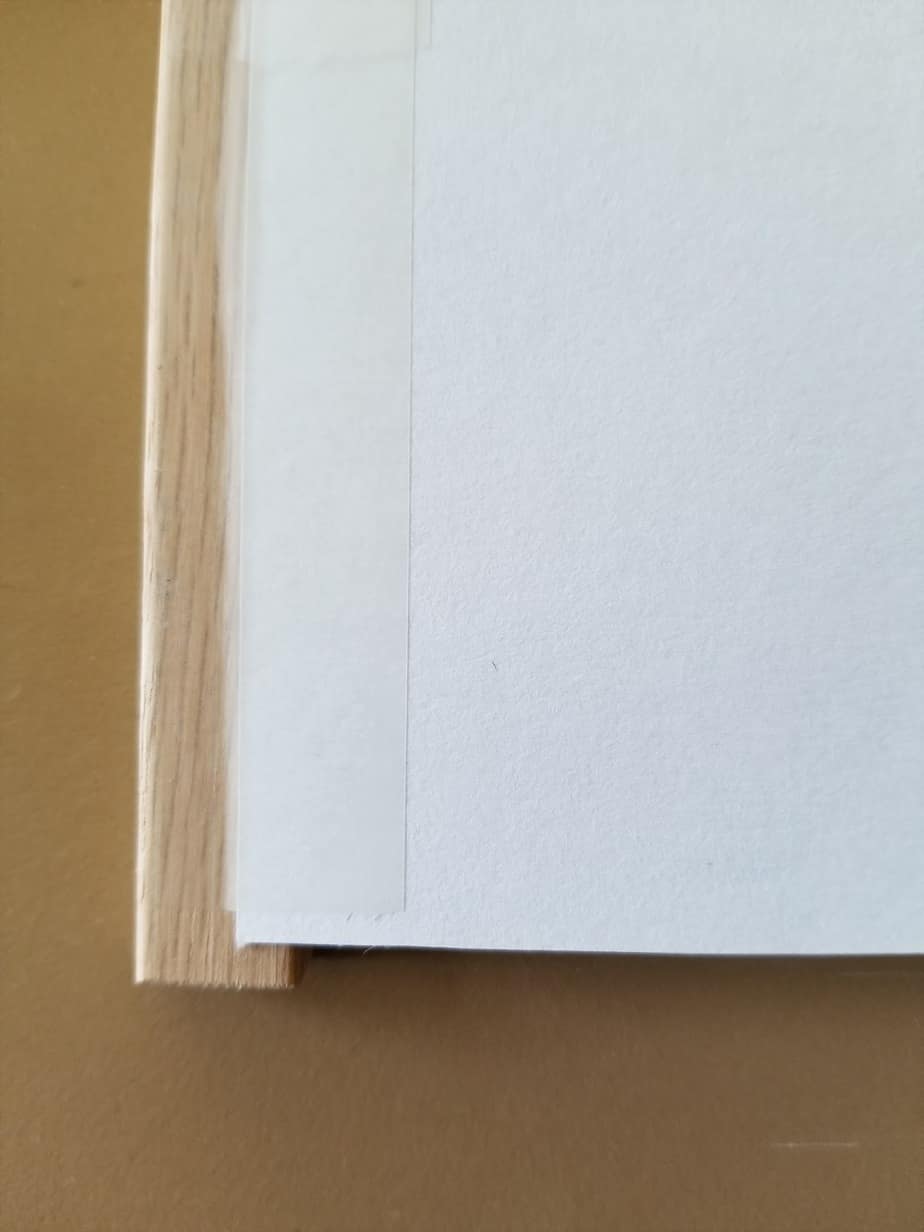
You can use a staple gun or glue, or simply use scotch tape like I did. I tend to change things regularly and wanted to be able to remove the art if needed.
4. Attach your twine
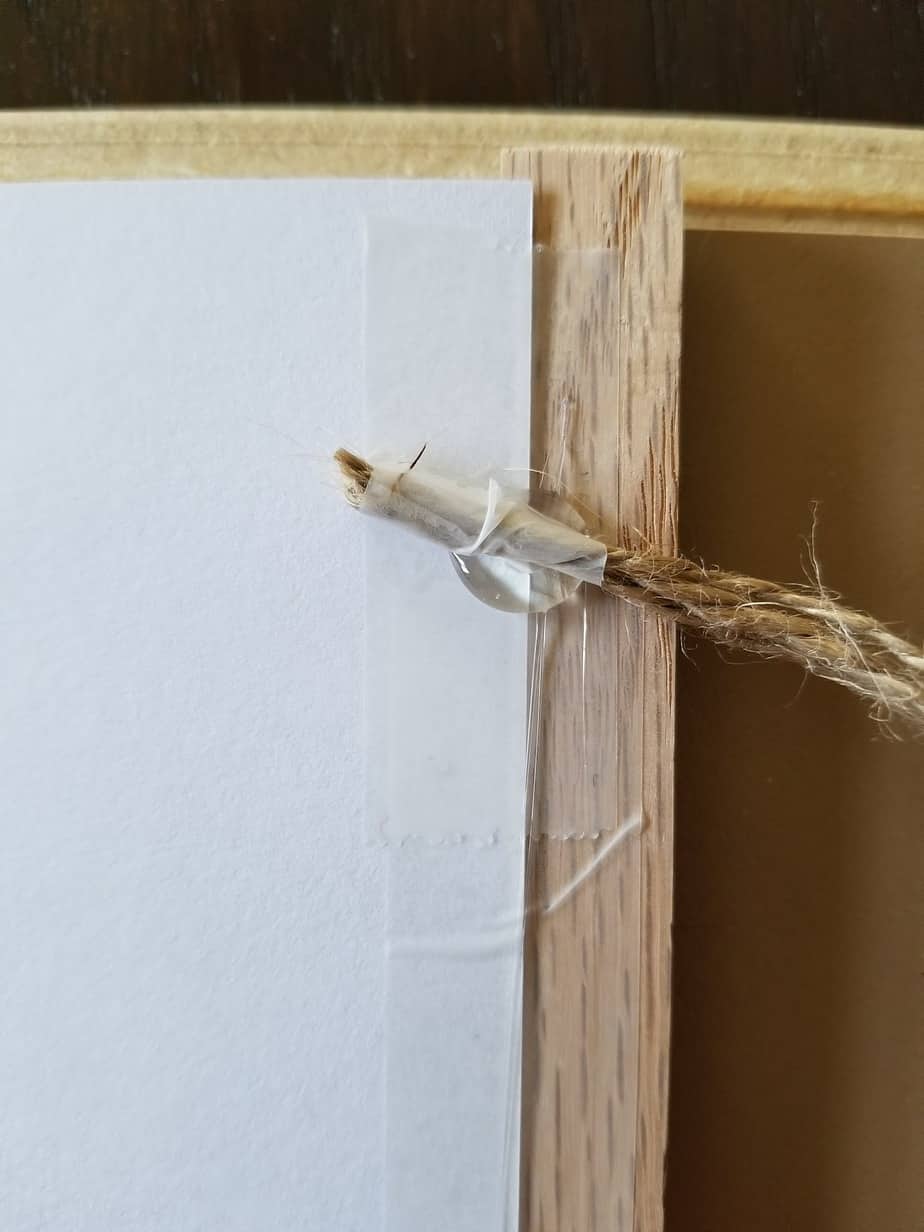
For attaching the twine/rope/ribbon or whatever you decide to use to hang the frame, use a hot glue gun. You could also use this adhesive, or add eye hooks to the top and tie the twine to those. There are several easy options.
*Note – my twine was a little thin so I used 3 strands to give it a little more weight.
That’s it.
Isn’t this a simple project? Like I said, my power tool skills are basically non-existent so if I can do this, anyone can. I wish I had tried it sooner because now I have so many things I want to hang this way!
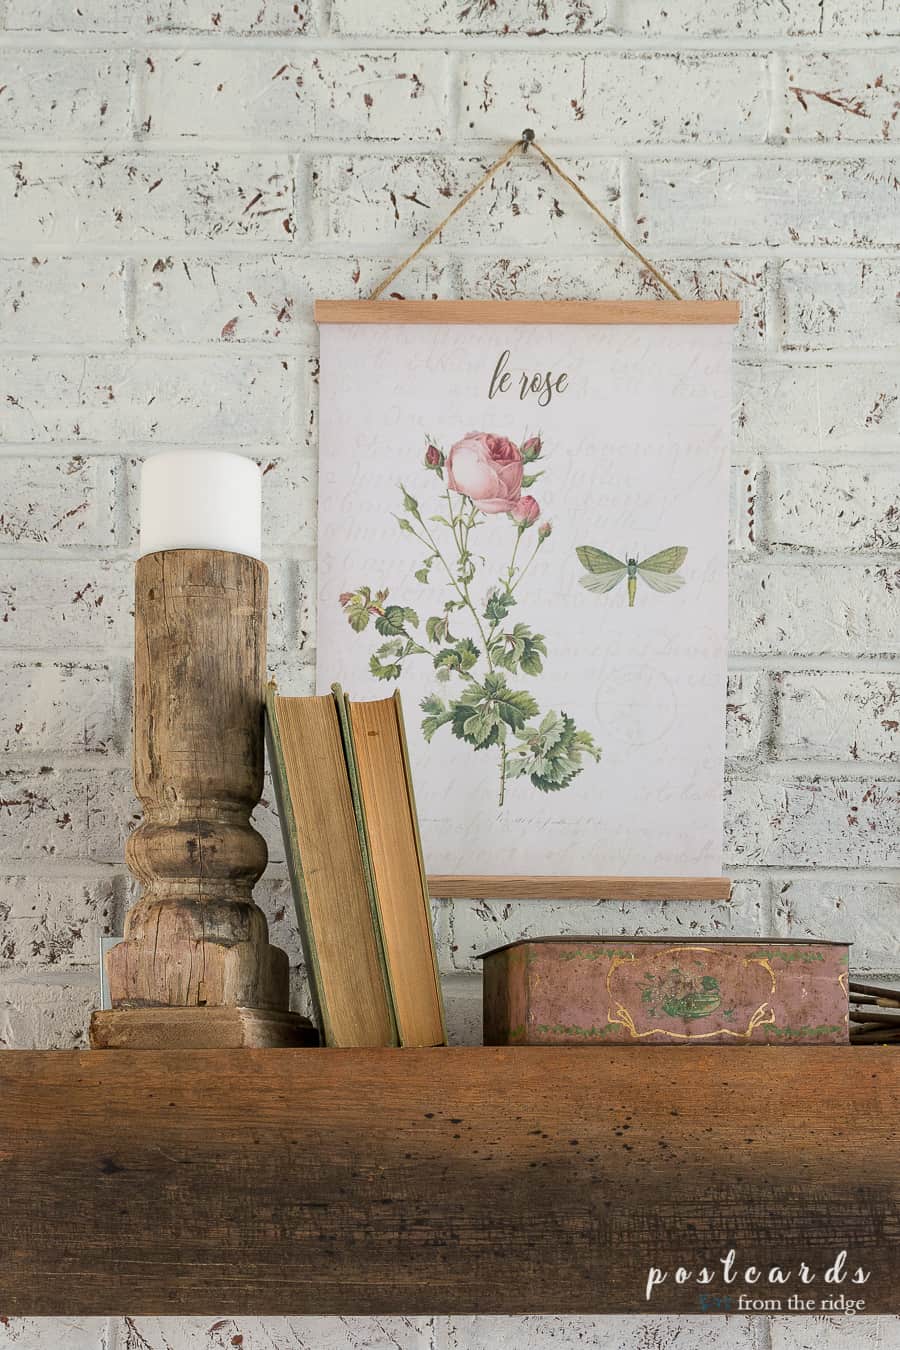

If you’re interested in the artwork shown in this post, you can get it for free as downloadable art. To find out how to get yours, visit this post and scroll down until you see this photo:

Want more inexpensive, DIY home decor ideas? Here you go!
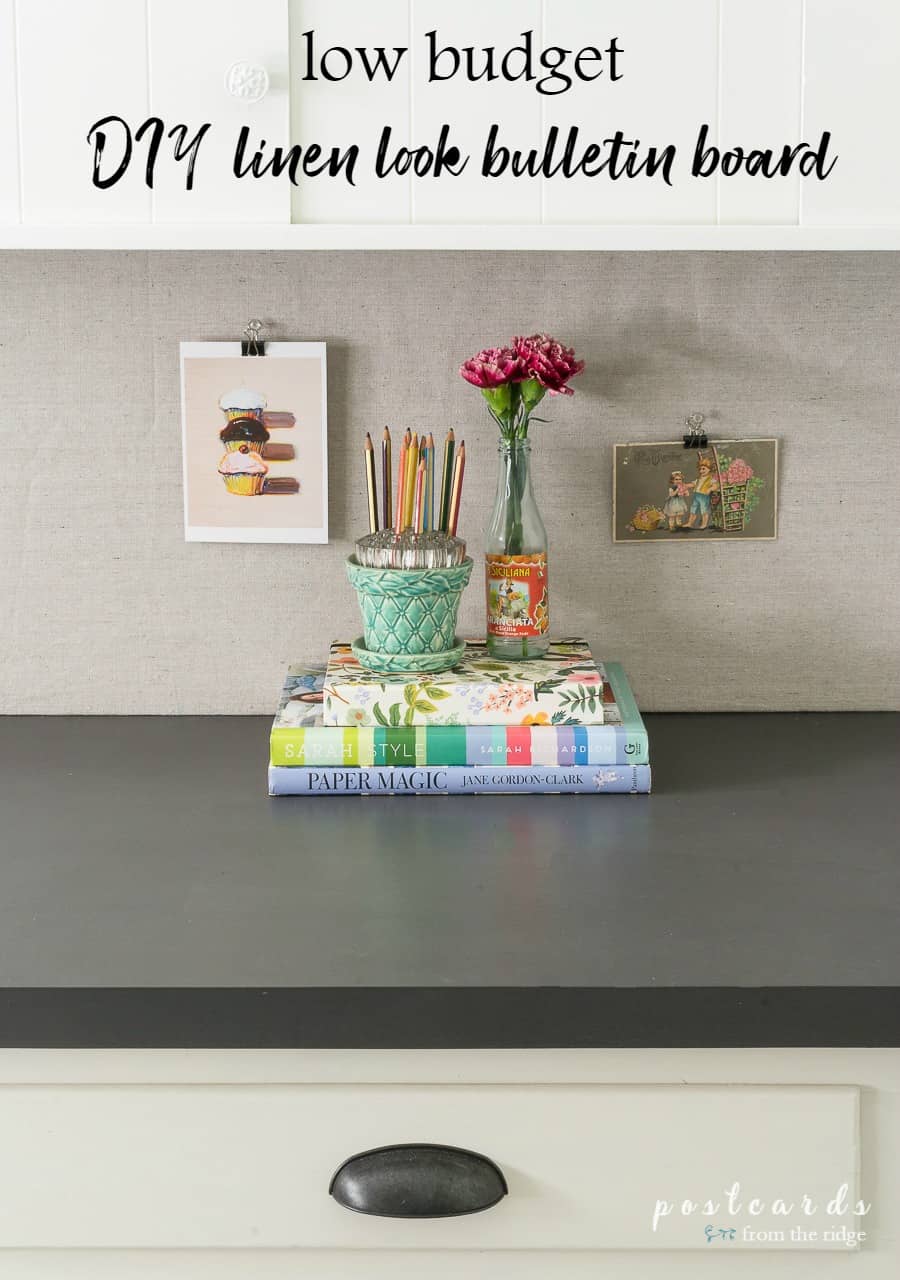
Find out how I made this linen-look bulletin board using only things that I had on hand HERE. (Keep in mind that I’m a bit of a hoarder, lol.)
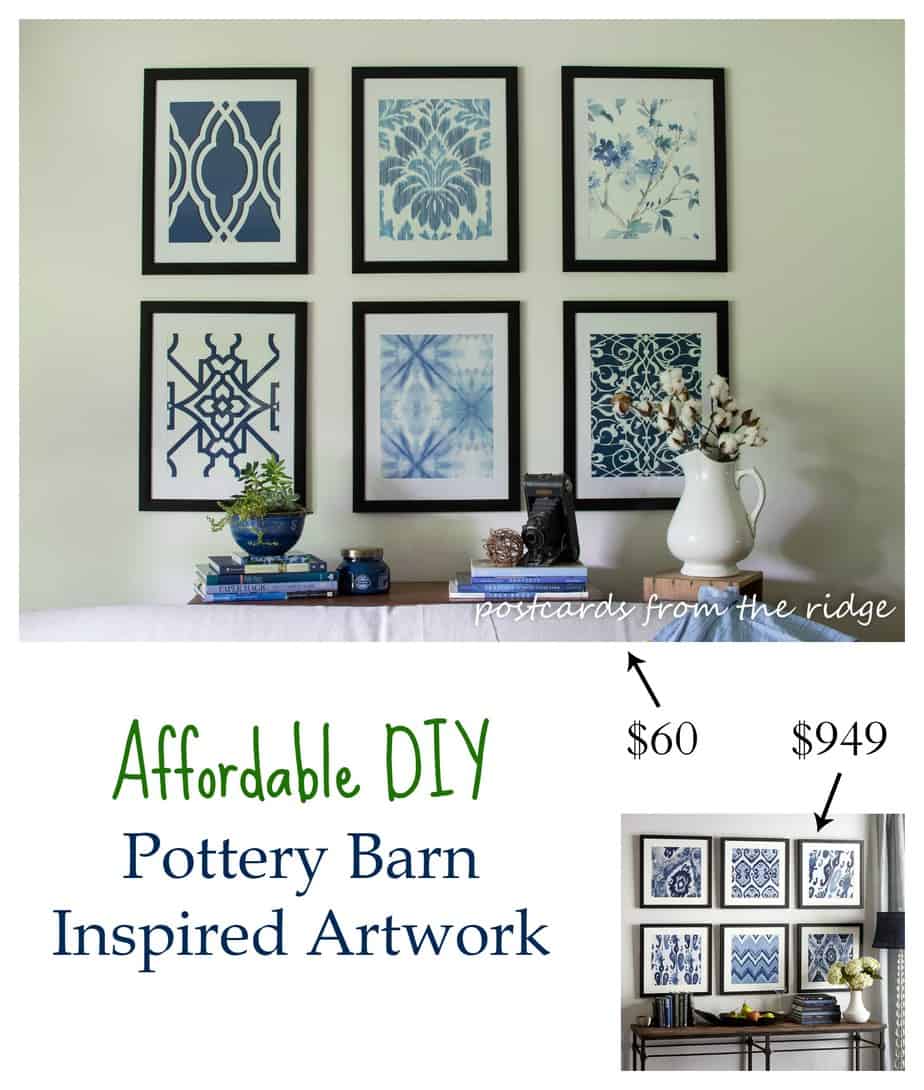
Learn how to make your own artwork HERE.

See how I made this $30 sofa slipcover HERE.
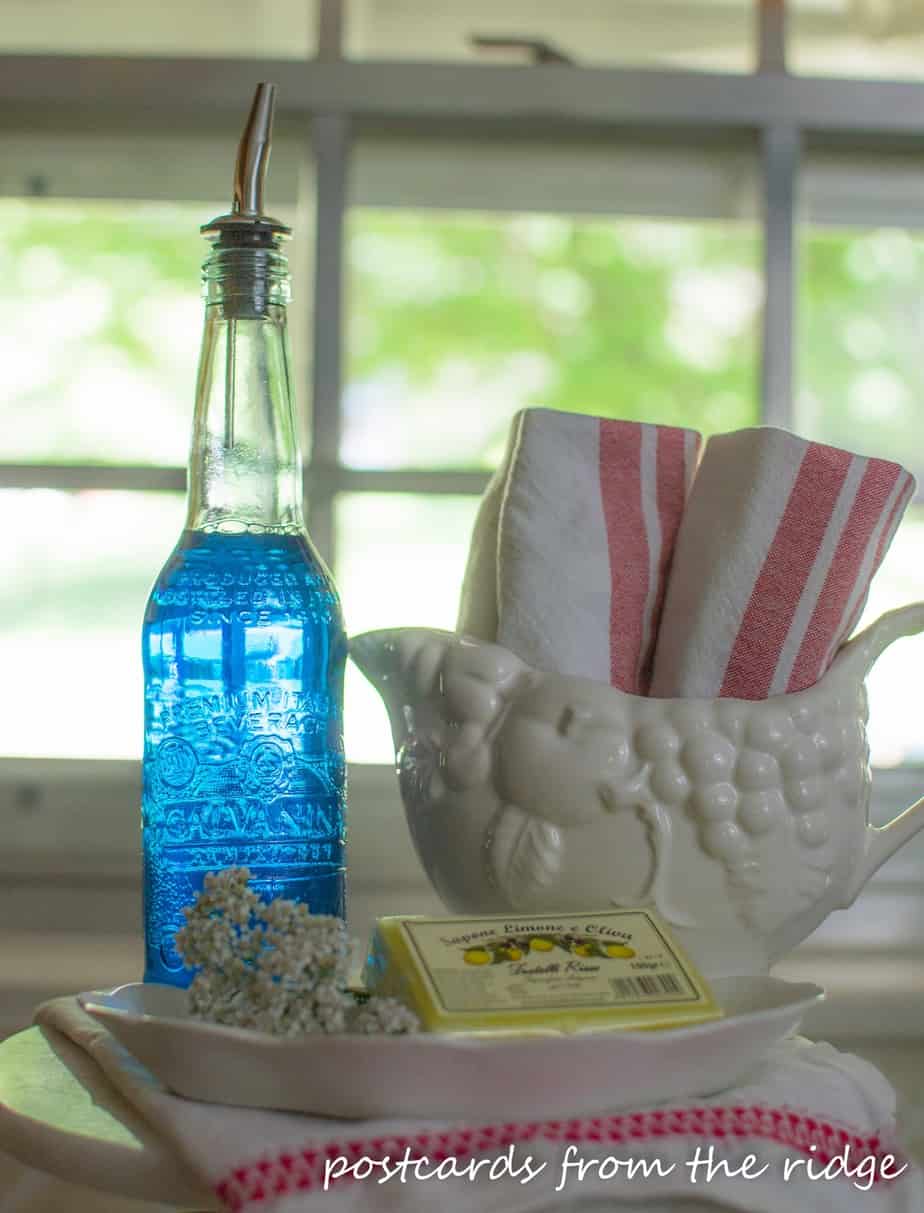
Want to dress up your dish soap? Go HERE to see how to do this simple project.
Let me know if you try the DIY hanging frame project and how it goes!
Thanks for dropping by!

Beautiful! These florals are perfect for spring and they look great hanging over your mantel.