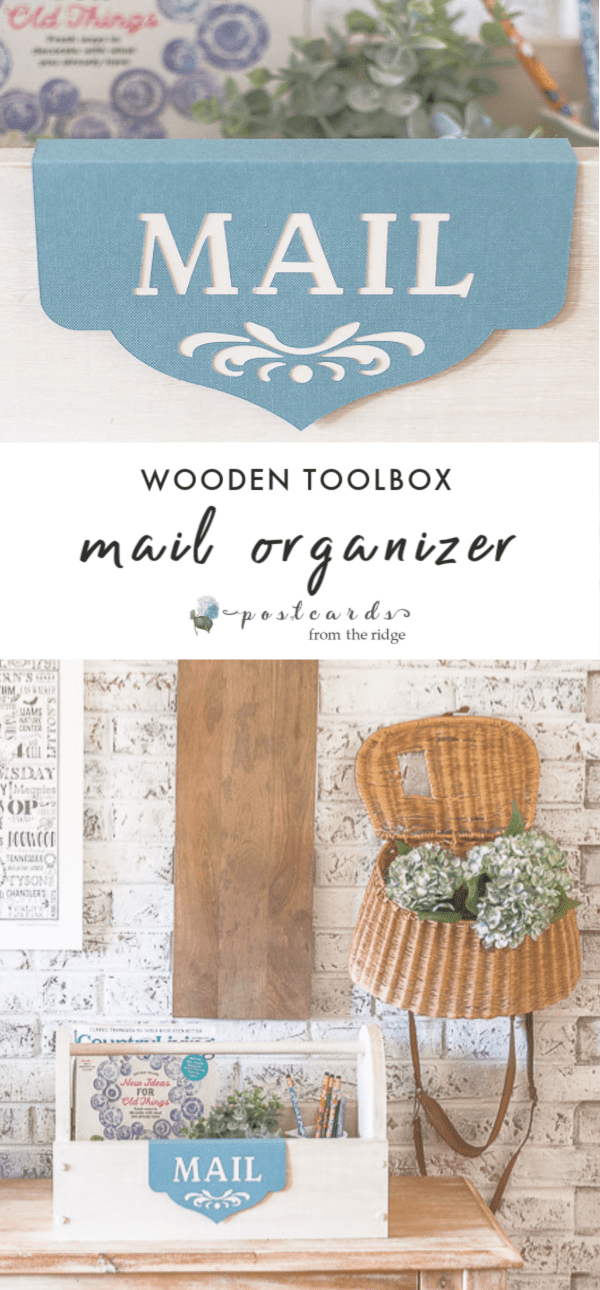
DIY Wooden Tool Box Mail Organizer
Wooden Tool Box Gets New Life as Mail Organizer
This post contains affiliate links for your convenience. For full disclosure go here.
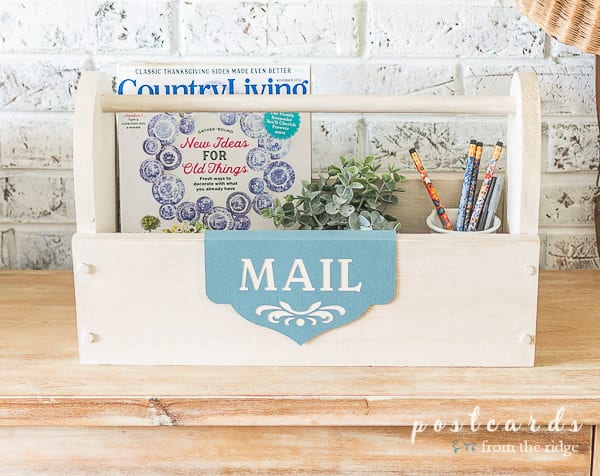
Hey, friends! Do you struggle with where to put your incoming mail? I sure do. It seems like it always ends up on the kitchen island and I’m fed up with it. In an effort to curb the clutter, I’m now utilizing a freebie wooden tool box that wasn’t being used for anything.
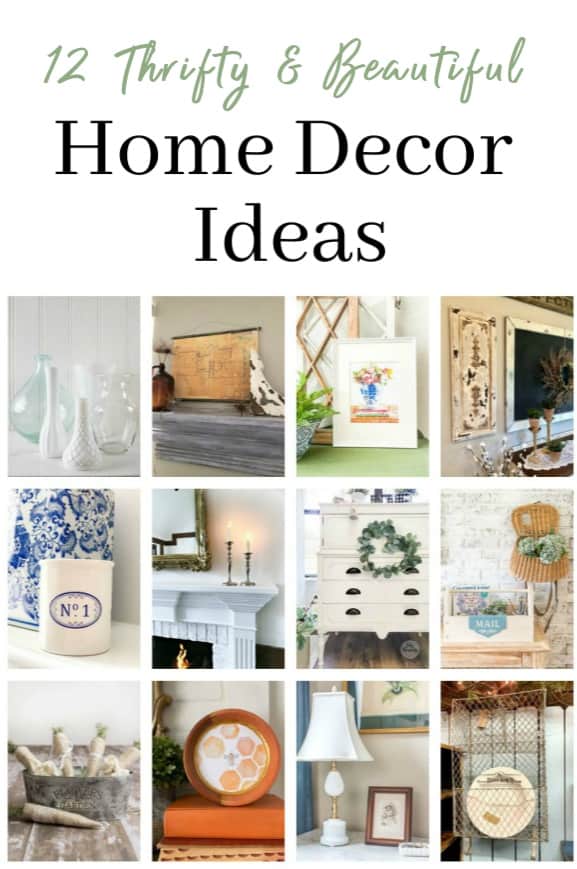
This simple little idea is my project for this month’s Thrifty Style Team challenge. My friend Julie at Redhead can Decorate hosts this challenge each month and there are 12 home bloggers who share ideas for thrifty decorating. There are always so many creative ideas, so be sure to keep scrolling to the bottom of the post and visit all the other home bloggers.
Here are my previous Thrifty Style Team projects:
- DIY Glass Bottle Dish Soap Dispenser
- Champagne Bucket Christmas Tree Stand
- DIY Wine Bottle Luminaries
- DIY Sheet Music Watercolor Fall Leaves
The wooden tool box was part of some free swag from the Haven conference a couple of years ago. It came in pieces as a kit. I put it together and painted it a while ago, but haven’t really used it for anything up until now. I don’t know what I was waiting for since it’s perfect for this spot.
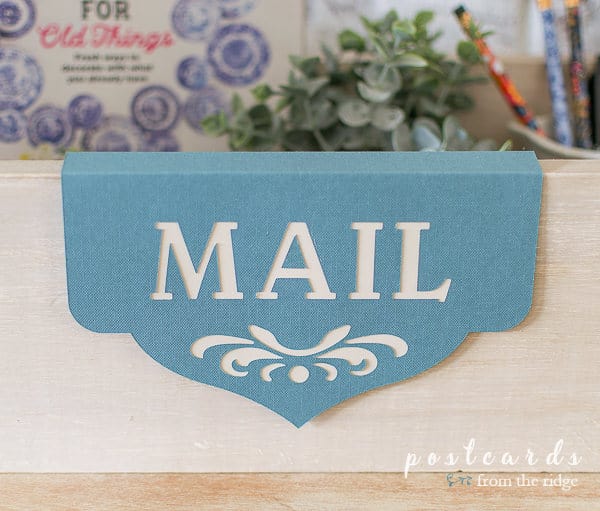
I used my cricut maker to create a pretty label from cardstock. You could also use vinyl or paint a design with a stencil or even freehand if you don’t have a cutting machine. Or you could simply leave it blank.
I used the card stock because I couldn’t commit to a permanent design and I can change this out whenever I feel like it. I attached a large paint swatch to the backside so it would look more finished. It’s pretty much the same color as the tool box though.
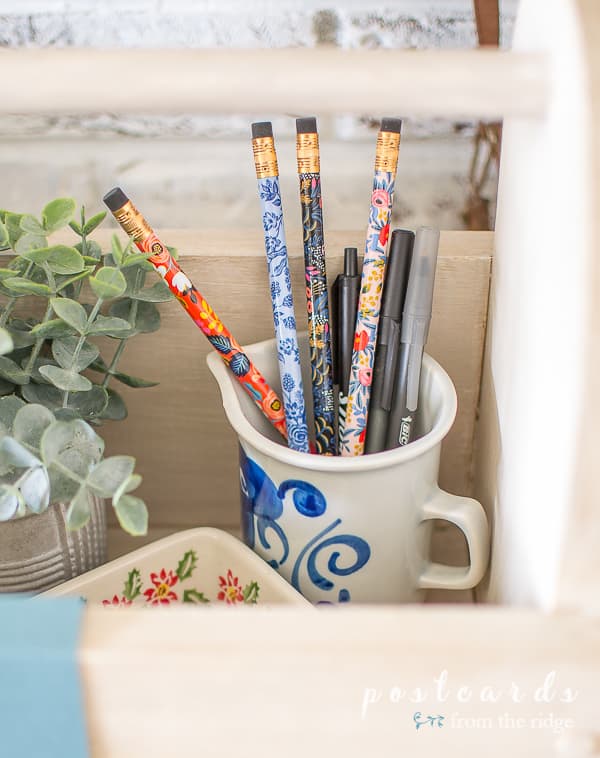
I found the little blue and white creamer at the Habitat Re-Store for $1 a few months ago and love the colors. It’s perfect for pens and pretty pencils.
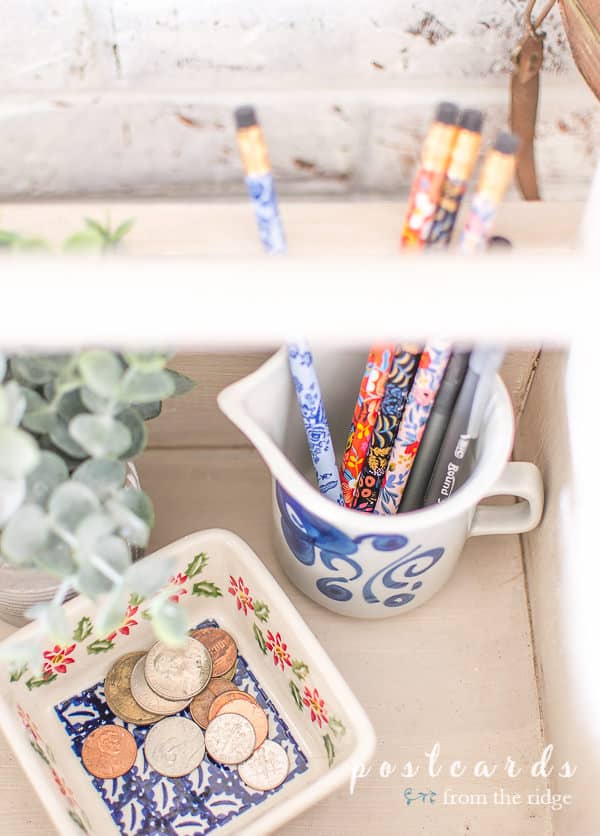
And my sister gave me this pretty little Polish pottery dish for Christmas. It’s ideal for corralling spare change.
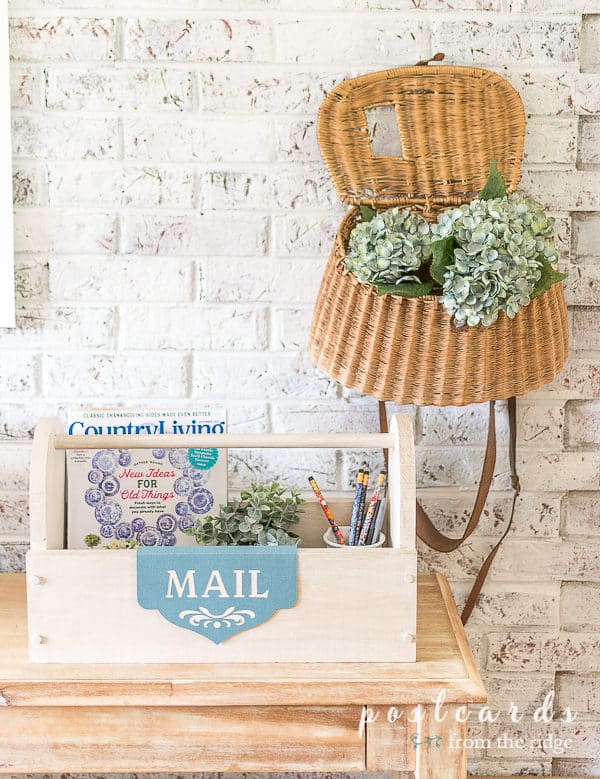
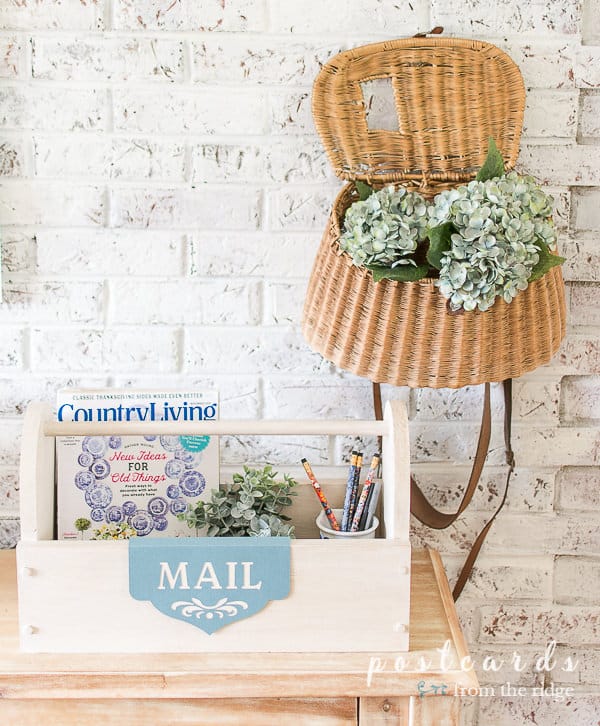
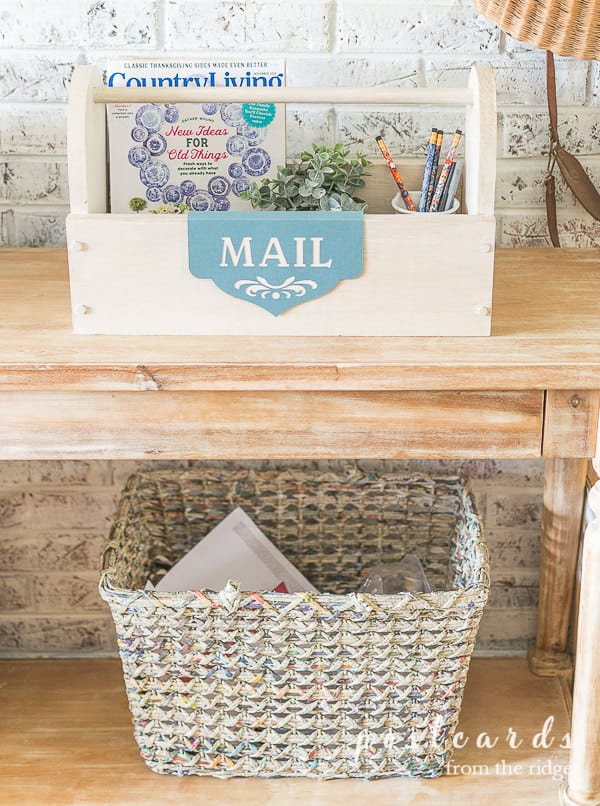
The tool box is hopefully where incoming mail will be landing. Directly underneath is our recycling basket, which is actually made from recycled newspapers. Junk mail and other recyclables go here until we take them out to the curbside bin. (I’ve had this basket for probably at least 10 years, but I think Trader Joe’s had some similar ones recently.)
I call this our “landing zone” and honestly, it doesn’t usually look this neat. But since I was photographing it I thought I would tidy it up. Y’all don’t want to see the reusable shopping bags and other things that sometimes end up here, lol.
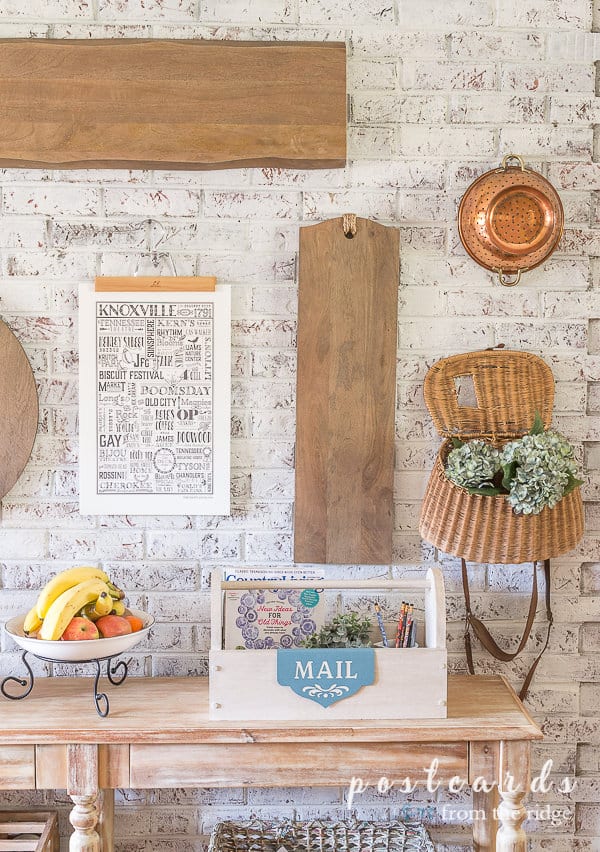
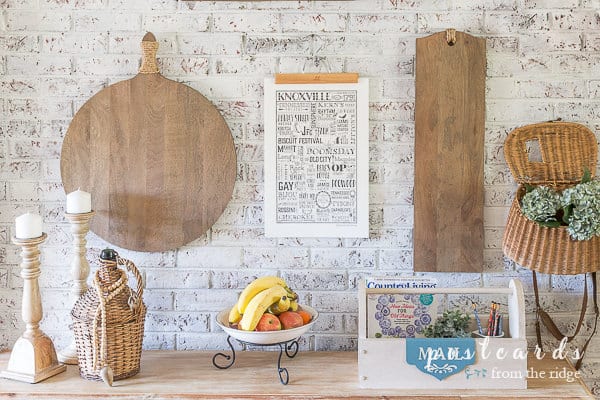
This is basically the only wall space in our kitchen and it isn’t even an actual wall. It’s the backside of the living room fireplace and it’s the only place I have to hang pretty things like cutting boards and artwork. It’s really hard to photograph this wall because the kitchen island is right in front of it.
Fingers crossed that we can keep this up so I keep the kitchen island clear.
Supplies used for this simple little project (scroll down for complete tutorial):
- Wooden Tool Box Kit (similar)
- Cricut Maker and fine point blade
- Scoring Stylus (or you could use a scoring wheel)
- Blue Sage Cardstock
- Large off white paint swatch or scrap of contrasting paper
- Glue Stick
Other items shown:
- Pencils
- faux blue hydrangeas
- small square Polish pottery dish
- fishing basket (similar)
- candlesticks
- cutting boards (similar)
- copper colander (similar)
- wood bead strand
- console table
- city print artwork
Here’s a detailed tutorial for the label if you want to make one just like it.
mail organizer, cricut mail organizer label, tool box mail organizer
Yield: 1
Author: Angie @ Postcards from the Ridge
Estimated cost: $20
DIY Mail Organizer
Here’s a simple and quick way to organize your incoming mail and try to keep your counters clear.
prep time: 5 Mperform time: 30 Mtotal time: 35 M
materials:
- Tool box or tool box kit
- Blue Sage Cardstock
- Glue Stick or adhesive applicator
- Scrap of contrasting card stock or large paint swatch
tools:
- Cricut
- Scoring Stylus or Scoring Wheel
steps:
Simple DIY Wooden Tool Box Mail Organizer
- Assemble your tool box if necessary. Add any desired paint or finish to the tool box.

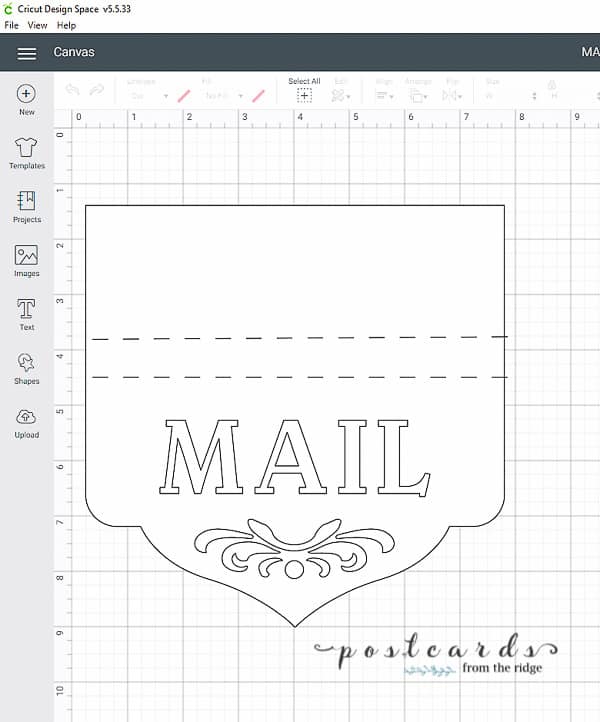
- In Cricut Design Space, begin a new project and search through the images for the following items: 1) Heart Book Cover Design #M41E92; 2) Flourish #M85D4433. Add these images to your design. You’ll need to click “detach” for the Heart Book Cover Design in the canvas area and remove the little heart and other shaded area. Then you’ll need to rotate it 45 degrees so the point is facing downward. The flourish design will need to be flipped horizontally by using the “flip” option in the tool bar.
- From the left sidebar in the Canvas area, click “shapes” and add a score line. The line will need to be rotated 45 degrees so it’s horizontal. Duplicate the line and place them so they’ll be spaced apart the same distance as the thickness of your tool box. Mine was 3/4″. This will give you nice, sharp lines/creases where the label hangs over the side of the tool box.
- In canvas, click “text” from the left sidebar and search for the following font: Belwe Std Medium, and type your message/label title. Enlarge it to fit your label. You can also increase the amount of space between each letter by using the “letter space” option in the toolbar. I did this for my label.
- Center all of your elements by dragging them into place. I’ve found that the easiest way to do this is as follows: On the right side of the screen, click the eye icon (this will hide the element) for all elements except the one you’re centering. Once you’ve placed that one where it needs to be, do the same for each element until they’re all lined up. Then unhide the elements (by clicking the eye icon for each one) to make sure they’re all where you want them to be. Here’s how it should all line up:

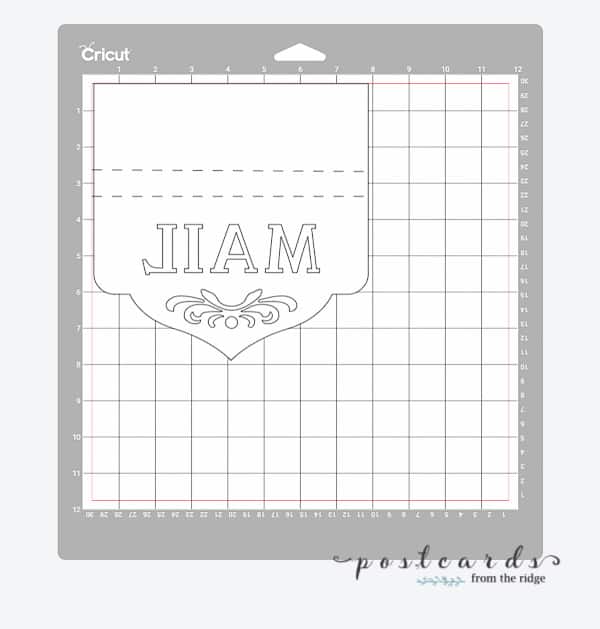
- When everything is lined up like you want them, click “select all” from the tool bar at the top of the screen.
- Then click “attach” in the lower right corner of canvas.
- Next, click the “make it” in the top right corner. You’ll want to select “cardstock” for you material, make sure you have the correct tools loaded, and click “mirror” on the left sidebar. This will allow the scoring lines to be on the back of the label. The letters will be backwards on the screen. Now, you’re ready to create the label.

- After you’ve cut and removed the label, attach a contrasting piece of card stock or a large paint swatch to the back side. I used a glue stick, but you could use an adhesive applicator.
- Fold the label on the scored lines and hang it over the side of the tool box.

Created using Craft Card Maker
Here are all of the thrifty style team ideas:
February Thrifting, The Thrifty Style Team Way
Redhead Can Decorate – My Gorgeous Thrift Store Mirror
Bliss Ranch – Thrifting At Occasional Shops
DIY Beautify – DIY Eucalyptus Heart Shaped Wreath
2 Bees In A Pod – Blue and White Thrifted Home Decor
Postcards From The Ridge – Clear the Clutter with this Tool Box Mail Organizer
Salvage Sister and Mister – DIY Cardboard Sunflower
The Creekline House – Ten Things You Should Always Buy From the Thrift Store
The How To Home – How To Decorate With Repurposed Crib Springs
The Painted Hinge – DIY Antiqued Wall Panel
The Tattered Pew – The Secret Trick To Creating Inexpensive Watercolor Art
Unskinny Boppy – Farmhouse Bucket ‘O Carrots Easter Craft Idea
Virginia Sweet Pea – DIY Milk Glass Lamp Makeover
What Meegan Makes – Make Vintage Art From Your Home Blueprints
I am a tote lover. Along with my addiction to crates I have more totes than I can tote. I love yours.
This little tote is perfect for organizing your mail. I like that you didn't make the label for it permanent. If you decide to use it elsewhere in your home, you can make a new label and be ready to go!
I need one that is the size of a 50 gallon drum for my junk mail! LOL Super cute project this month, Angie!!
This is a great project Angie, the mail clutter is my nemesis! I love the vintage ceramics that you incorporated and that whole wall is so beautiful!
So clever! We could definitely use something like this to prevent all the mail from being tossed on the kitchen table! I actually have several old wooden tool boxes with no purpose currently, so this might be perfect!
I love this! So pretty and practical!
This is perfect. What a great idea. I love the color too
Hi Angie,
I love this wall in your kitchen. I wouldn't realize it was the back of a fireplace wall if you didn't mention it. Always styled so pretty.
Love what you cam up with for your mail.
Enjoy your day!
Cindy
Good idea and so cute, as always you come up with such cute ideas.
I love visiting your blog to see your fresh and unique ideas. Who knew that a simple tool box would be a perfect way to keep important papers organized! I just love your style, Angie.